This process requires an internet connection.
The software user (case handler) and the people who may grant an approval need a registered email address.
In the personnel database, specific people are defined as the ones allowed to approve key issues.
The approval rights of these people (the approvers) can also be tied to a condition, for example that the approver and the key recipient belong to the same cost centre.
You set these criteria yourself.
You can also define whether approval is required for every key issue or only for certain keys.
Finally, you can write the texts used in this process yourself, because the approver receives the request by email with a covering text.
Before you can use the approval process, a few settings and decisions are needed.
In the key screen, under the "Additional Data" tab, you can set that an approval process is required at all.
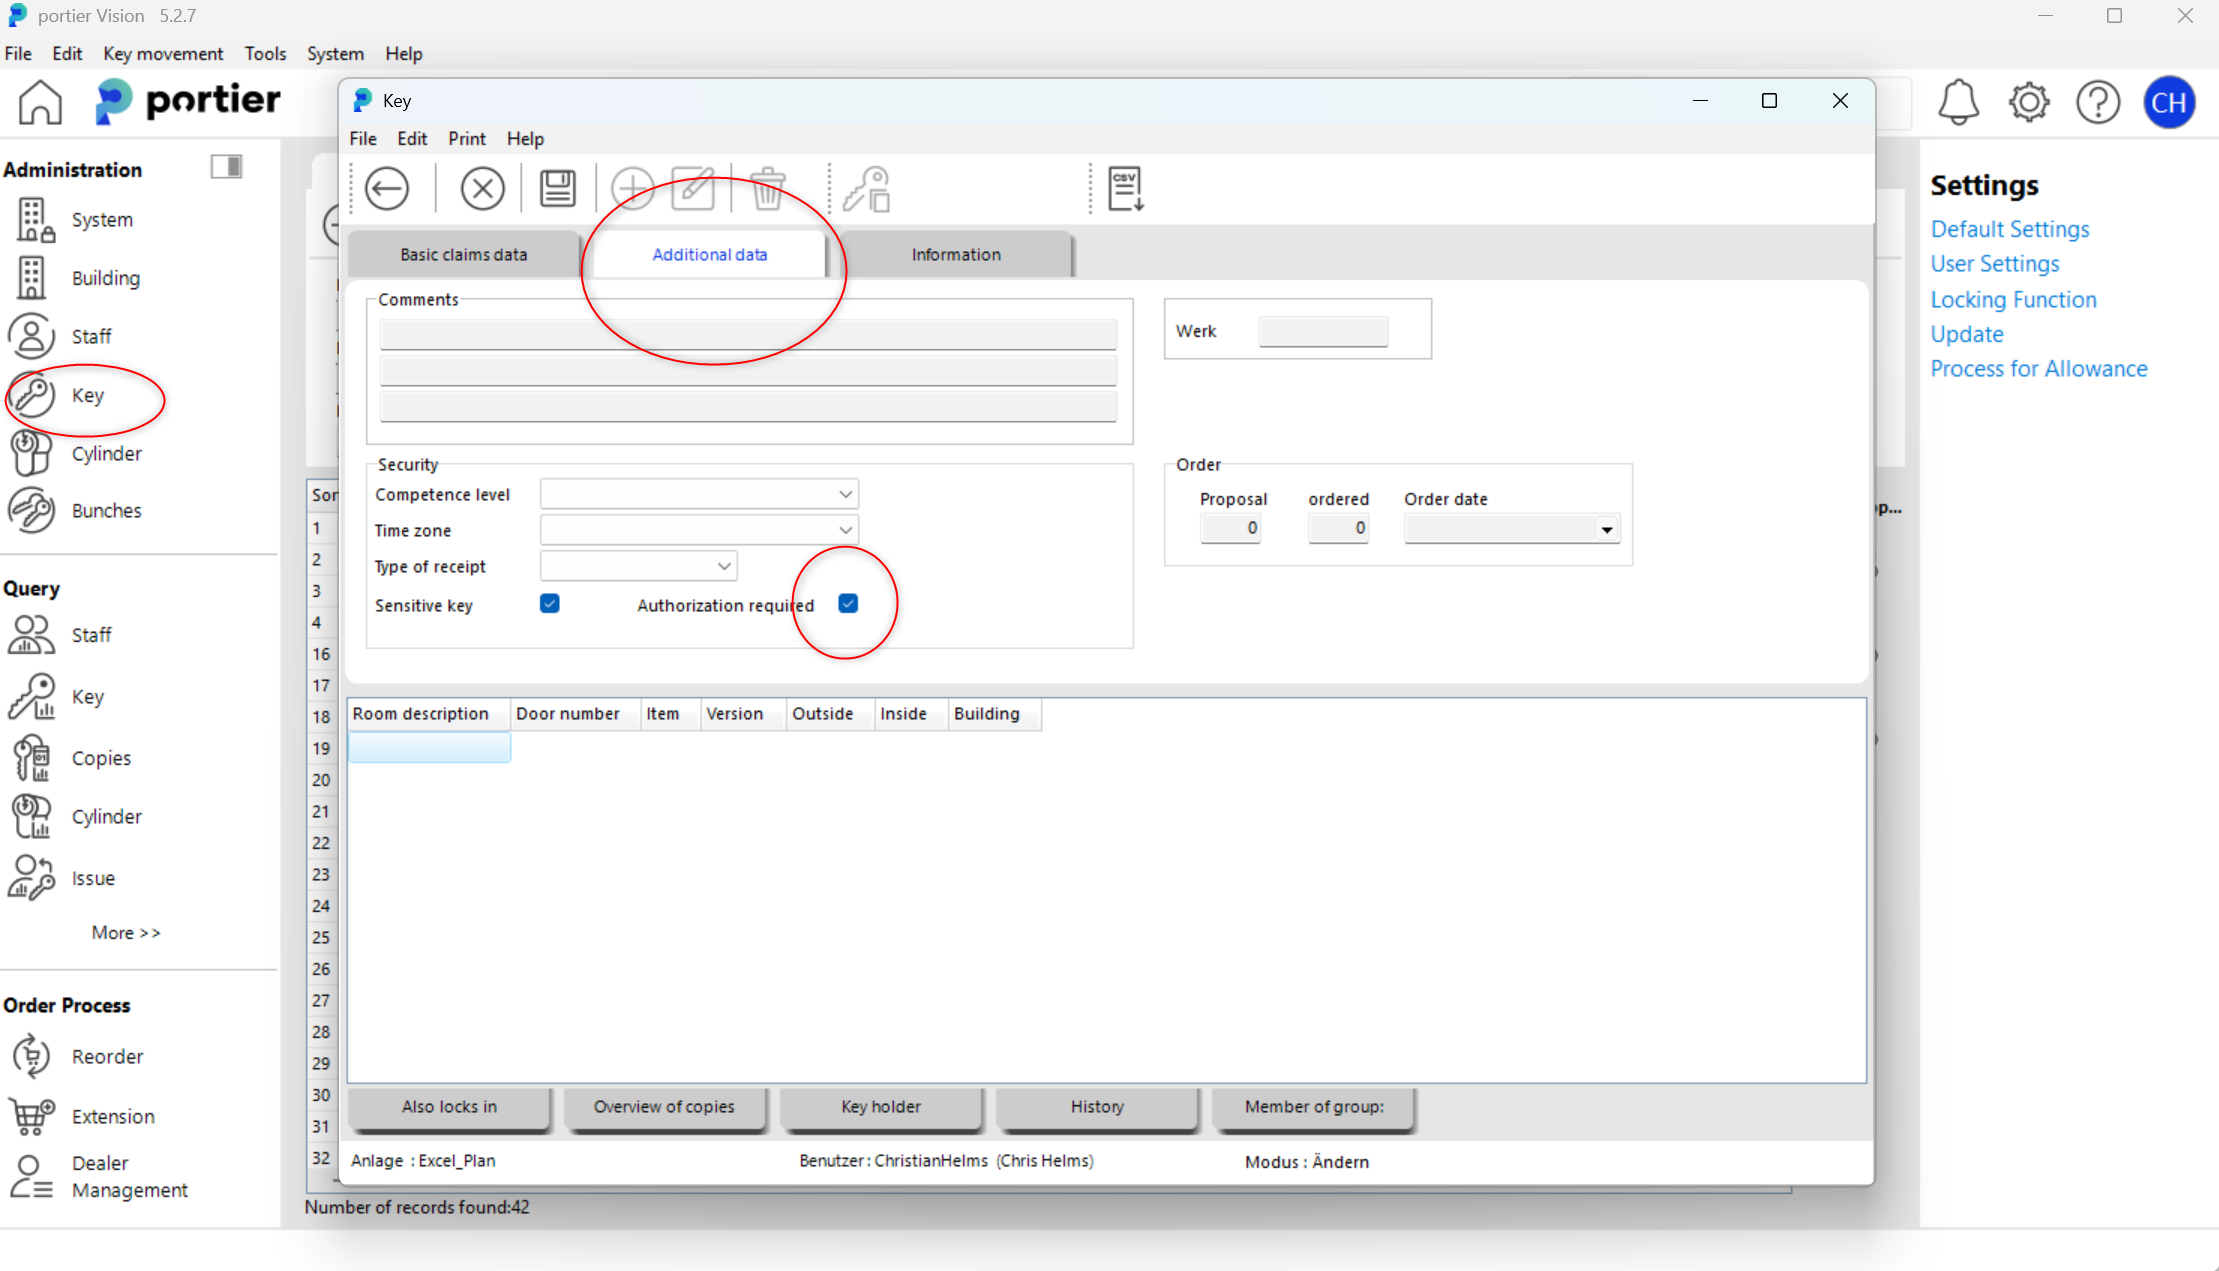
Tick the box here and this key can only be issued once the issue has been approved. That also means you now have to make at least one person an approver, and that person must have an email address.
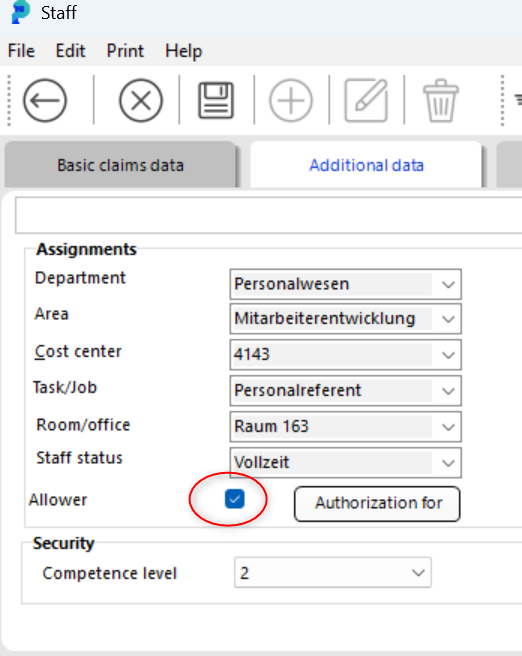
To do that, open the personnel record of your choice and tick the box "Has Approver Status" under the "Additional Data" tab.
During a key issue, a message points out that an approval is required.
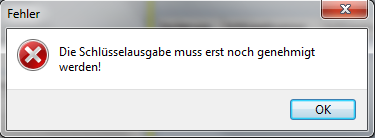
Confirm the message.
Two icons are now activated in the top right of the window:
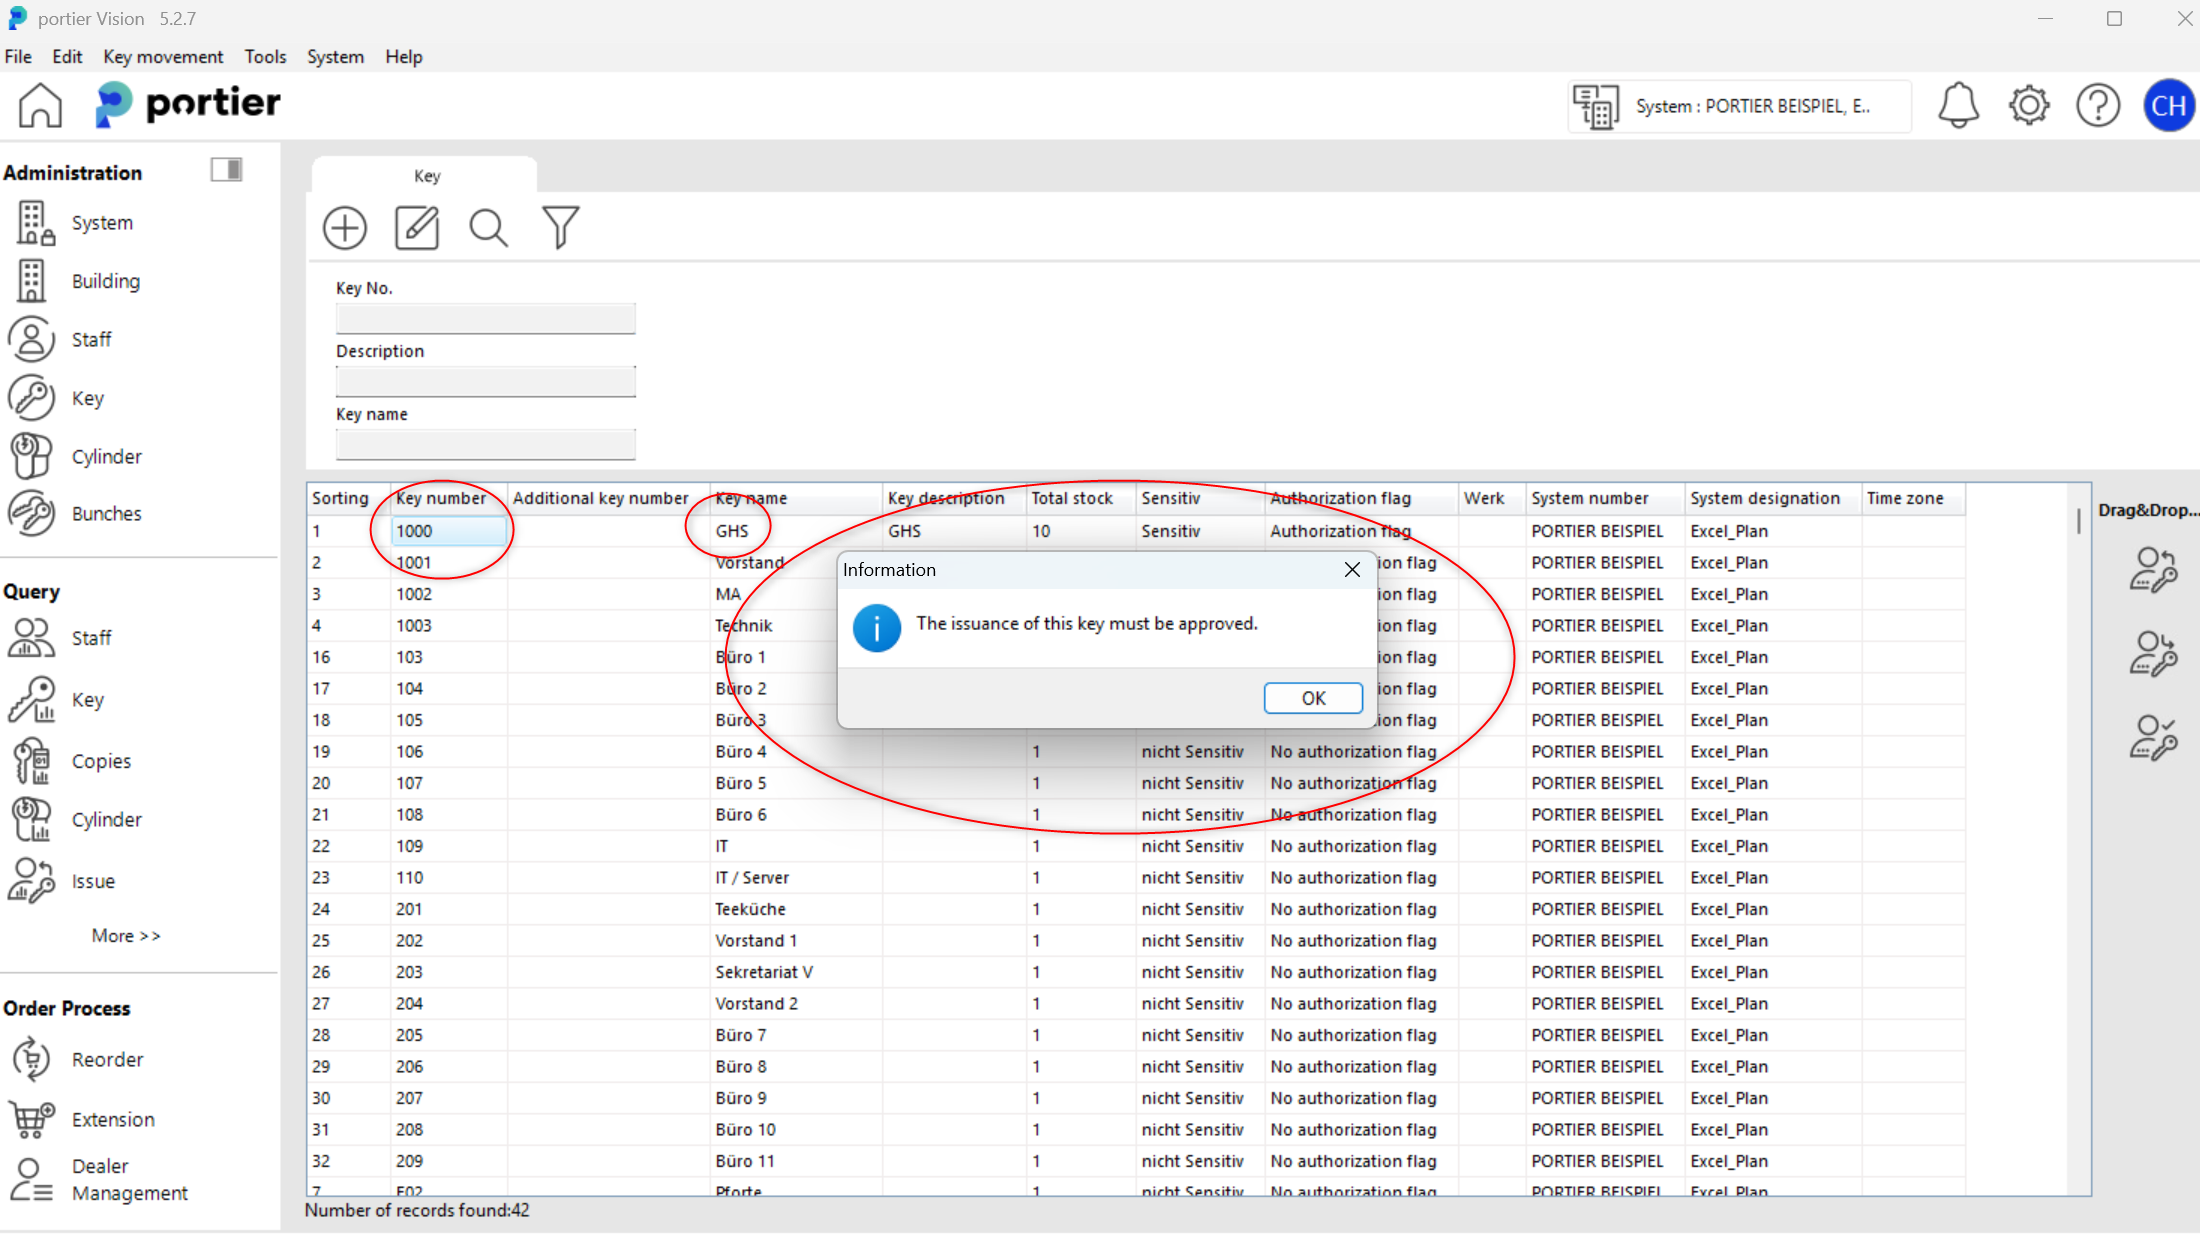
Left icon: starts a new approval process
Right icon: cancels the approval process
When you start the process, portier Vision shows all people who have approver status.
You can now select who is to approve this specific issue and start the process with the green checkmark. Selecting several people is also possible.
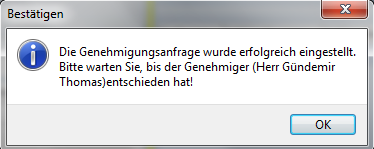
The selected approver then receives an email.
That email points to the requested approval for the key issue and carries two attached PDF files:
one PDF names the recipient and the key number
the other PDF lists all doors affected
The email also contains a link to the decision page on the internet.
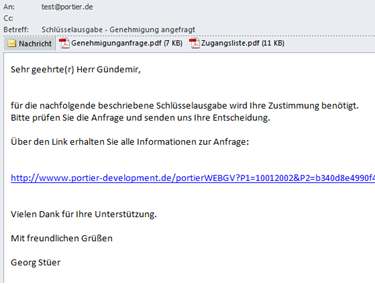
Example of an approval email.
The approver makes the decision through this link.
The detail is available as PDF on that web page as well. Whether the approver agrees or refuses the issue, they receive an email receipt in both cases.
You as the key administrator receive an email telling you the decision that was made. You can now finish the process in the software.
Choose the menu command "Key Movements -> Approval Requests" and search for your requests (or all of them, or only the open ones). Use the tick boxes offered for a precise search.
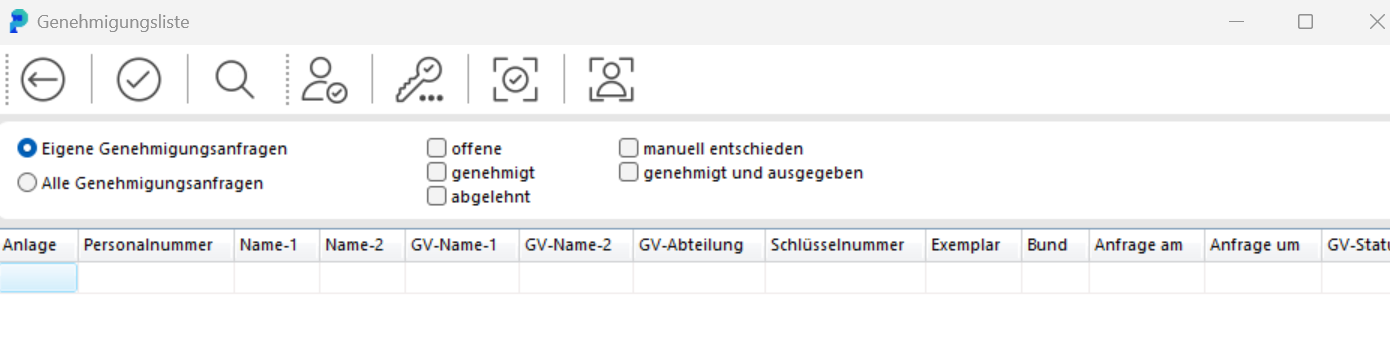

The fourth icon then retrieves the decision from the server. If the issue is approved, all necessary information is entered in the row afterwards:

A double click on that row is now enough.
The issue opens straight away with all required data.
You print the receipt, hand over the key, and you are done.
In large companies with many personnel records and correspondingly many approvers, a further function helps you work faster and more precisely.
Under "System -> Settings" you will find a new tab, "The Approval Process".
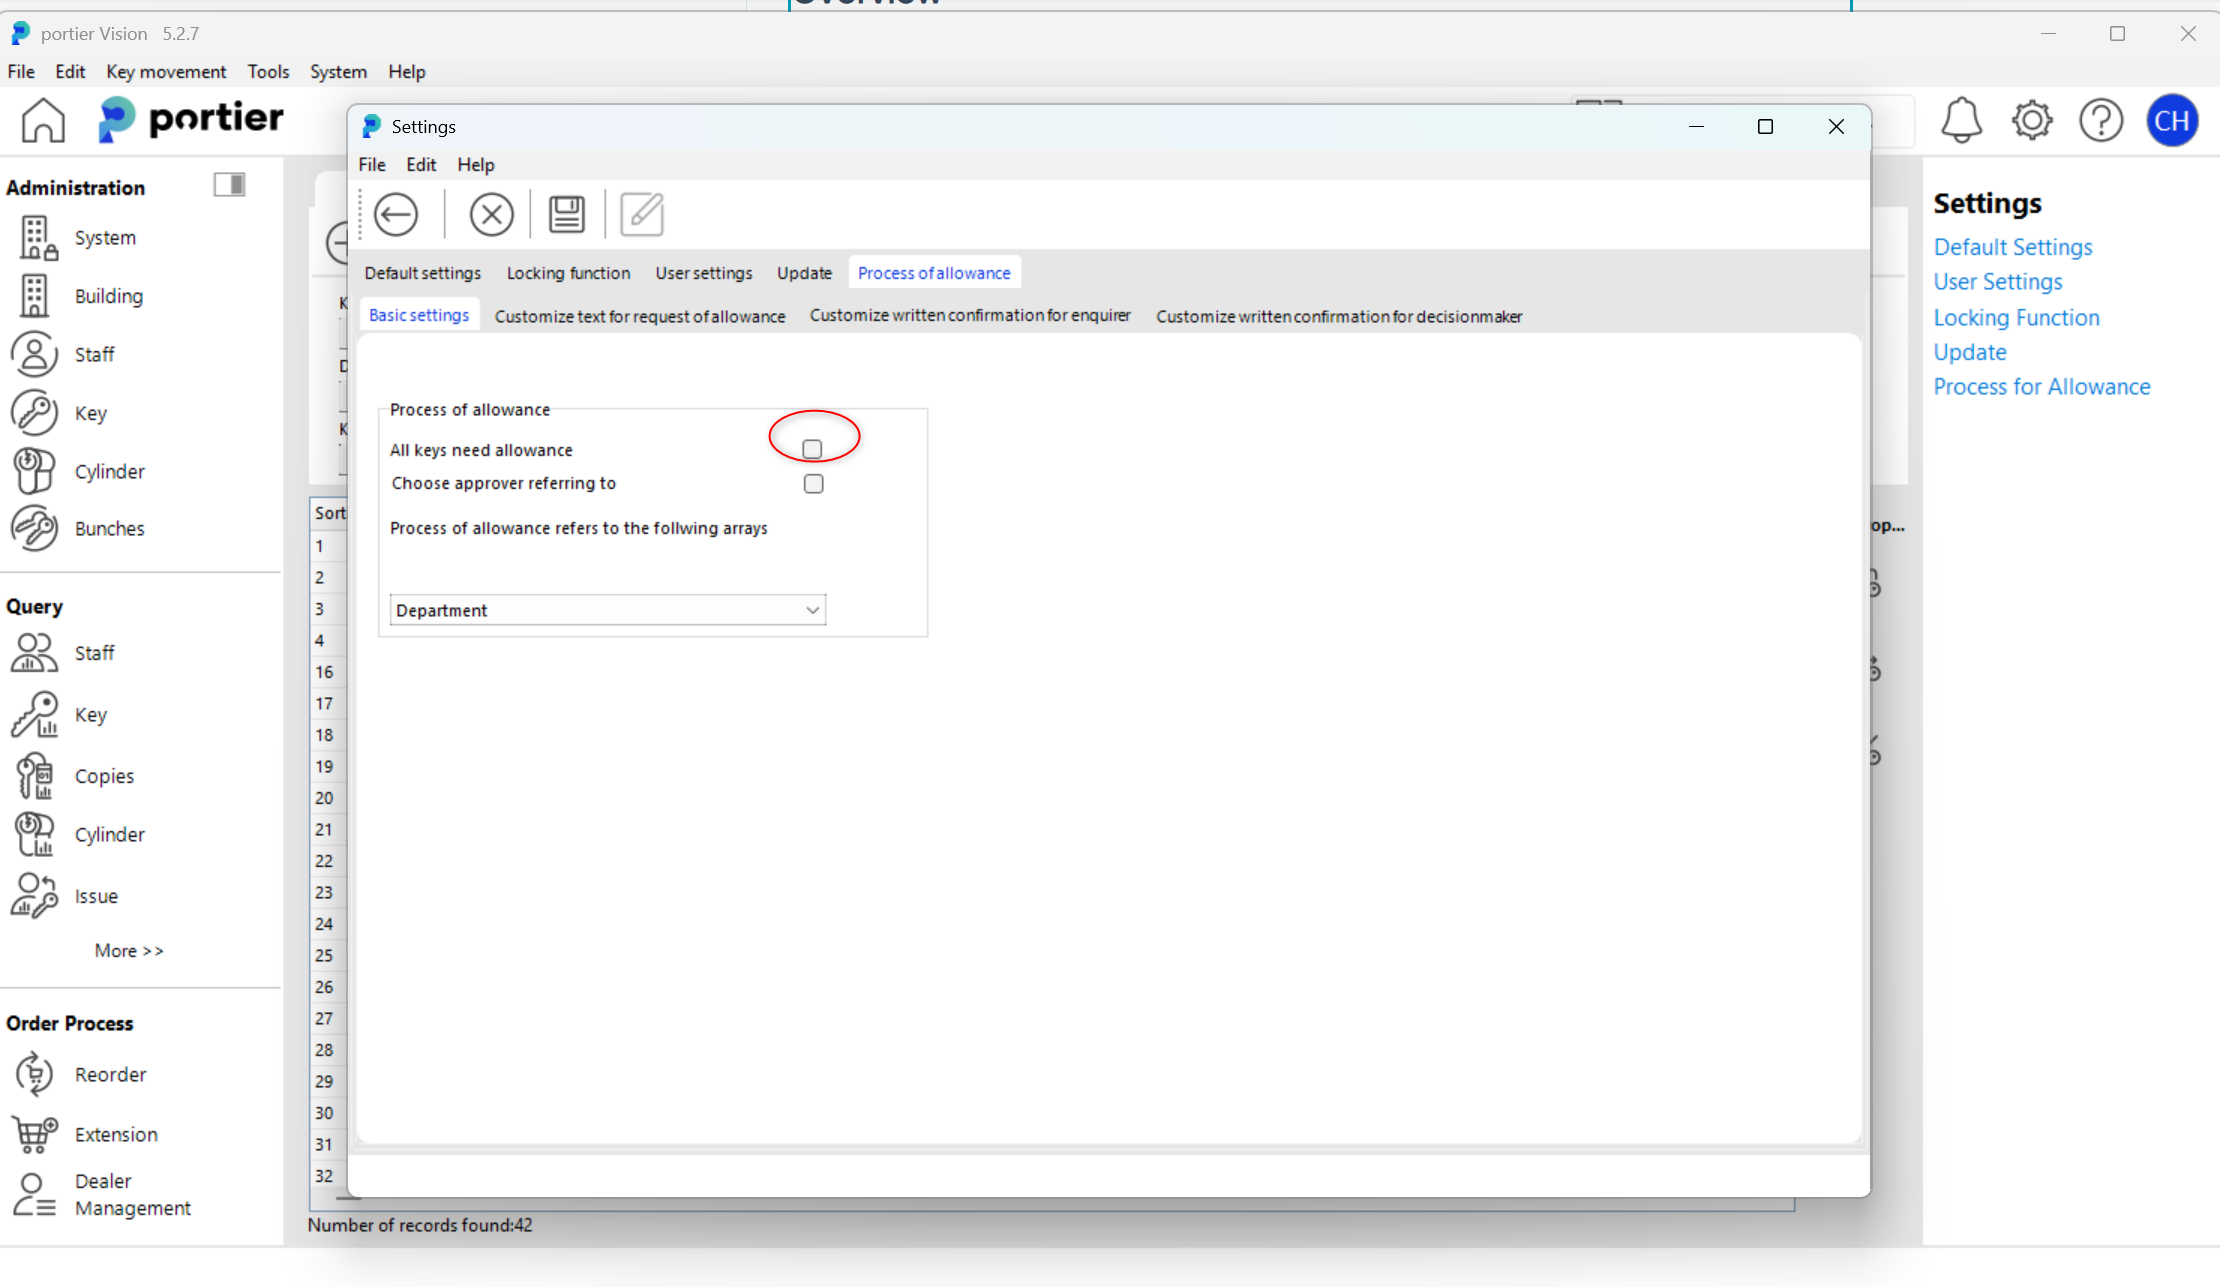
Here you set whether every key issue has to be approved, or only the keys you flagged as described above.
"Select the approver only by the following field"
This option checks whether a certain field holds the same entry for the approver and for the person who is to receive the key.
The Department field can be chosen, for example.
If the new key holder comes from the Administration department, only approvers who may approve for that department are offered to you.
Approvers themselves can be assigned to several departments.
The selection list in this option shows which fields are available for the match. Department and cost centre are the ones normally used.
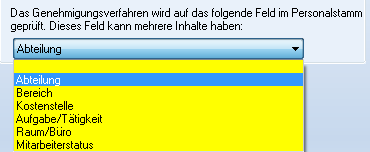
If you use this selection, you have to add the department or departments the approver may decide for in that person's record.
In the personnel screen, under the "Additional Data" tab, you will find:

Click "Approval for" and you can select one or more departments this approver is to be responsible for:
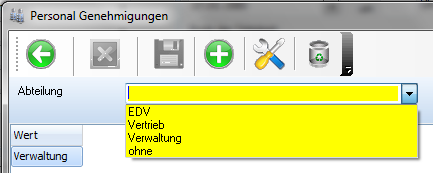
From then on, portier Vision offers only the approvers who are responsible in each approval process.
An approval request moves through several statuses:
00 open: Request created, waiting for a decision.
10 approved: The approver agreed; the key can be issued.
20 rejected: The approver declined; no key is issued.
50 manual: The web service was unreachable; the issue was released manually without online approval.
60 issued: The key has been issued; the request is complete.
75 archived: The request has been moved from the active list into the history.
The request changes status through a synchronisation with the web service or by resolving it manually in the approval-requests list.
The approval process communicates with the portier service. If that service is unreachable, for example when there is no internet connection at the workstation, you can close a request manually with status 50. The prerequisite is that you have the approval through another channel (by phone, email, or in writing). The manual issue is logged in the journal as a manual action.
In the personnel screen there is the "Has Approver Status" field (Yes/No). It marks the people who may act as approvers and controls the pre-selection on the portier service decision page. Set the field only for people who should genuinely approve, so the selection is filtered correctly.
Related articles: Key Movements (the module where the request is created), How to Create a Key Holder (for the approver status).