In portier Vision you carry out every action with the mouse. The right mouse button is often the shortest way. Many commands are also on function keys and keyboard shortcuts. The overview is in Keyboard Shortcuts / Function Keys in portier Vision 5.
Compared with earlier versions, a record is open for editing straight away. There is no Edit click any more. Mandatory fields are marked by a bold field label.
You save with Save. You leave the window with Back. If you leave it straight away with Back, Vision asks first. A Yes saves your changes as well.

The Save button, which writes your changes to the record.

The Back button, which leaves the window.
Open the menus with the mouse, or with ALT and the underlined letter.
File: Switch building / locking system, Change password, Close.
Edit: Person, Key, Cylinder, Sets, Location management, Depot management, Dealer management, Reorder, Extension, Locking system / building, Locking plan, Find and replace.
Key Movements: Issue, Return, Loss report, Fault report, Pending, Approval requests.
Tools: CAD building plans, Print locking plan, Move cylinder to another building, Deposit management, Find and replace, Daily task menu.
System: Settings, Report designer, Import person data, XML locking system import, CSV cylinder export, CSV cylinder import, User management.
Help: portier help.
On the right of the top bar you find the active locking system with Switch Locking System / Building, Notification for approval requests and reminders, Settings, Help, and your initials for your Profile. At the far left of the same bar, the house icon takes you back to your Quick Tiles Dashboard.

The menu bar with the six menus, and below it the top bar with the house icon on the left and active locking system, Notification, Settings, Help and your initials on the right, shown on a German installation.
Import person data and XML locking system import in the System menu do not open a Vision window. Both start portier Vision Companion. It is a separate program, installed together with Vision, and it sits in the same folder as PortierVision.exe. From Vision 5.7.1 on, Vision hands over your user, so Companion is already signed in.
Companion opens the Import area with three cards.
portier XML Import for a locking system from an XML file. The procedure is in Facility Data Import.
KWD Import for locking system data in the dormakaba KWD file format.
Personnel CSV for personal data from a CSV file. The procedure is in Importing Personnel Data.
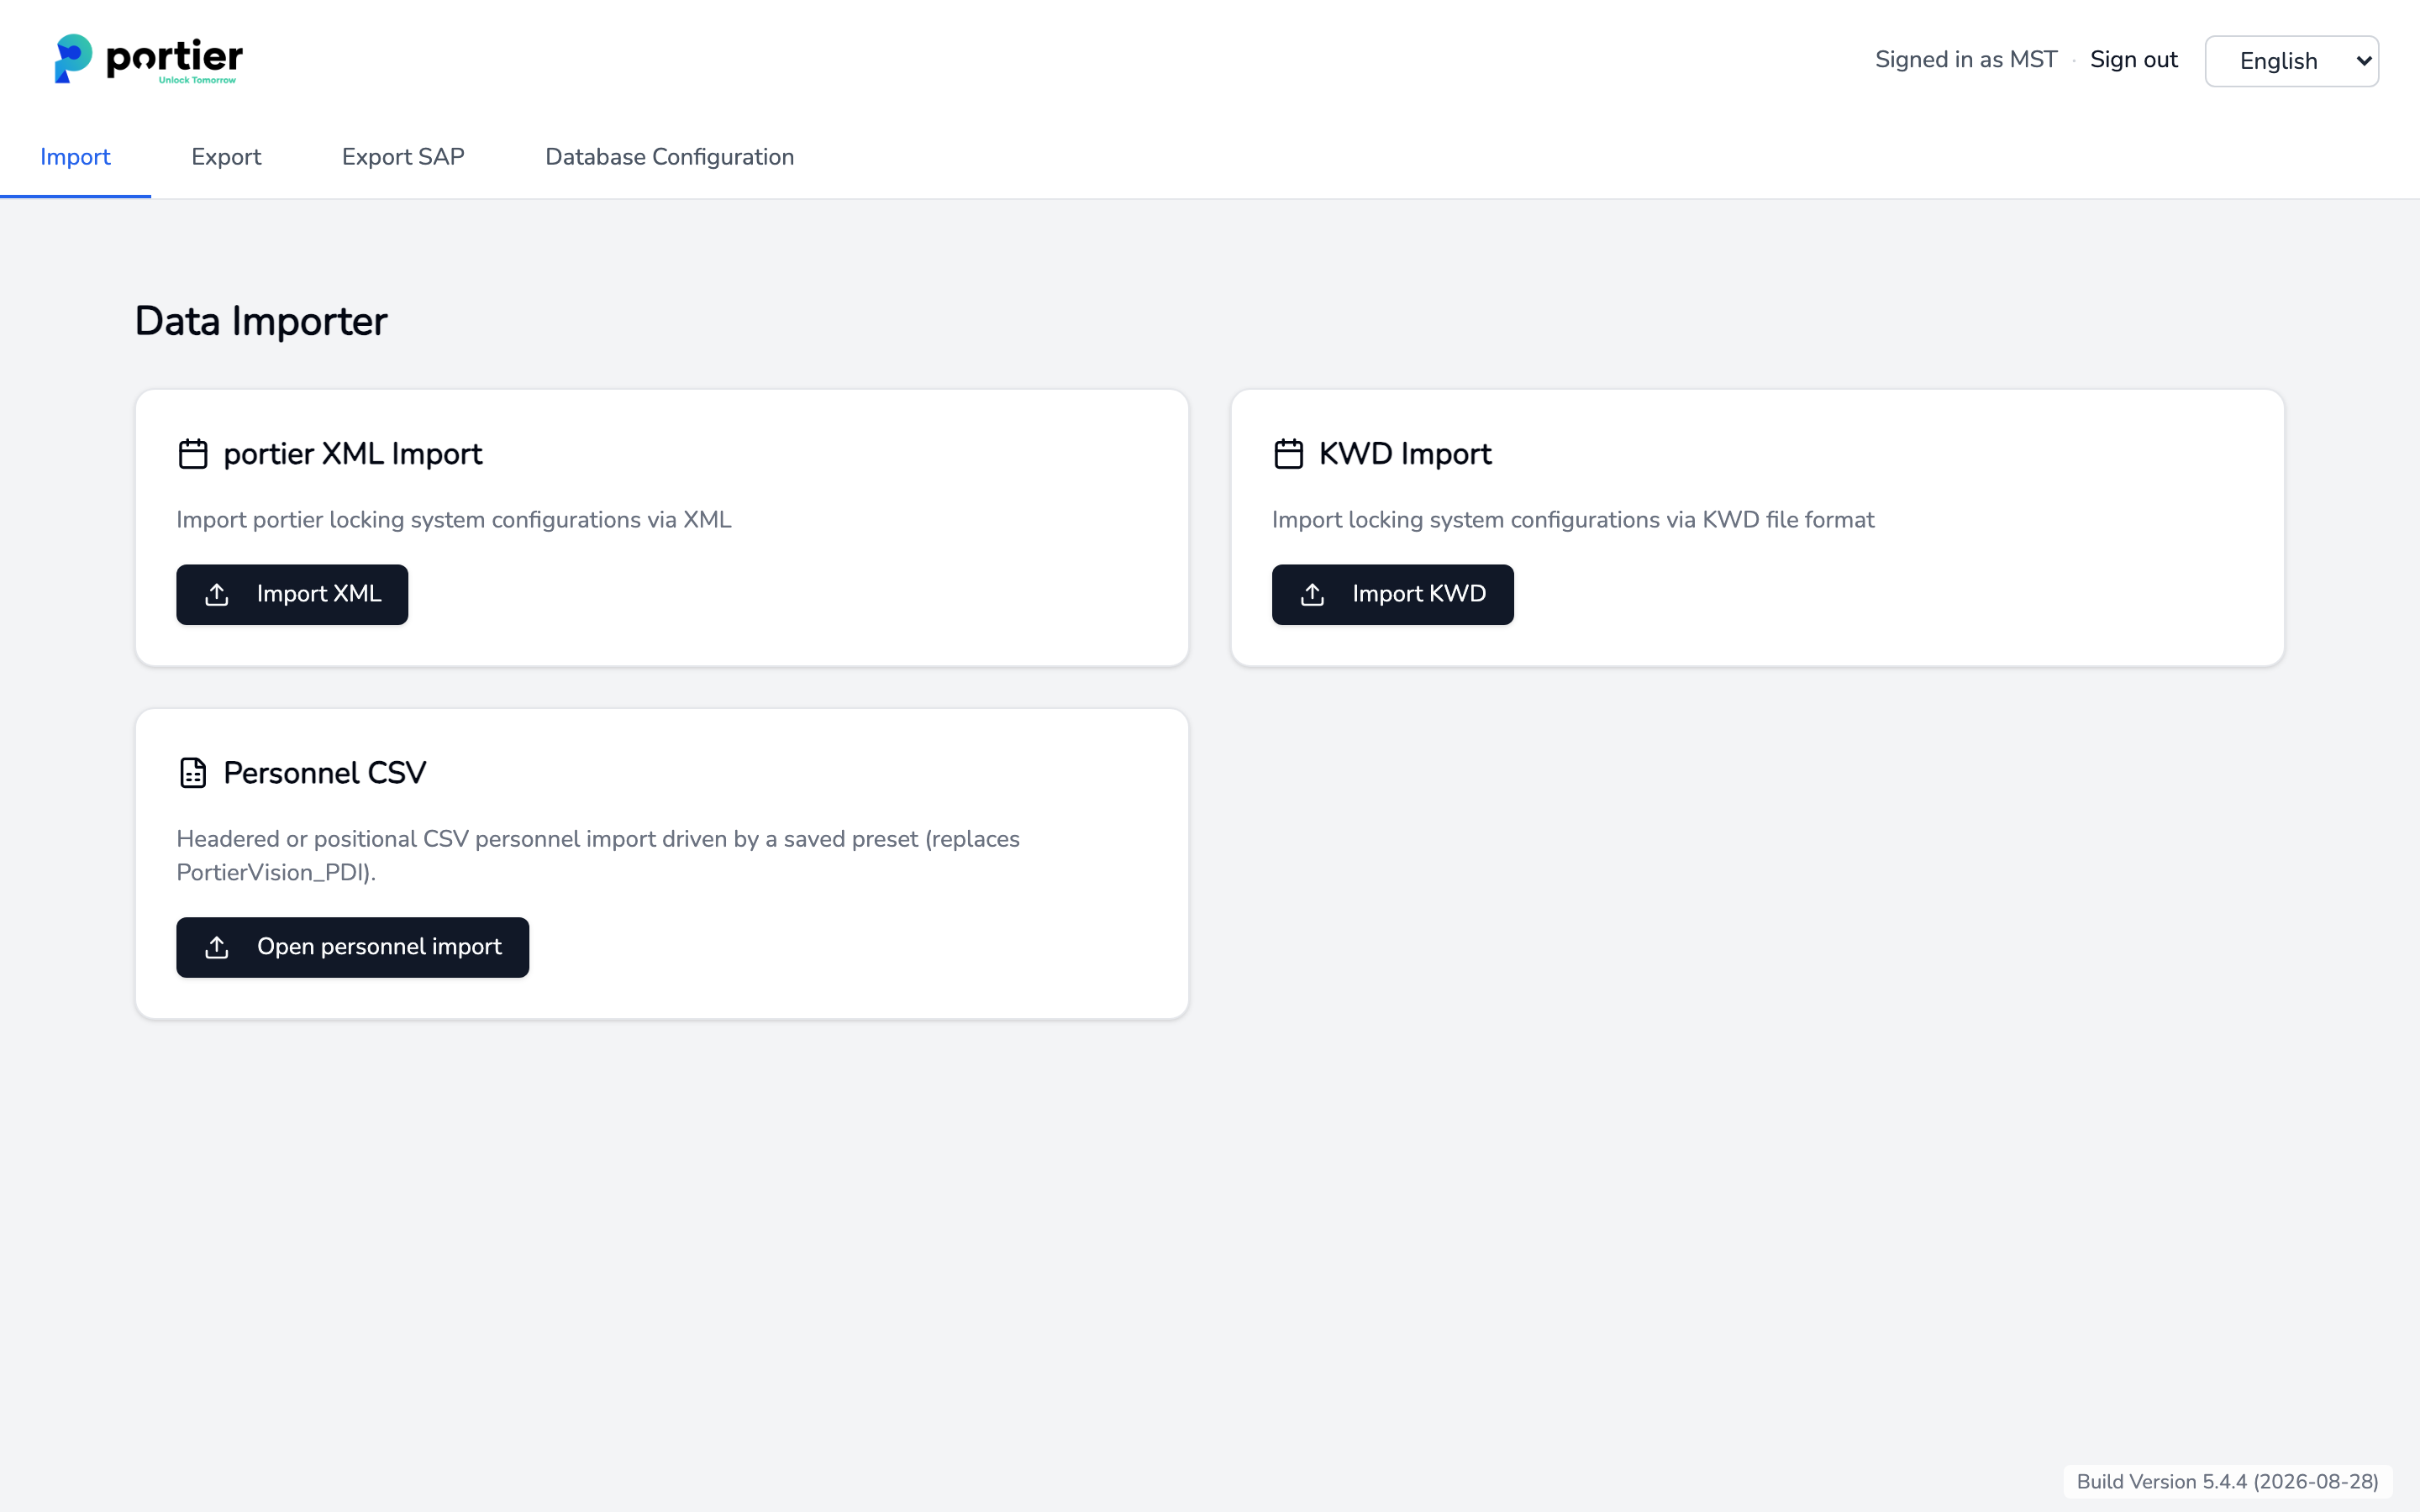
The Import area in portier Vision Companion, opened from the System menu.
Vision checks your role first. Without the import right for personnel or for locking systems, Companion does not open. What each role may do is in User Management.
CSV cylinder import and CSV cylinder export still run in Vision itself.
Vision then reports Das Programm "portierVisionCompanion.EXE" befindet sich nicht im Verzeichnis! and the menu entry does nothing further. This message is not translated, so it appears in German on every installation. It means the file is not in the Vision program folder. Run the current Vision 5 setup again so that Companion is installed with it. The procedure is in the Setup and Installation Manual.
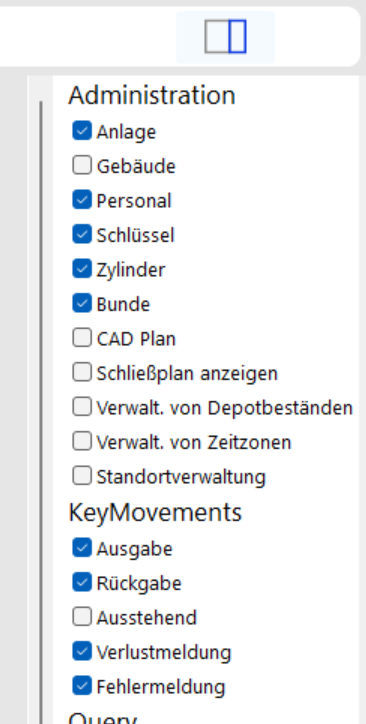
The Navigator groups related program functions into modules. Alongside the menu bar it is the second route to the same commands.
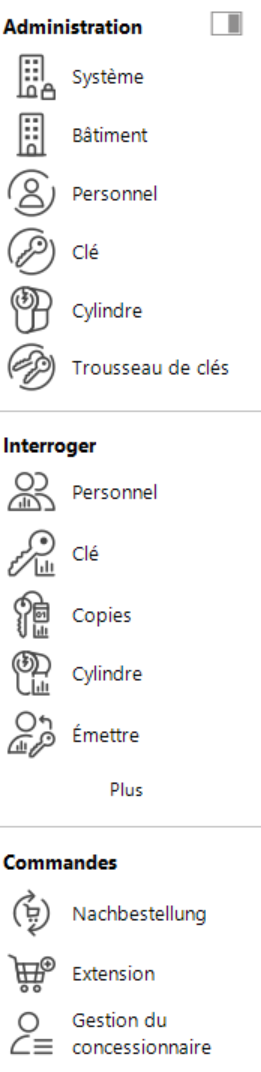
The Navigator with its modules grouped under Administration, Query and Commands, shown on a French installation.
Which modules it shows depends on the competence level and role of the signed-in user. A clerk at level 2 sees fewer modules than an administrator at level 4. If you cannot find an entry, check your role first, see User Management.
The Quick Tiles Dashboard is your start page. Put the functions you need most often on it as tiles, key issuing, the locking plan or reports for example. One click on a tile opens the function directly, with no route through the menu.
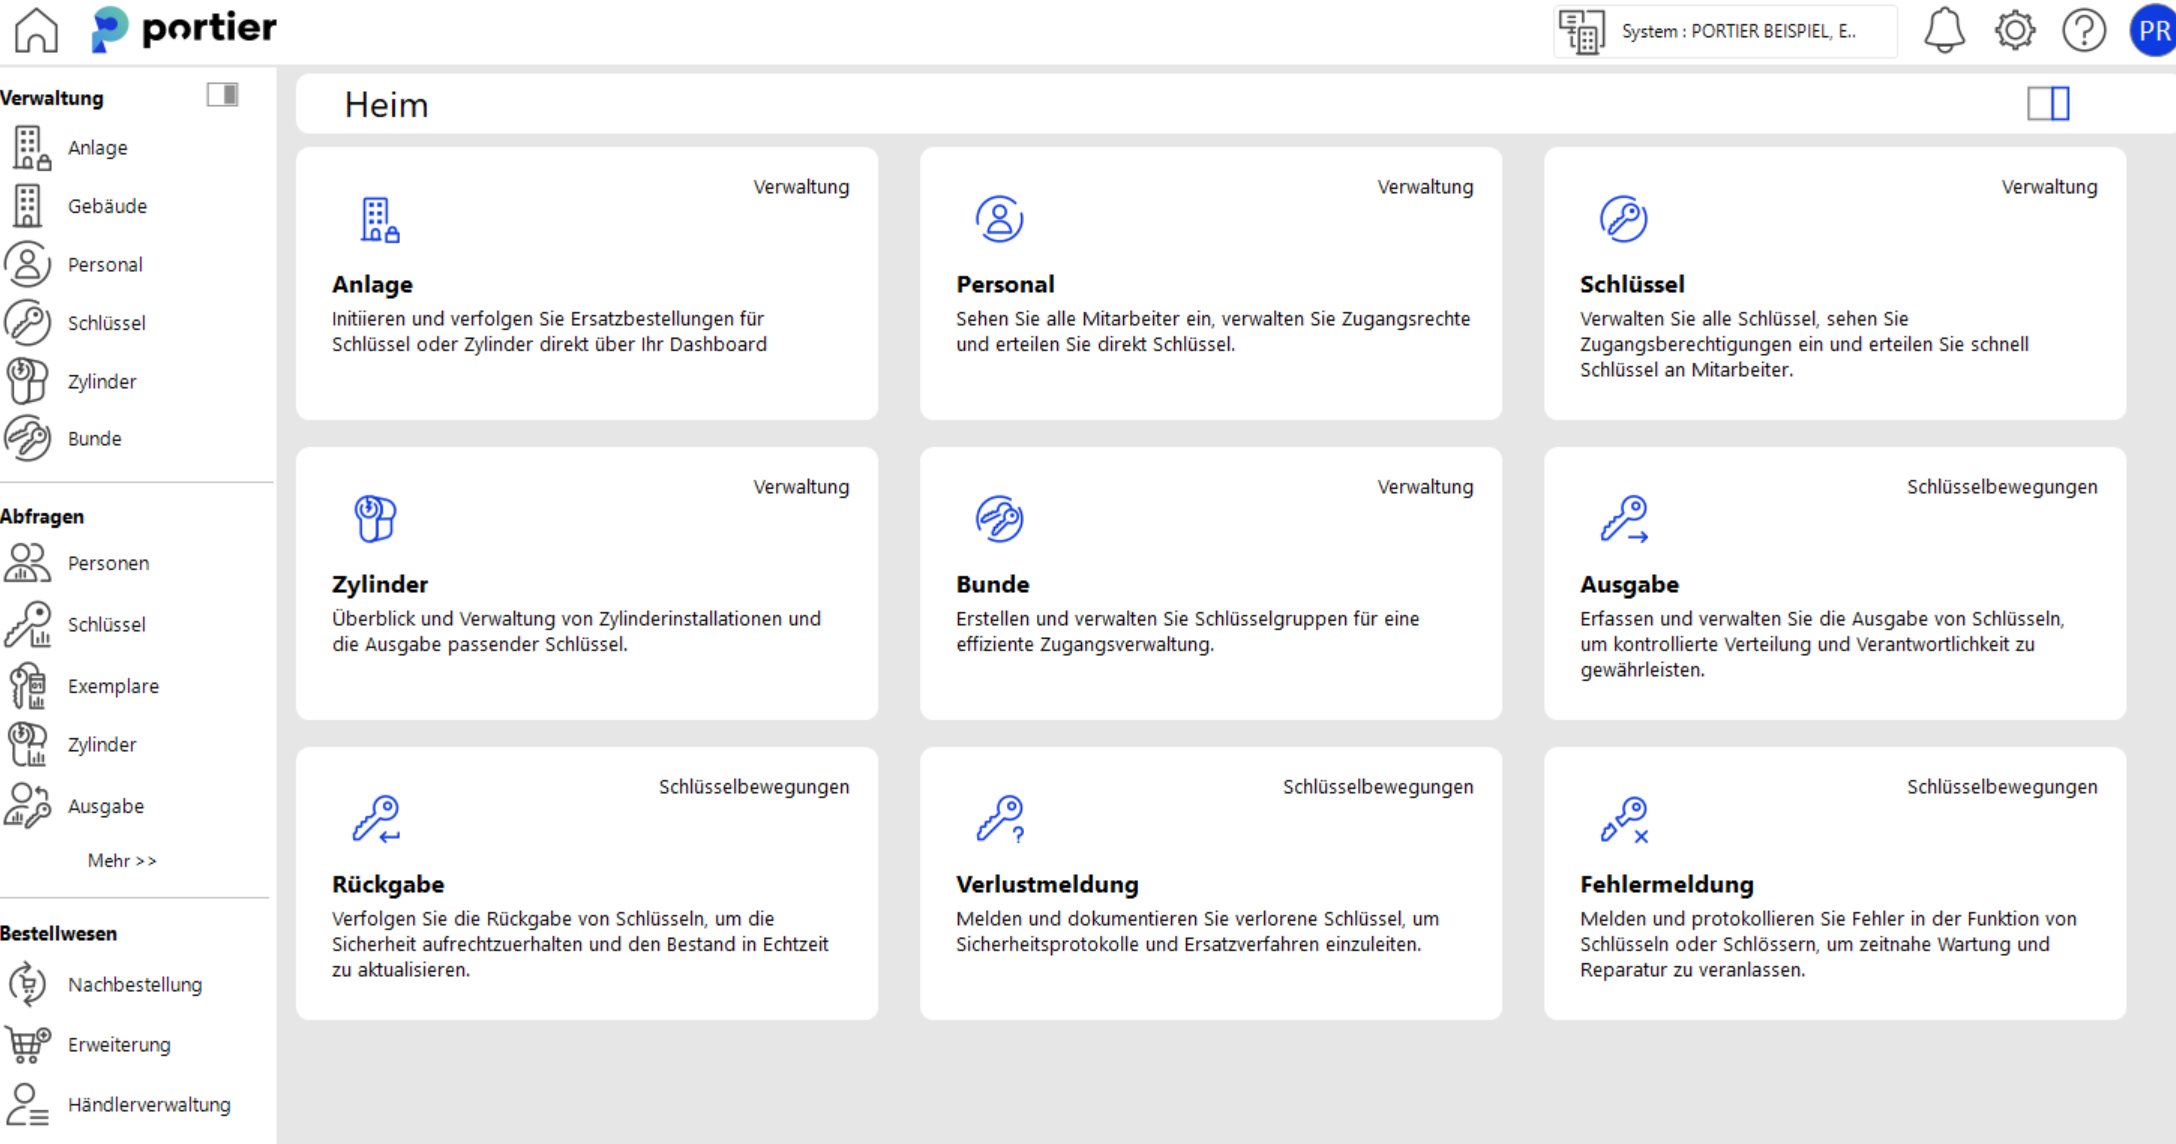
The Quick Tiles Dashboard with the Navigator on the left and one tile per function, shown on a German installation.
The switch at the top right turns tile editing on. Each user sets up their own dashboard and the setting applies to them alone. The guide is in Quick Tiles Dashboard.
Customisable tiles on the dashboard, each user arranges their own, shown on a German installation.