In the module ADMINISTRATION / BUNCHES you have access to the key bunches of the current facility. Here you can create new bunches, edit existing bunches, and delete bunches.
In the module ADMINISTRATION / BUNCHES click the toolbar button ADD RECORD.
The window BUNCHES opens.
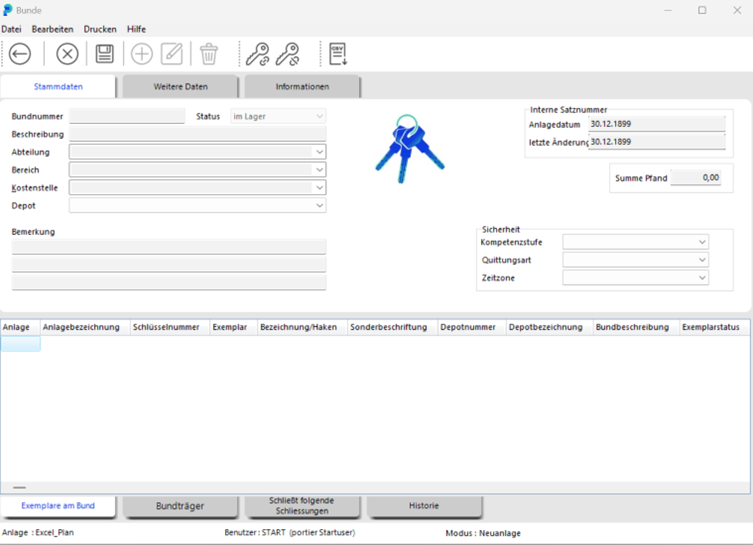
Now you can enter the data for the new bunch (bunch number, description, etc.).
To assign keys to the newly created bunch, click the button CONNECT KEY TO BUNCH.

The KEY SEARCH window opens. Click the button START SEARCH to display all keys.
The result list can be long. Instead of listing every key, you can enter the key data you already know into the search field.
In the search results list, select the desired key and then click the button ACCEPT SEARCH RESULT.

The COPY SEARCH window opens.
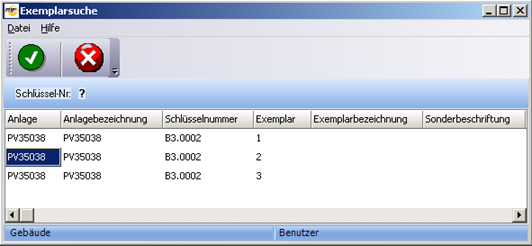
Select the desired copy and then click the button ACCEPT SEARCH RESULT.

In the window BUNCHES, the selected copy of the key is now listed.
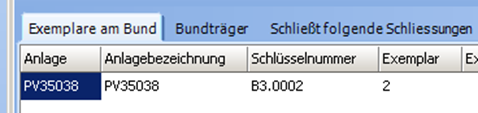
Save the data of the newly created bunch by clicking the button SAVE.

Leave the BUNCHES window by clicking the button BACK.

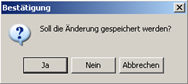
The data of the newly created bunch is also saved when you leave the BUNCHES window directly by clicking the BACK button. In this case, confirm the security prompt with YES.
In the module ADMINISTRATION / BUNCHES, display the desired bunch (see above).
Select the desired bunch and click the button EDIT.

Alternatively, double-click on the bunch. In both cases, the BUNCHES window opens.
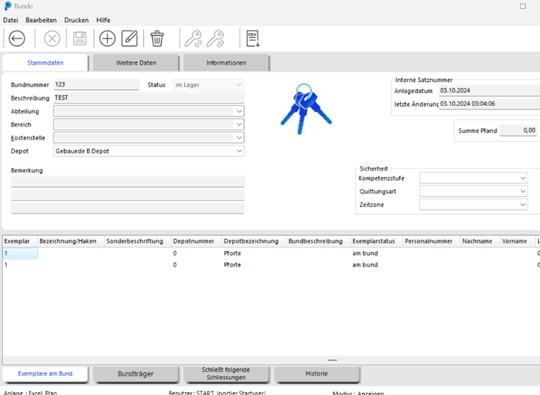
To edit the current bunch, click the button EDIT BUNCH.
Now the buttons CONNECT KEY TO BUNCH and DISCONNECT KEY FROM BUNCH become active.


To disconnect a key from the current bunch, select the desired key and click the button DISCONNECT KEY FROM BUNCH.
Confirm the prompt by clicking the button YES. This disconnects the key from the bunch.
When you have selected a bunch for editing (see above), you will find five tabs in the lower part of the window BUNCHES that show further information about the bunch.


Which keys with which copies are currently assigned to the bunch?

Who currently holds the bunch?

Where does the bunch lock?

To whom was the bunch issued in the past?

Was a deposit agreed for the bunch?
Note:
Copies attached to the bunch are marked with the status "On Bunch" in key management and are no longer available for individual issuance.