portier Vision calls any set of lockings that belong together a locking system. Usually that is a master key system made up of cylinders, single keys and group keys. It can just as well be every display case lock, every padlock, every electrical panel, or an electronic access system. You decide what belongs together and therefore forms a locking system.
Modern systems often include transponders or mechanical keys with a chip attachment. The locking plan shows as a matrix which key opens which cylinder.
The cylinders and readers of a locking system sit in one or more buildings. A building is normally a house. A hall on a site or a rented floor in an office complex can be kept as a building of its own if you want to keep them apart.
Locking systems and buildings are two views of the same cylinders. In a locking system you reach every cylinder of that system, whichever building it sits in. In a building you reach every cylinder in that building, whichever system it comes from. What you may see and change is limited by your role.
If you have one locking system and one building, you do not need the rest of this article.
The status bar at the bottom left shows which view you are in. It reads either Locking system: <number>, <name> or Building: <name>. The toolbar button carries the same text.

The status bar at the bottom left shows whether you are in a locking system or a building.
Click Switch locking system / building. The Select locking system in building window opens with the two tabs Locking system and Building. Double-click the entry you want. You can also select it with a single click and then click Next.

The Switch locking system / building button in the toolbar.
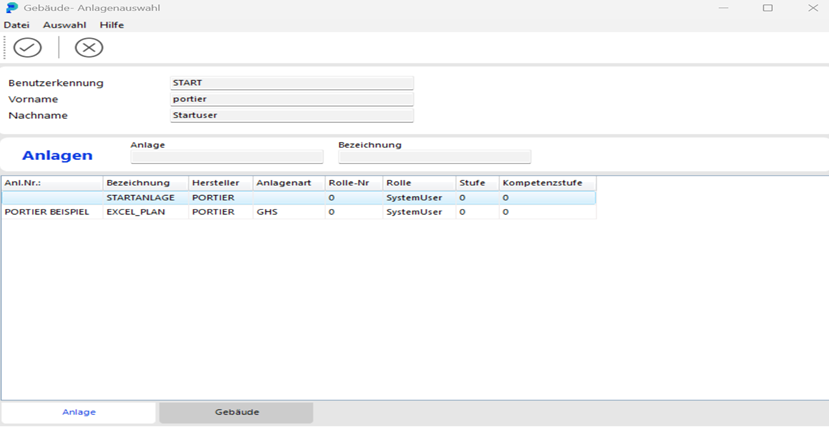
The Select locking system in building window with its two tabs.
Your role needs the right to create locking systems. Without it, Vision reports "Your access role is not sufficient." and names the level required. Which level that is, your organisation sets in user management.
You have to be in a locking system to do this, not in a building. In building mode Vision stops with a message and creates nothing. Switch to a locking system first.
Open Management and then Locking Systems.
Click Add record in the toolbar. The Locking system window opens.
Enter the data. Mandatory fields are shown by a bold field label. Manufacturer and Locking system number are mandatory. If either is missing, Vision reports "Mandatory field for manufacturer not entered!" or "Mandatory field for system number not entered!".
Click Save, then Back.
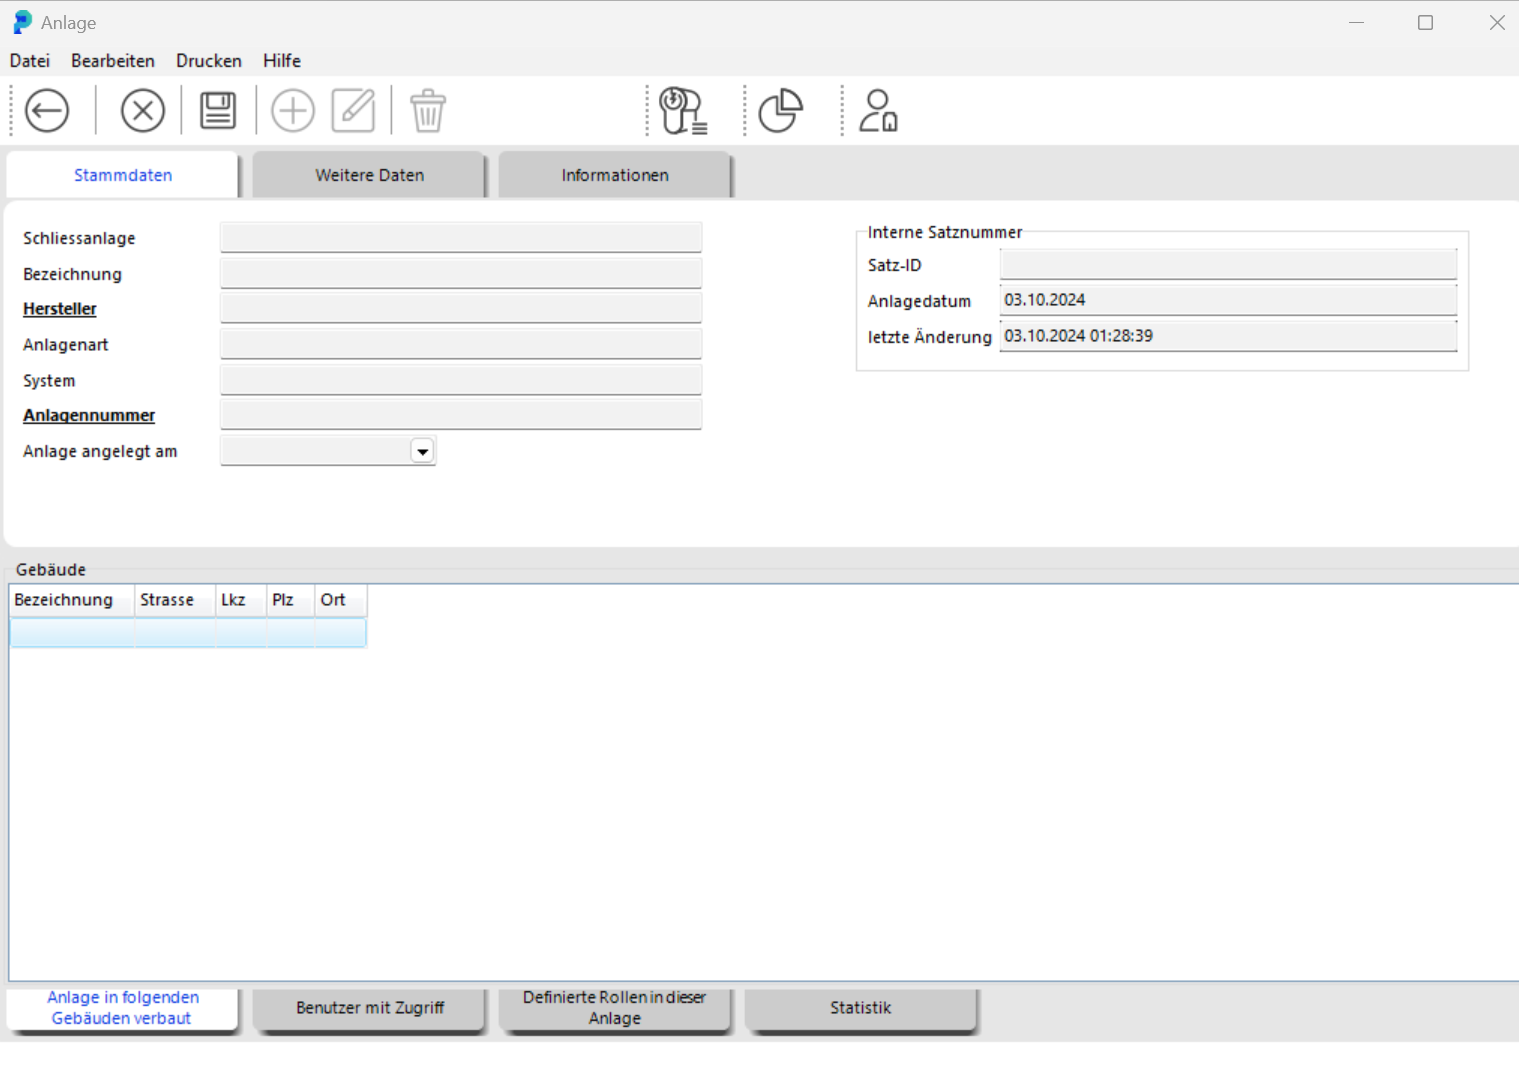
The Locking system window with the master data, mandatory fields in bold.

The Save button in the toolbar of the Locking system window.

The Back button, which leaves the window.
If you leave the window straight through Back, Vision asks first. Answer Yes and the record is saved as well.
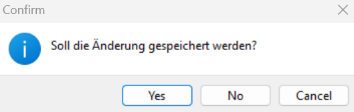
The prompt Vision shows when you leave through Back.
Manufacturer and locking system number are more than master data. A later import recognises an existing locking system primarily by these two fields, which is what the section further down is about.
Create the building under Management and then Buildings, again through Add record. Here too your role needs the matching right.
The Building name is the entry that matters most. It is the only feature by which an import recognises a building, and Vision does not check it for uniqueness. Two buildings may carry the same name.
Treat the name as a key. Unique, durable, with the site in it, at most 50 characters. "North plant, hall 3" holds up. "Hall 3" does not.
Open Management and then Locking Systems or Buildings.
Click Start search. Vision lists every record.
Select the entry and click Edit, or double-click it. The Locking system or Building window opens.
Click Edit again inside the window, change the data, then Save and Back.

The Start search button, which lists every record.

The Edit button inside the open window.

The Save and Back buttons after a change.
Here too Vision saves if you leave through Back and answer the prompt with Yes.
To delete, click Delete inside the window and confirm the prompt with Yes. Two cases stop a locking system from being deleted.
"Cannot be deleted; there are still keys handed out for the system!" Take the keys back first.
"Cannot be deleted; the system is still tied up!" The system is still attached to other records.

The Delete button inside the Locking system window.
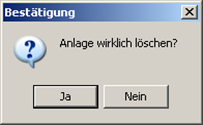
The prompt shown before a record is deleted.
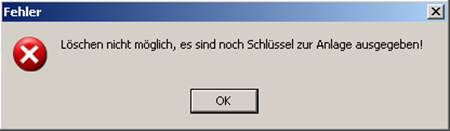
The message shown when keys are still handed out for the system.
Deleting a building works the same way.
Locking systems rarely reach the database by hand. They come in through portier Vision Companion, tab Import, card portier XML Import or KWD Import. Vision starts the Companion from the XML locking system import menu entry. Both cards run through the same processing, so the same applies to locking systems and buildings.
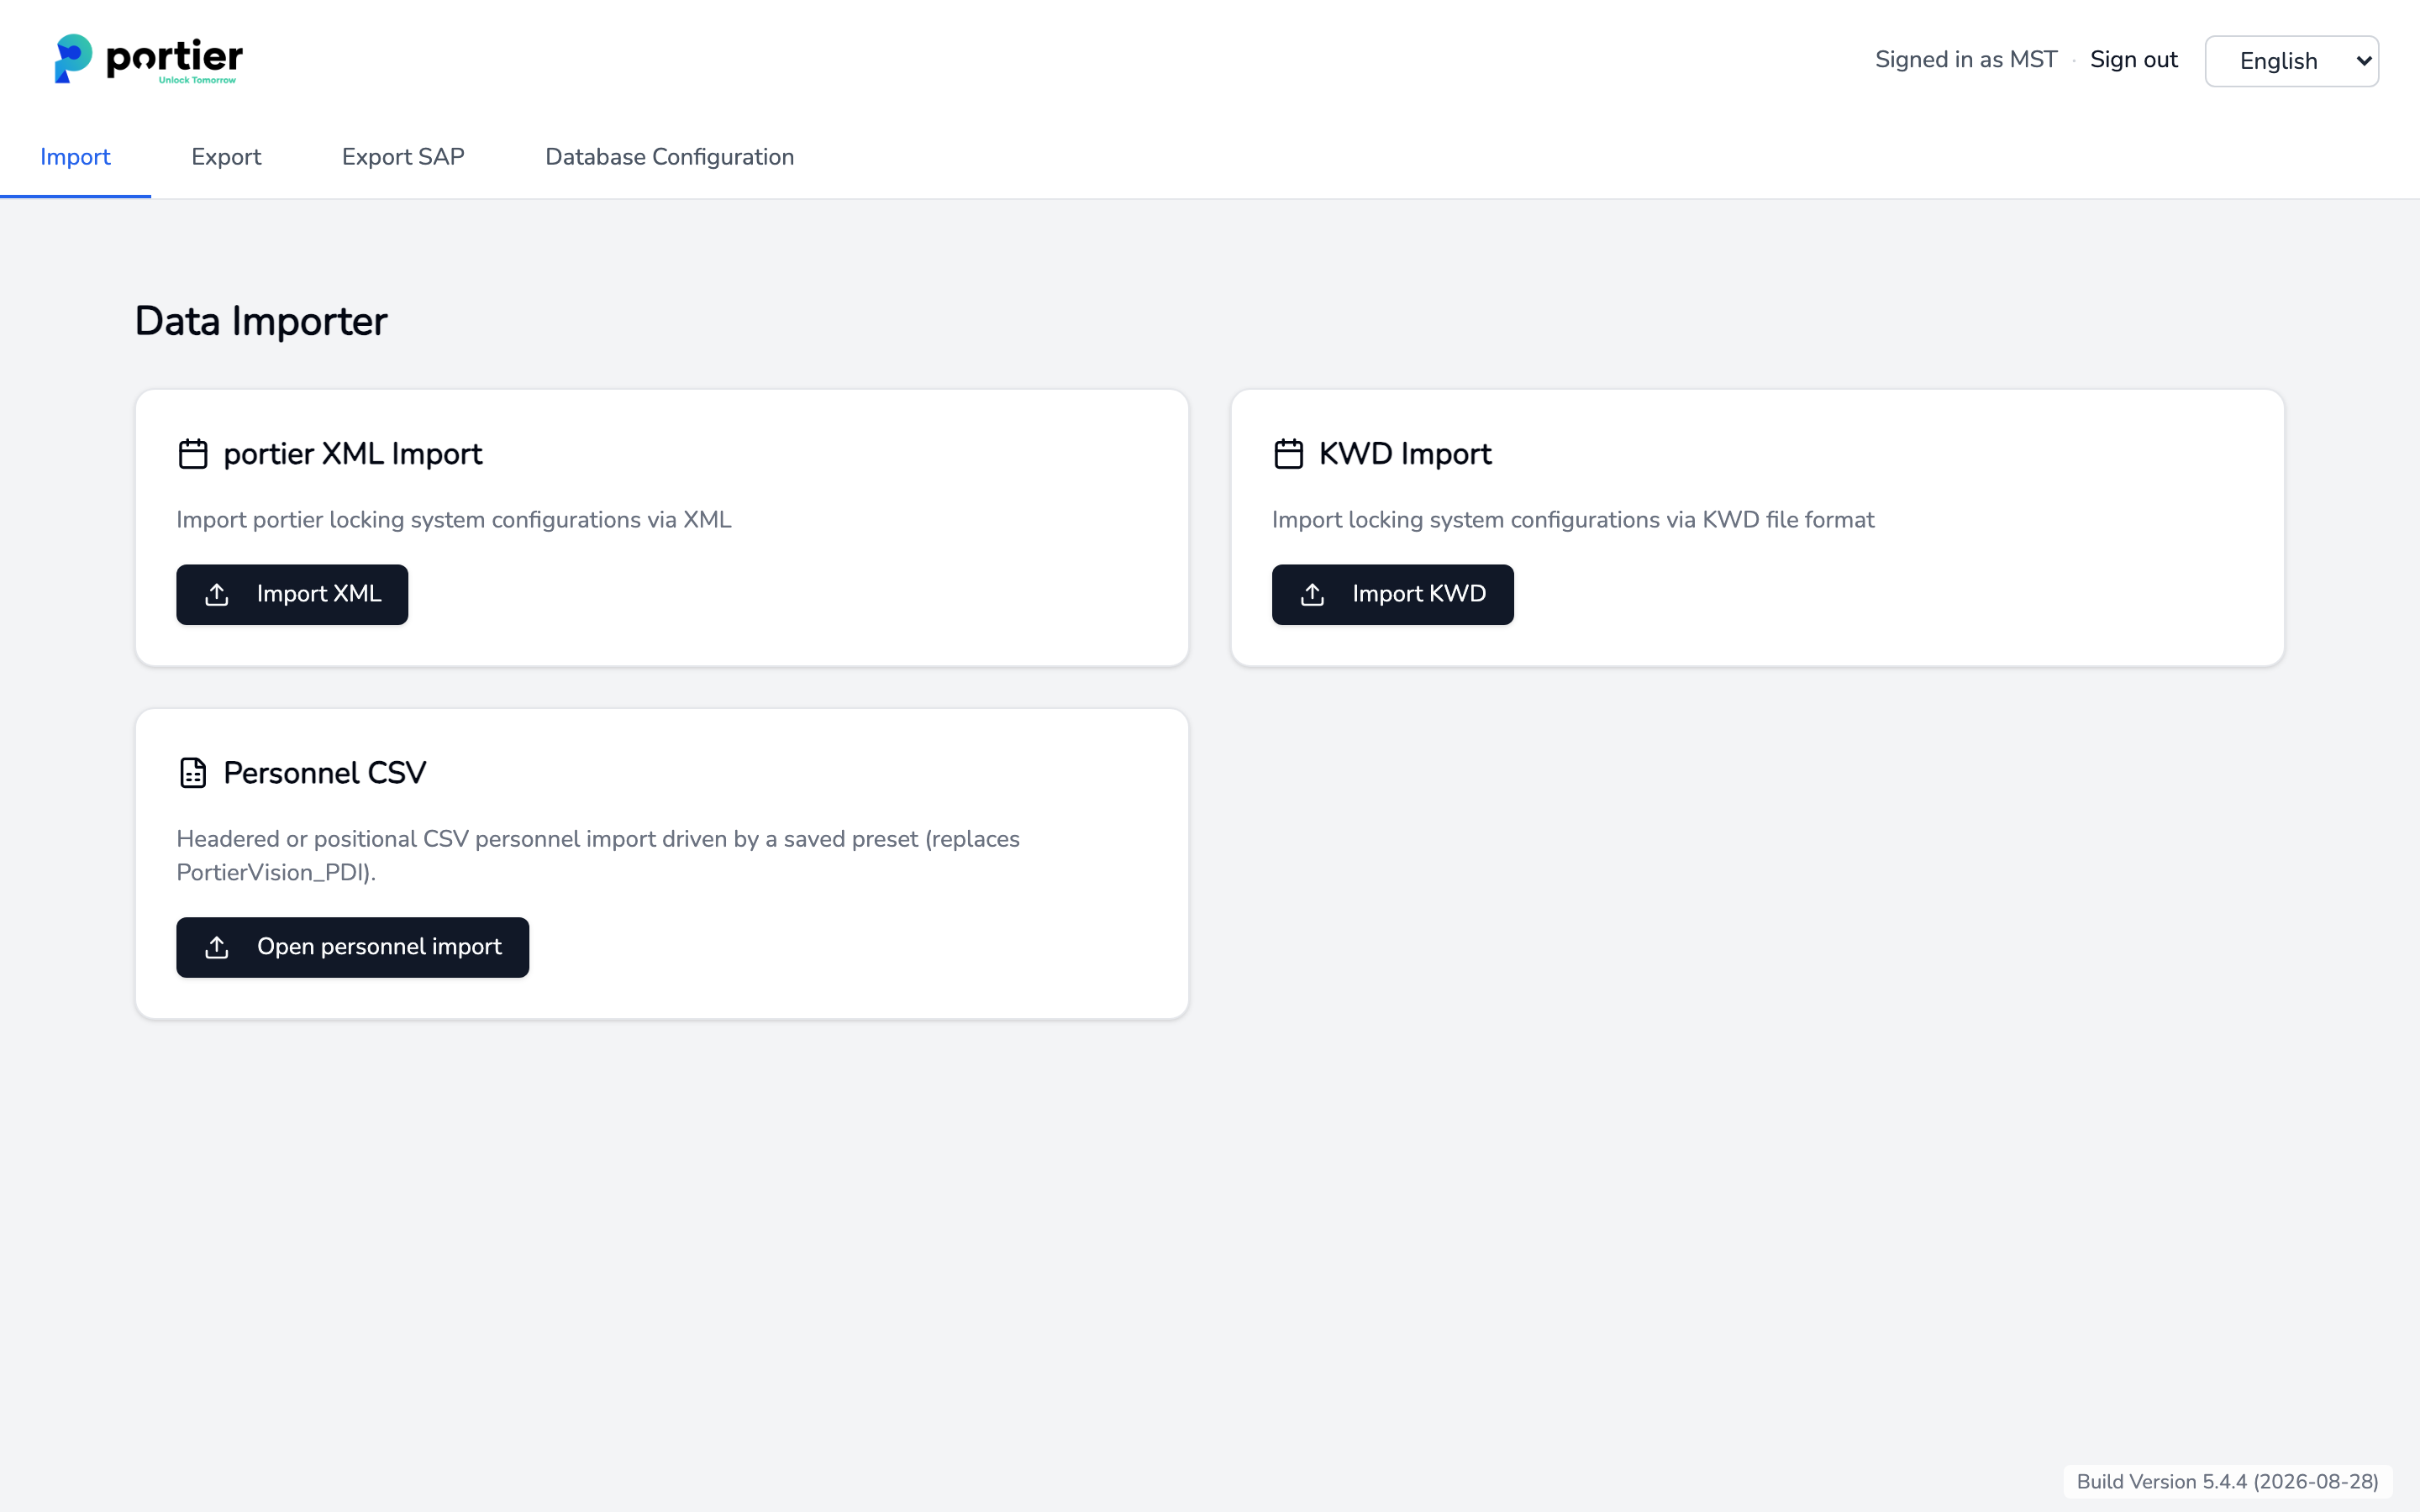
The data importer in the Companion. Both locking system cards run through the same processing.
An existing locking system is recognised but not updated.
The import first looks for a system with the same Locking system number and the same Manufacturer. Upper and lower case make no difference. If it finds none, it compares the cylinders in the file against the cylinders in the database. If at least half of them already sit in one system, the import is folded into that system and reports "Matched an existing system by cylinder identity (x of y); no duplicate created." A renamed system is therefore not created a second time.
The master data of the system it found stays as it is. Name, system type, manufacturer and the three remark fields are not taken over from the new file. If you want those fields changed, change them by hand in the Locking system window. New keys and cylinders from the file are created, see the article Locking system data import.
Buildings are recognised by name alone.
A building in the import file counts as known as soon as a building with the same Building name exists in the database. Upper and lower case are ignored, nothing else is. Neither street nor town nor the locking system is checked as well, and the search runs across the whole stock, not only across the buildings of the system being imported.
Two things follow for the way you model.
Two buildings with the same name collapse into one at import. If two sites are both called "Head office", the cylinders of both land in the first match.
On a recognised building, street, postcode, town and the remark fields stay unchanged. A corrected address in the import file does not arrive. Those fields you maintain in the Building window.
With a locking system open, four tabs sit in the lower part of the window.

The four tabs in the lower part of the Locking system window.
Locking system installed in the following buildings lists the buildings that hold cylinders of this system, with name, street, postcode and town.
Users with access lists the users allowed to access this system.
Roles defined in this locking system lists the roles with their level and authority level.
Statistics counts keys and cylinders by status, so total, issued, available, lost, faulty and destroyed.

The Statistics tab with keys and cylinders by status.
The Building window has three tabs. Installed locking systems is the counterpart of the first tab above. Users with access and Statistics follow.