This article covers the one-off move from portier Vision 4.1x to Vision 5, including the Firebird database migration from 2.5 to 4.0. If you already run Vision 5.5.0 or newer, you do not need it. Further versions arrive through the built-in updater, see Automatic updates for portier Vision.
Plan a maintenance window. Nobody works in Vision while the changeover runs.
Contents
Preparation
Where the database settings live in Vision 5
Scenario 1: local Firebird server
Scenario 2: external Firebird server
Scenario 3: Microsoft SQL Server
After you save
If something goes wrong
Back up the database. On Firebird that is the PORTIERVISION.GDB file. On Microsoft SQL Server, take the backup with SQL Server Management Studio. Store it outside the Vision folder.
Write down the database path and the sign-in details. You need both for the connection check at the end.
Close Vision on every workstation.
Check the article System requirements and performance first.
You set the database connection in portier Vision Companion. The Companion is installed together with Vision and sits as portierVisionCompanion.exe in the same folder as PortierVision.exe. There is no separate configuration program.
There are two ways in.
From Vision. The Companion starts from the Vision menu and is already signed in. Click Database Configuration at the top.
Directly. Start portierVisionCompanion.exe. On the sign-in screen, click Open database configurator at the bottom. No sign-in is needed for this.
During a changeover the second route is the one that matters. It works even when Vision cannot reach the database yet.
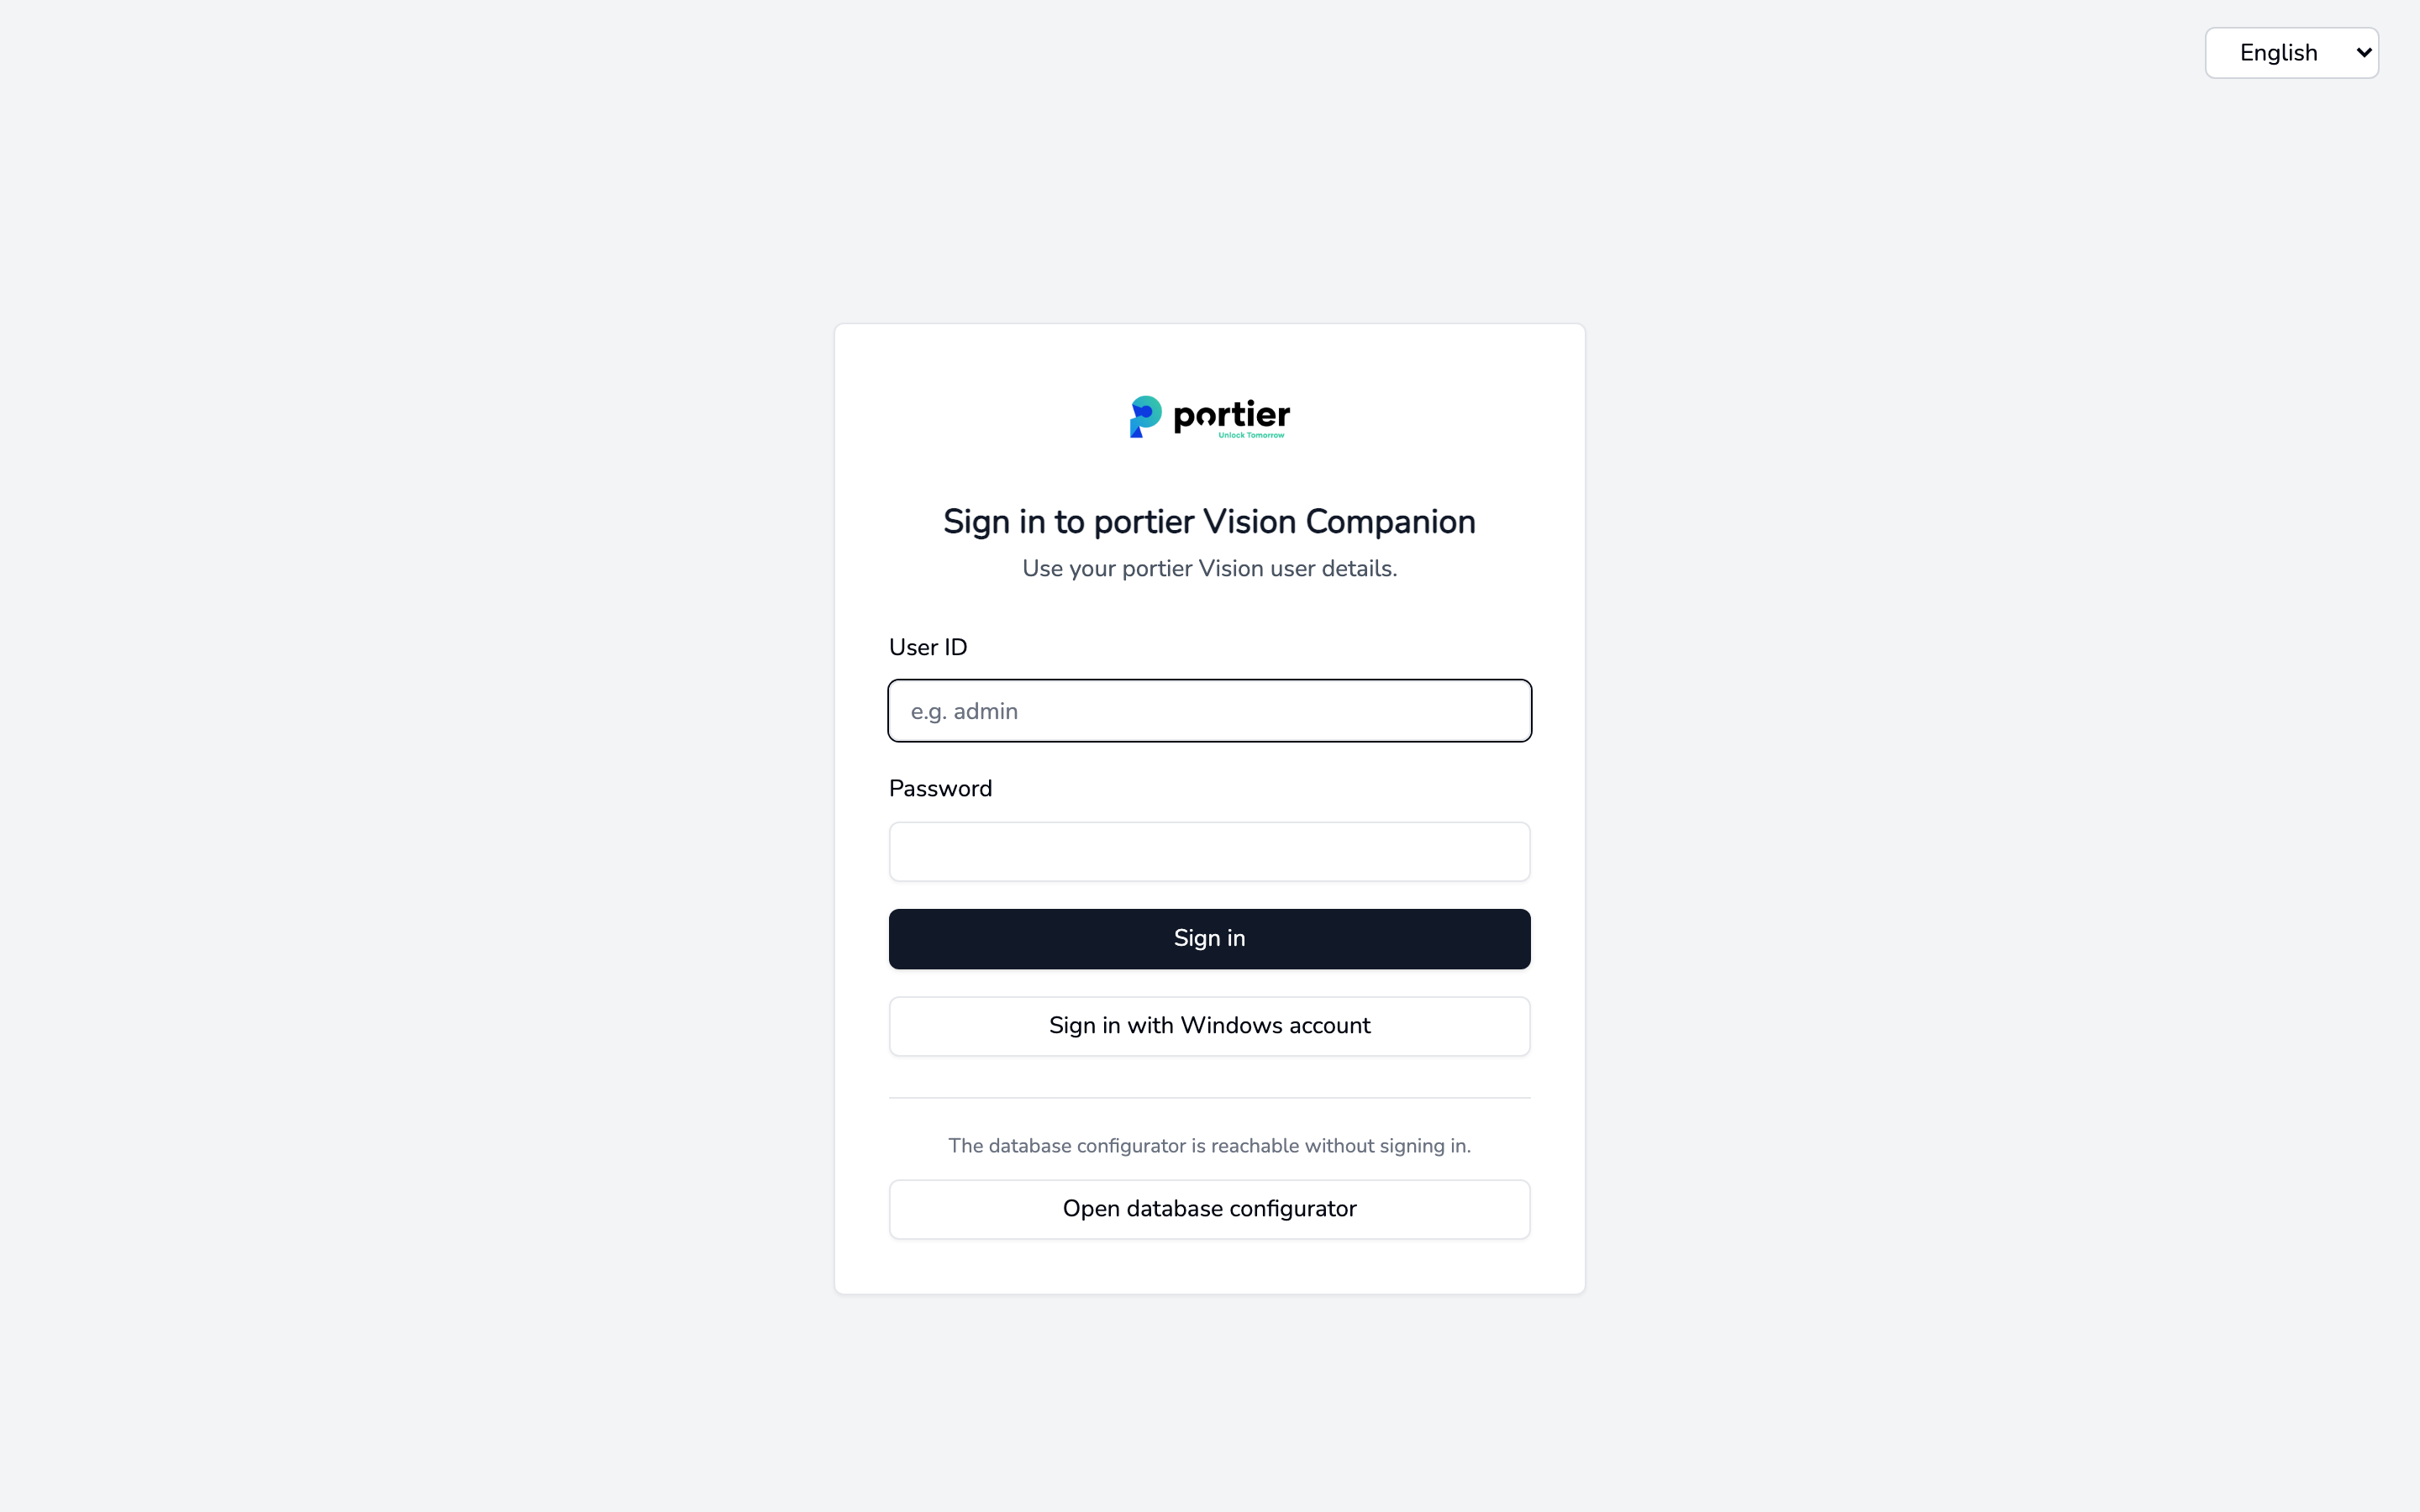
The Companion sign-in screen. "Open database configurator" reaches the database configuration without signing in.
Vision and the Companion read the same portiervision.ini file. What you save in the Companion applies to both.
Step 1: install Firebird 4.0
Run the Firebird 4.0 setup on the server.
Accept the licence agreement.
Select the directory that holds the existing Firebird 2.5 database.
Confirm the removal of Firebird 2.5.
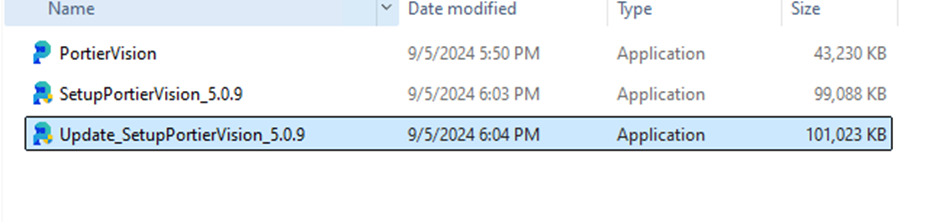
The Firebird 4.0 setup starting on the server.
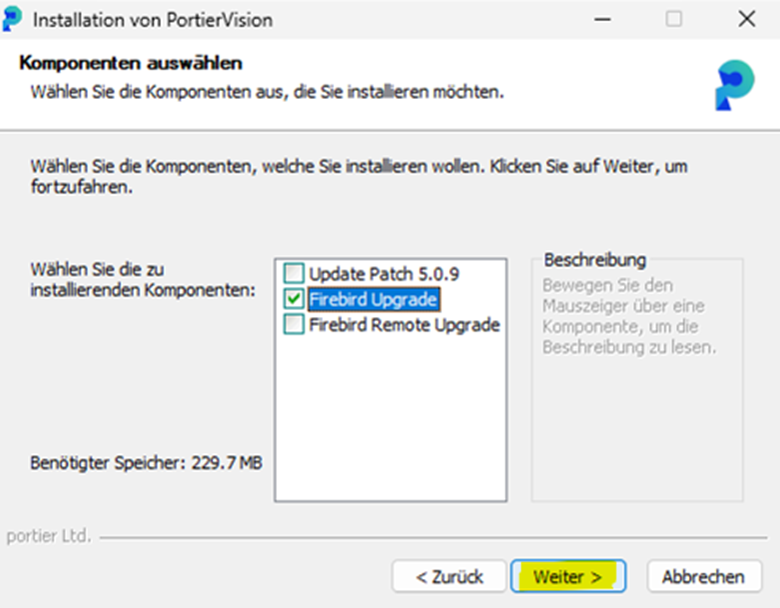
The setup screen where you accept the licence agreement and pick the folder holding the existing Firebird 2.5 database.
Step 2: migrate the database
Let the setup detect and migrate the existing database.
Complete the installation.
Step 3: install portier Vision 5
Run the Vision 5 setup on the server and on every workstation.
Tick I agree to the license terms and conditions.
The setup finds an existing Vision installation on its own and installs into that folder. For a different folder, click Options and enter it under Install location:.
A Firebird site needs no ODBC driver. Clear the tick on Install Microsoft ODBC Driver 18 for SQL Server (recommended).
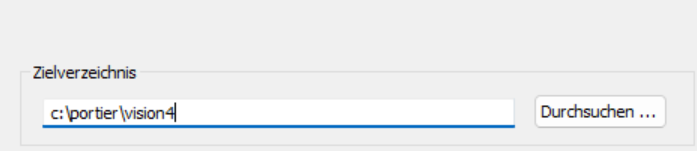
The Vision 5 setup on the server, with the licence tick and the install location under Options.
Step 4: check the connection
Open Database Configuration in the Companion.
Under Database Type, select Firebird.
Fill in Host, Port, Database Path, Username and Password. Browse picks the GDB file directly.
Click Test Connection and wait for the message "Connection successful, please save the configuration".
Click Save Config.
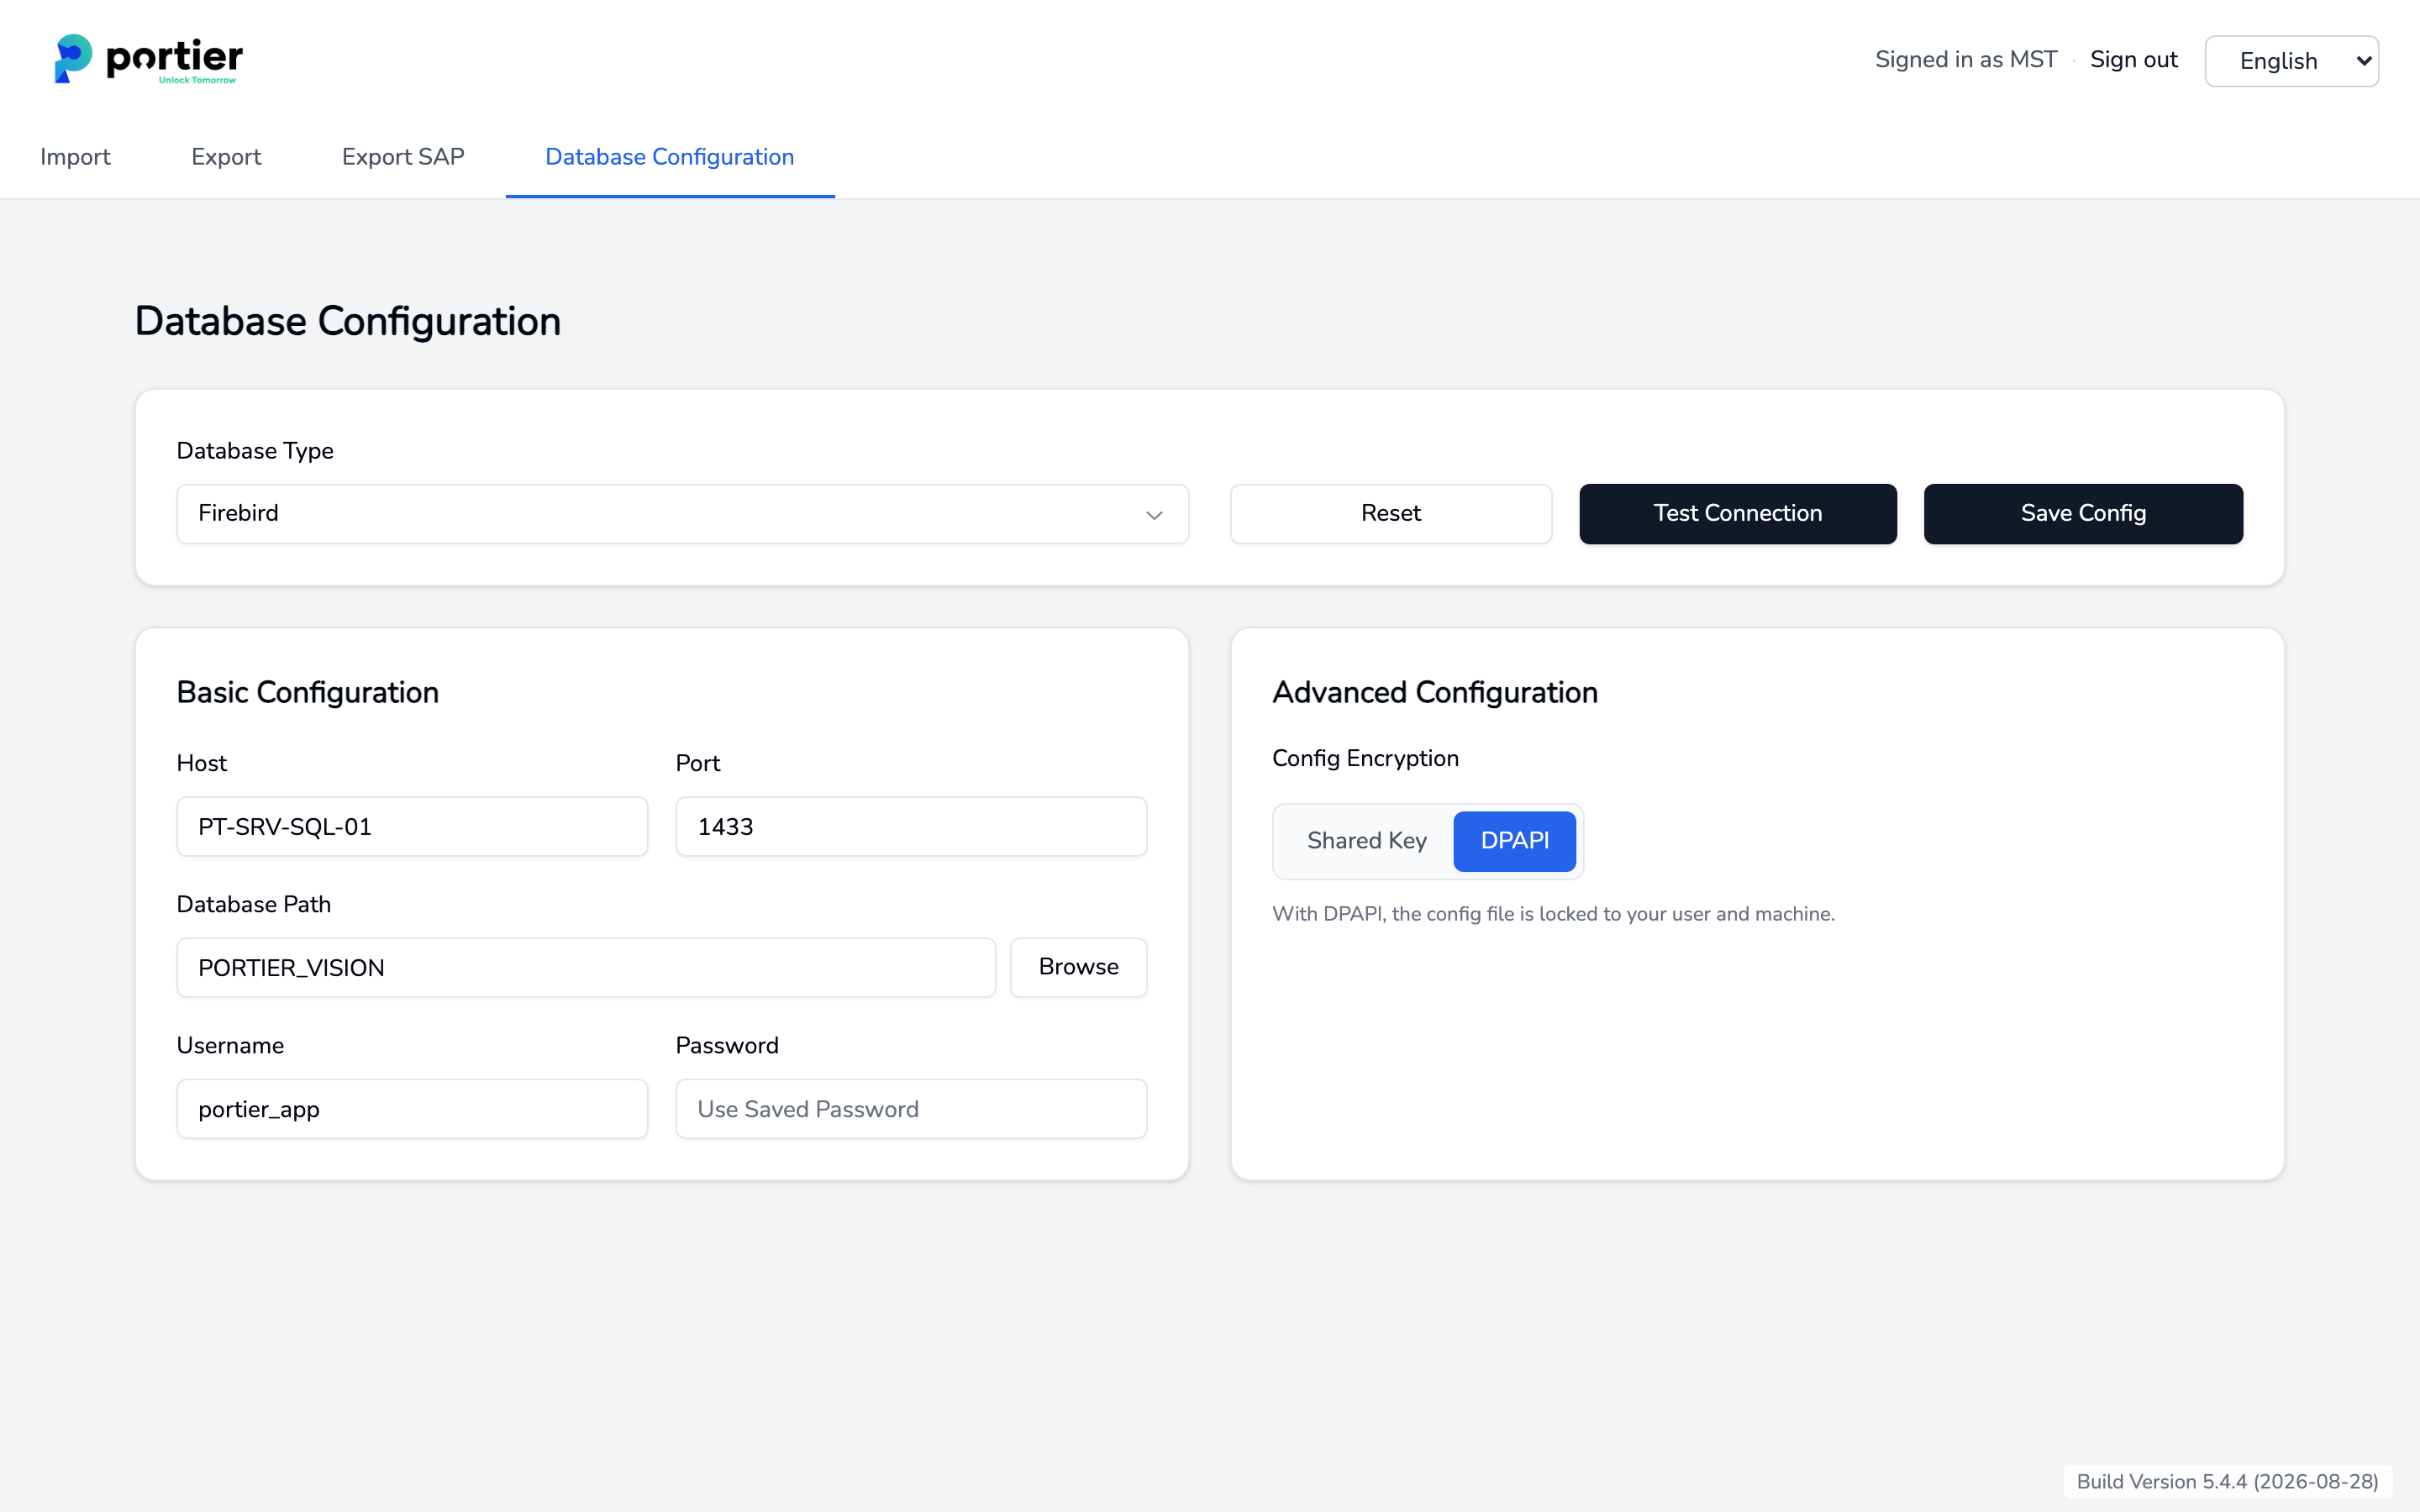
Database configuration in the Companion with database type Firebird.
Start Vision, sign in, and spot-check keys, cylinders and personnel.
Step 1: preparation
Make sure the external Firebird server is reachable.
Copy portiervision.ini from a workstation into the folder on the server that holds the database file (\*.GDB). This confirms the path and the access.
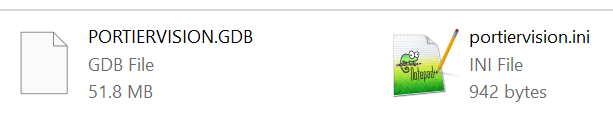
The portiervision.ini file in the server folder that holds the database file.
That copy is only a path reference for the Firebird setup. By default the file is tied to your user and machine by DPAPI and cannot be read anywhere else. Do not use it as a finished configuration for other workstations.
Step 2: upgrade Firebird 4.0 remotely
Run the Firebird 4.0 setup and select "Firebird Remote Upgrade".
Give the directory on the external server that holds the database and PORTIERVISION.INI.
The setup detects the existing Firebird 2.5 installation and migrates the database.
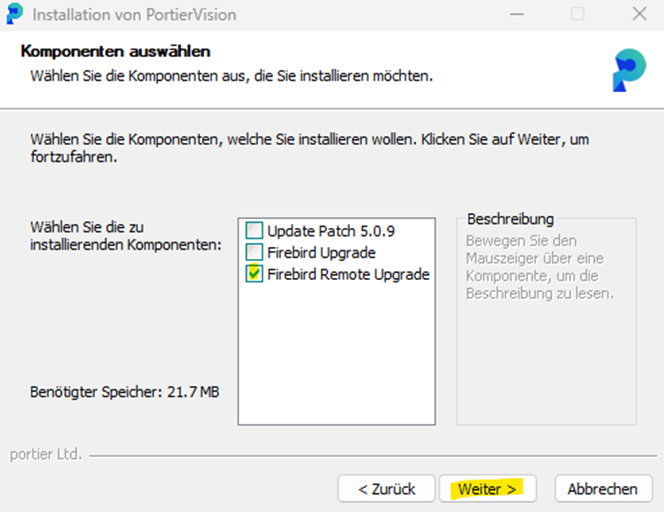
The Firebird 4.0 setup with the "Firebird Remote Upgrade" option selected.
Step 3: confirm
Confirm the removal of the old version and the shared files.
Complete the installation.
Step 4: install portier Vision 5
Run the Vision 5 setup on every workstation involved.
Tick I agree to the license terms and conditions.
Clear the tick on Install Microsoft ODBC Driver 18 for SQL Server (recommended).
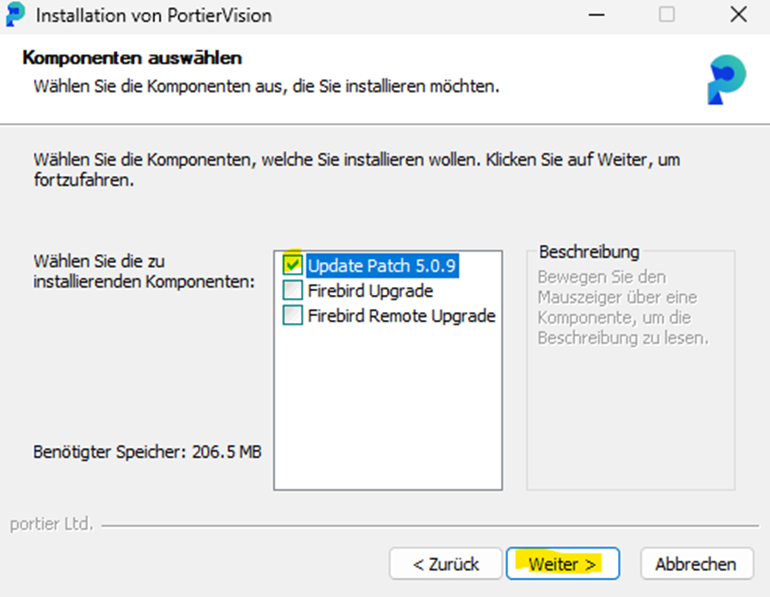
The Vision 5 setup on a workstation, with the licence terms ticked.
Step 5: check the connection
Open Database Configuration in the Companion.
Database Type: Firebird. Enter the server name under Host and the path as the server sees it under Database Path.
Click Test Connection, wait for the success message, then click Save Config.
Repeat this on every workstation. Each machine has its own portiervision.ini.
To distribute the file instead, switch Config Encryption under Advanced Configuration to Shared Key. With DPAPI the file stays tied to your user and machine.
Step 1: preparation
Back up the database with SQL Server Management Studio or your usual tool.
The login Vision works with needs db_ddladmin. Without it, the upgrade stops at the first schema change. See Database sign-in without a password.
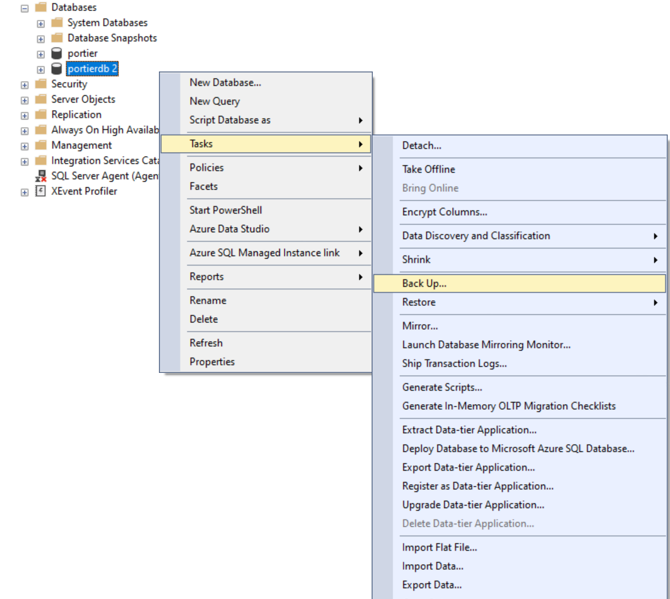
Backing up the SQL Server database in SQL Server Management Studio, step 1 of 4.
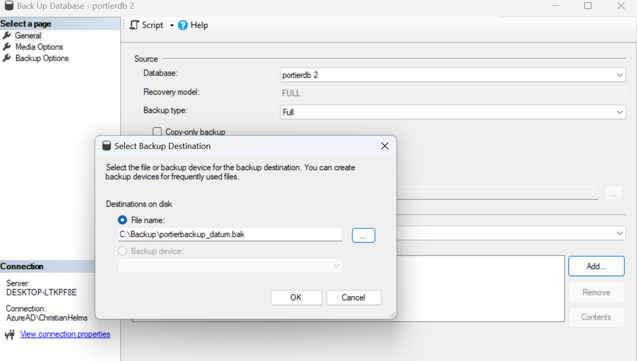
Backing up the SQL Server database in SQL Server Management Studio, step 2 of 4.
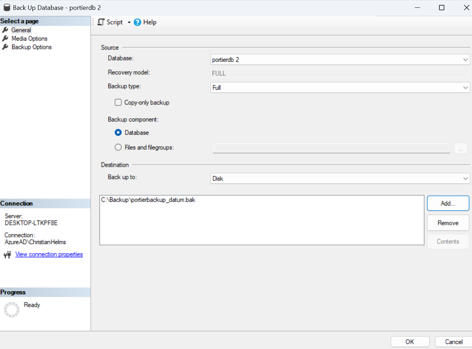
Backing up the SQL Server database in SQL Server Management Studio, step 3 of 4.
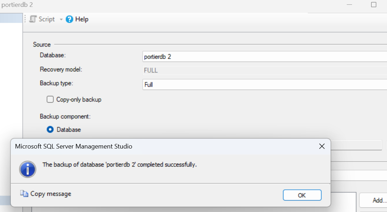
Backing up the SQL Server database in SQL Server Management Studio, step 4 of 4.
Step 2: install portier Vision 5
Run the Vision 5 setup on the server and on every workstation.
Tick I agree to the license terms and conditions.
Leave Install Microsoft ODBC Driver 18 for SQL Server (recommended) ticked. The Vision desktop connects to SQL Server through this driver. If the driver is already present, the setup skips the step. The Companion does not need it, it connects directly.
Step 3: check the connection
Open Database Configuration in the Companion.
Under Database Type, select either Microsoft SQL Server - Normal Auth or Microsoft SQL Server - Windows Login.
Fill in Host, Database Name and Schema, plus Username and Password for normal authentication.
There is no separate port field here. For a non-default port, append it to the host with a comma, for example SQLSRV01, 1444.
Turn on encrypted connections with SSL/TLS Connection under Advanced Configuration.
Click Test Connection, wait for the success message, then click Save Config.
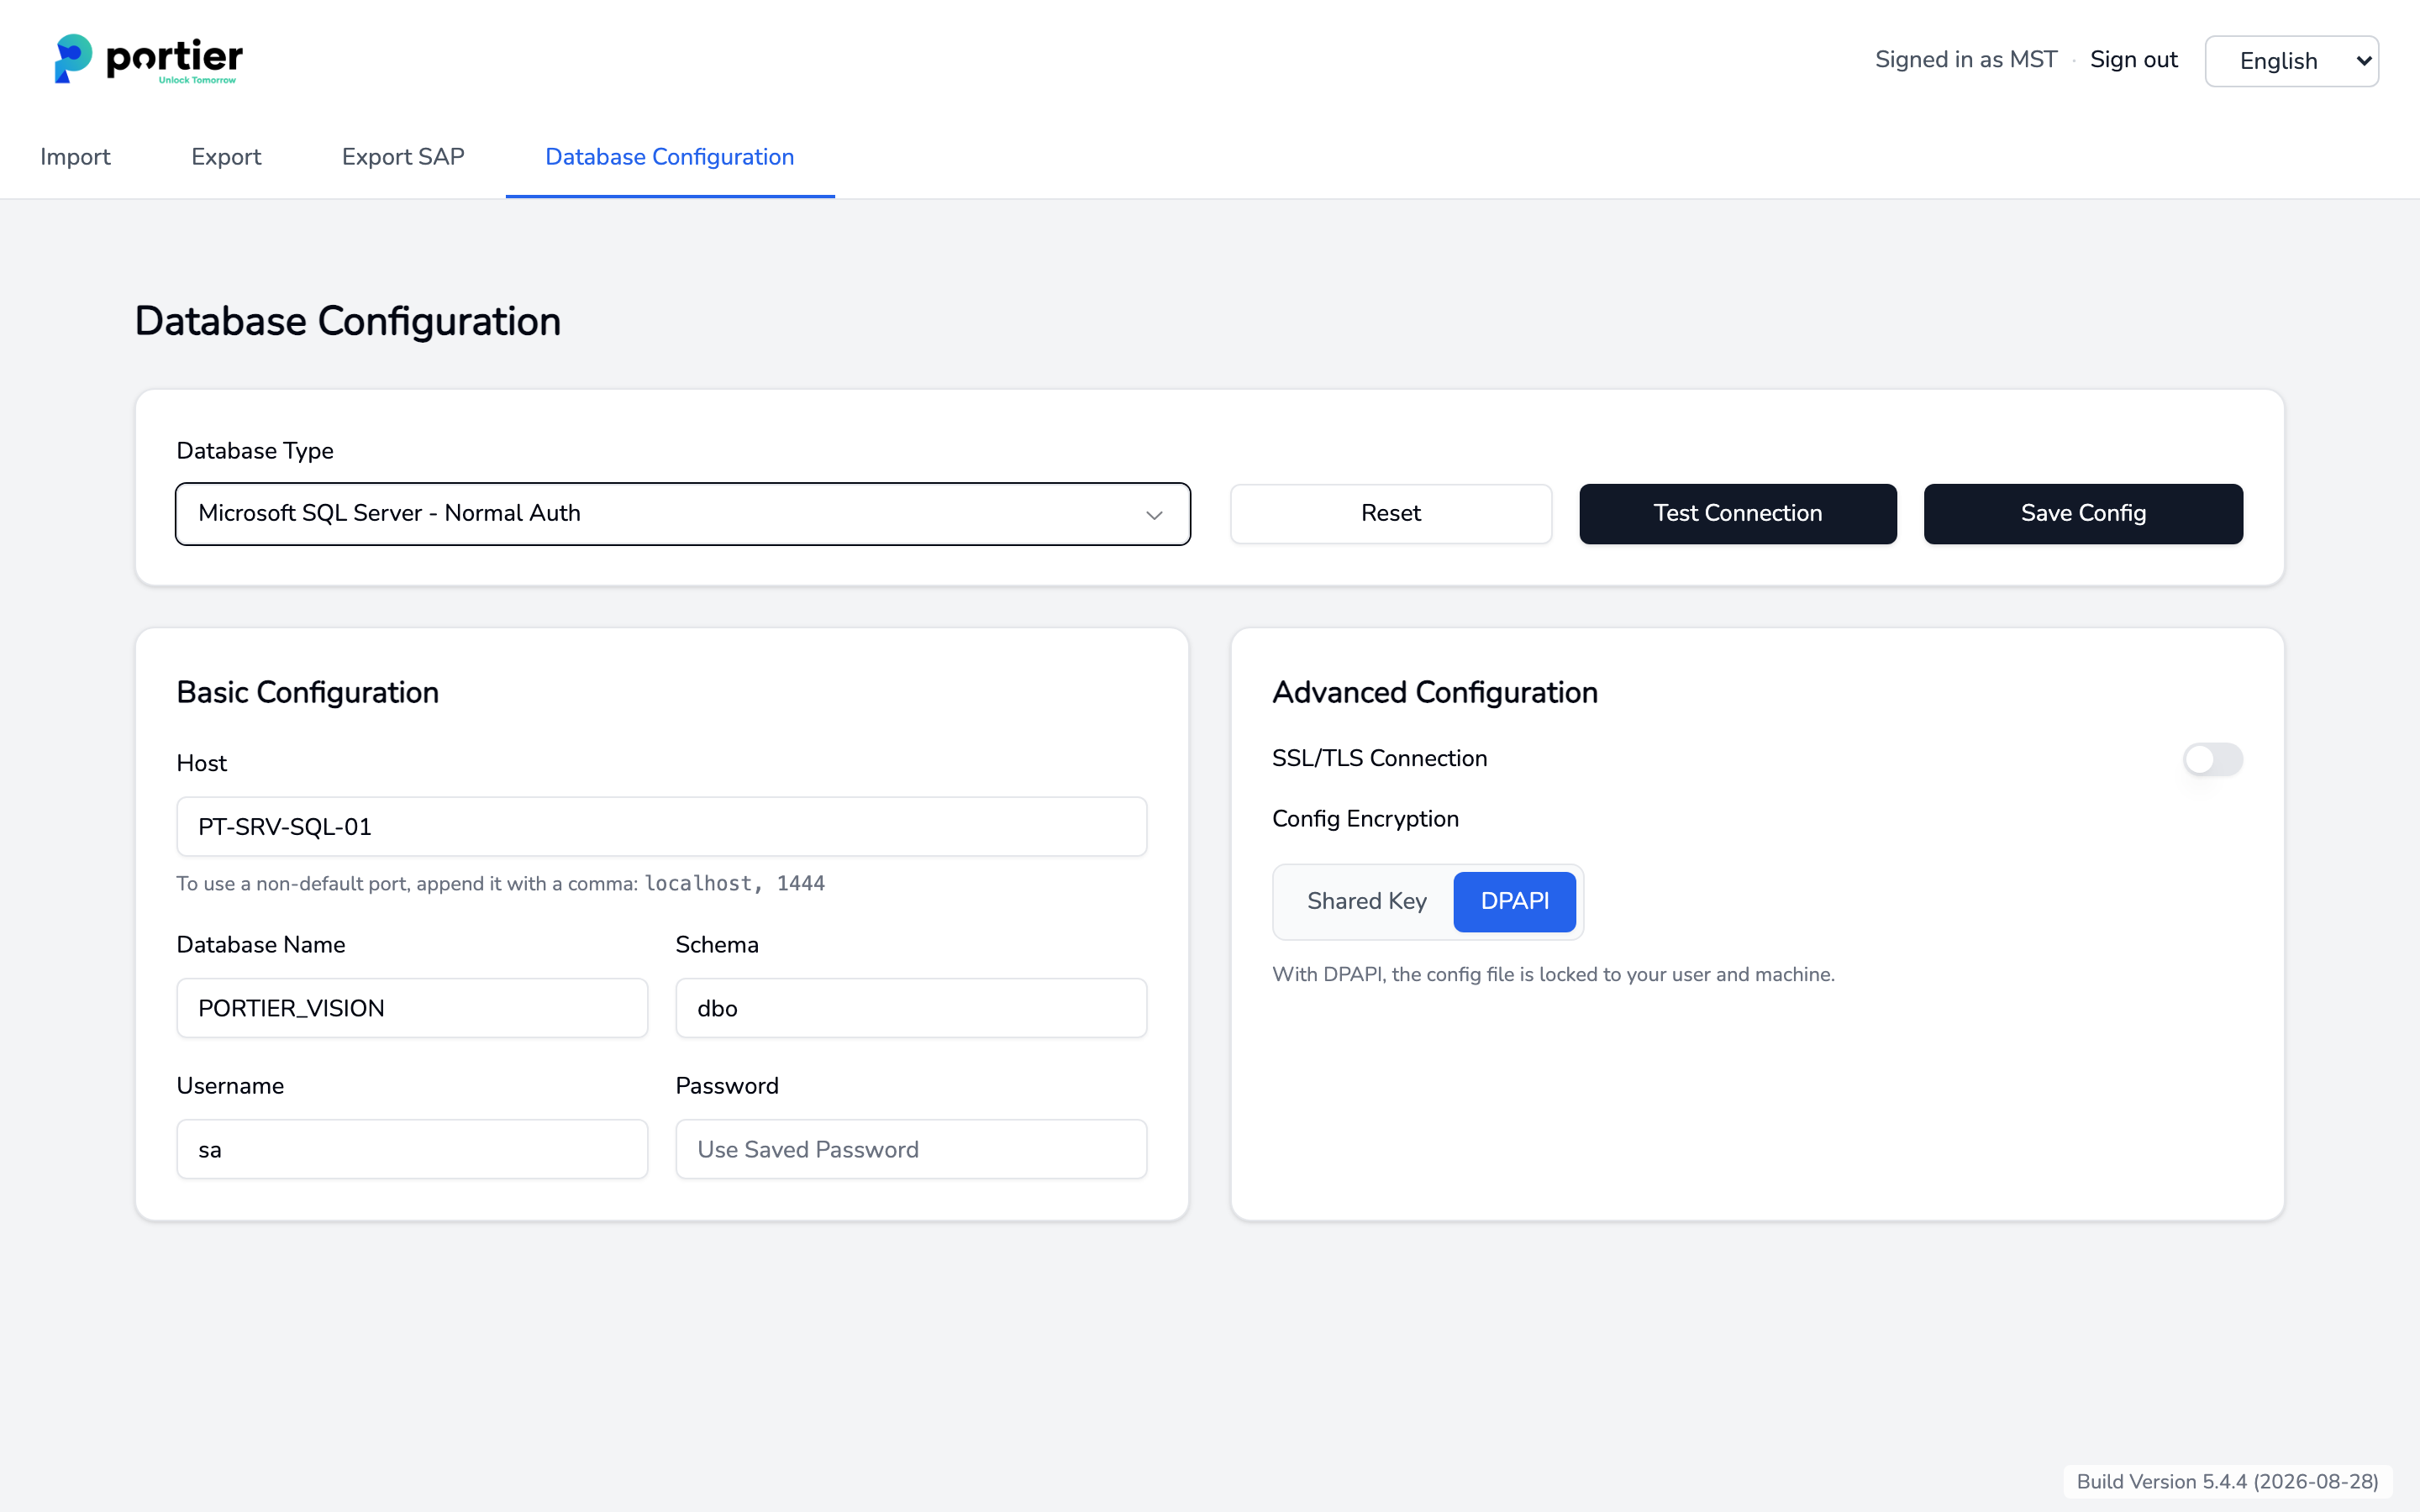
Database configuration with Microsoft SQL Server and normal authentication.
If you changed the database, the Companion signs you out when you save. Sign in again so it works against the new database.
Then start Vision and sign in there. If the sign-in goes through and the master data looks right, the changeover is done. See also portier first installation and login.
If the Firebird setup fails, or Vision does not open the database, restore the backup you took in the preparation step and start again. Do not carry on with a half-migrated database, not even for a test. If you are stuck, contact portier support before you make another attempt.
If Vision reports "Das Programm ‚portierVisionCompanion.EXE' befindet sich nicht im Verzeichnis!" when the Companion should start, the file is missing from the installation folder. Run the Vision 5 setup on that machine again.