This article covers the DOM ENIQ integration in portier Vision. Personnel is read straight out of DOM ENIQ through the portier Agent. This is not the personnel CSV import in the portier Vision Companion. That one works from a file and has nothing to do with DOM ENIQ.
Please make sure you have the following software installed.
ENIQ software and portier software with portier Agent
portier Vision 5
You need an MSSQL Server 19-22 with SQL Server Management Studio. The Vision workstation also needs ODBC Driver 18 for SQL Server.
portier Agent requires WebView2.
Your ENIQ software should be running. You will then see two ENIQ icons in your taskbar, ENIQ Slave and Master Service.
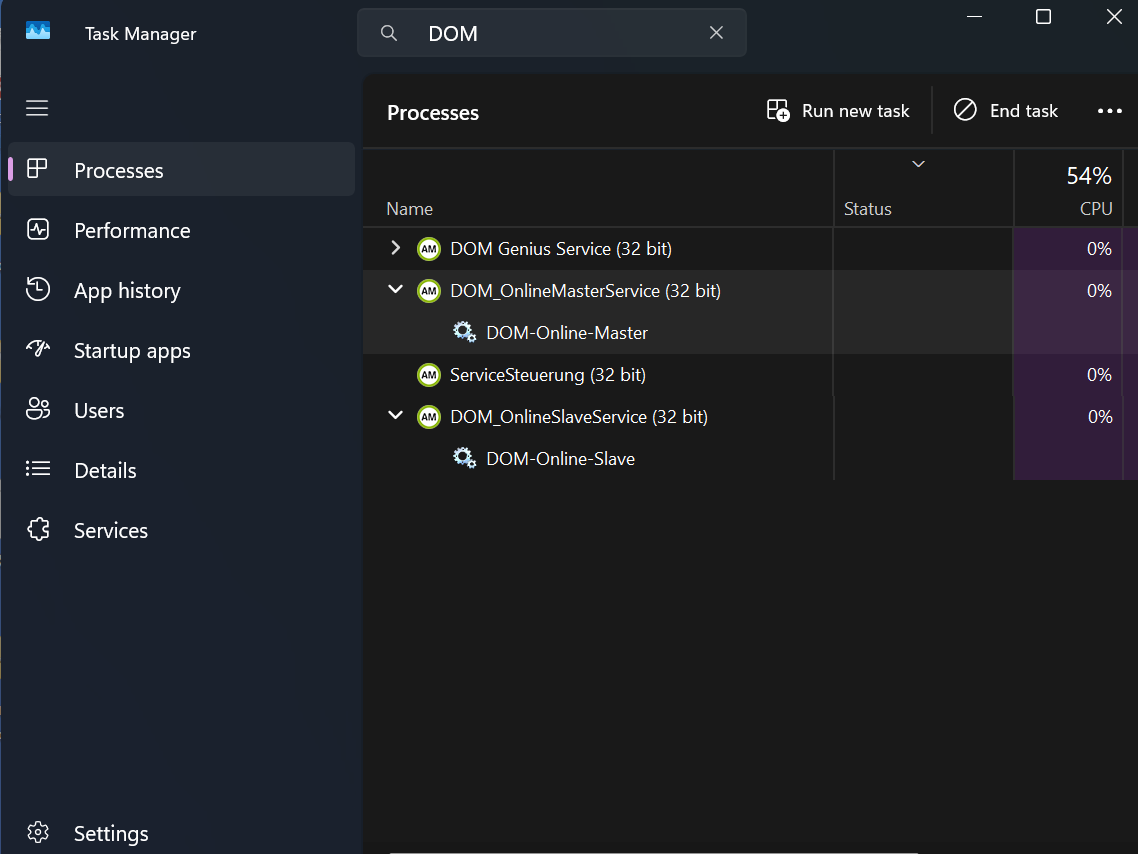
Please double-click portierAgent.exe in your portier folder.
The Agent opens and asks for an email ID and a password.
Enter the credentials in the Agent dialog and click "Activate".
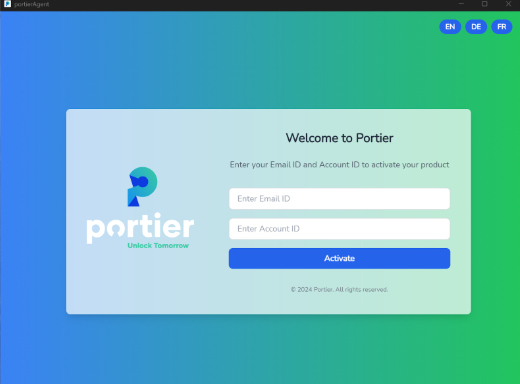
The login credentials are as follows:
- Email ID: (provided by portier support)
- Password: (provided by portier support)
Enter your DOM server information.
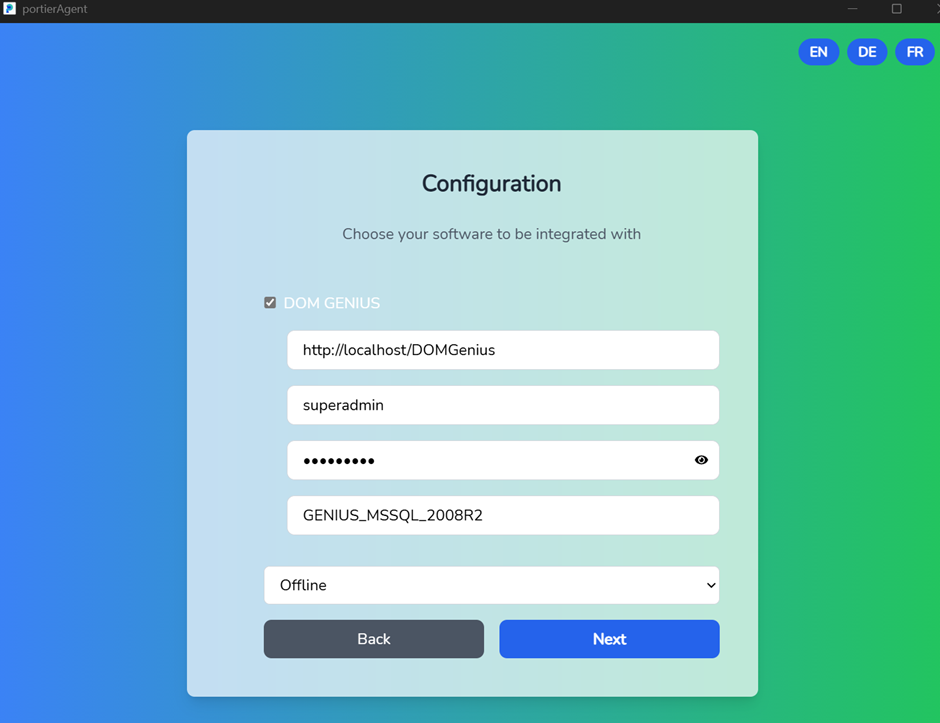
http://localhost/DomGenius
DOM Genius user name
DOM Genius password
Online/Offline function
Then click "Next". A token page appears. Click "Next" there as well.
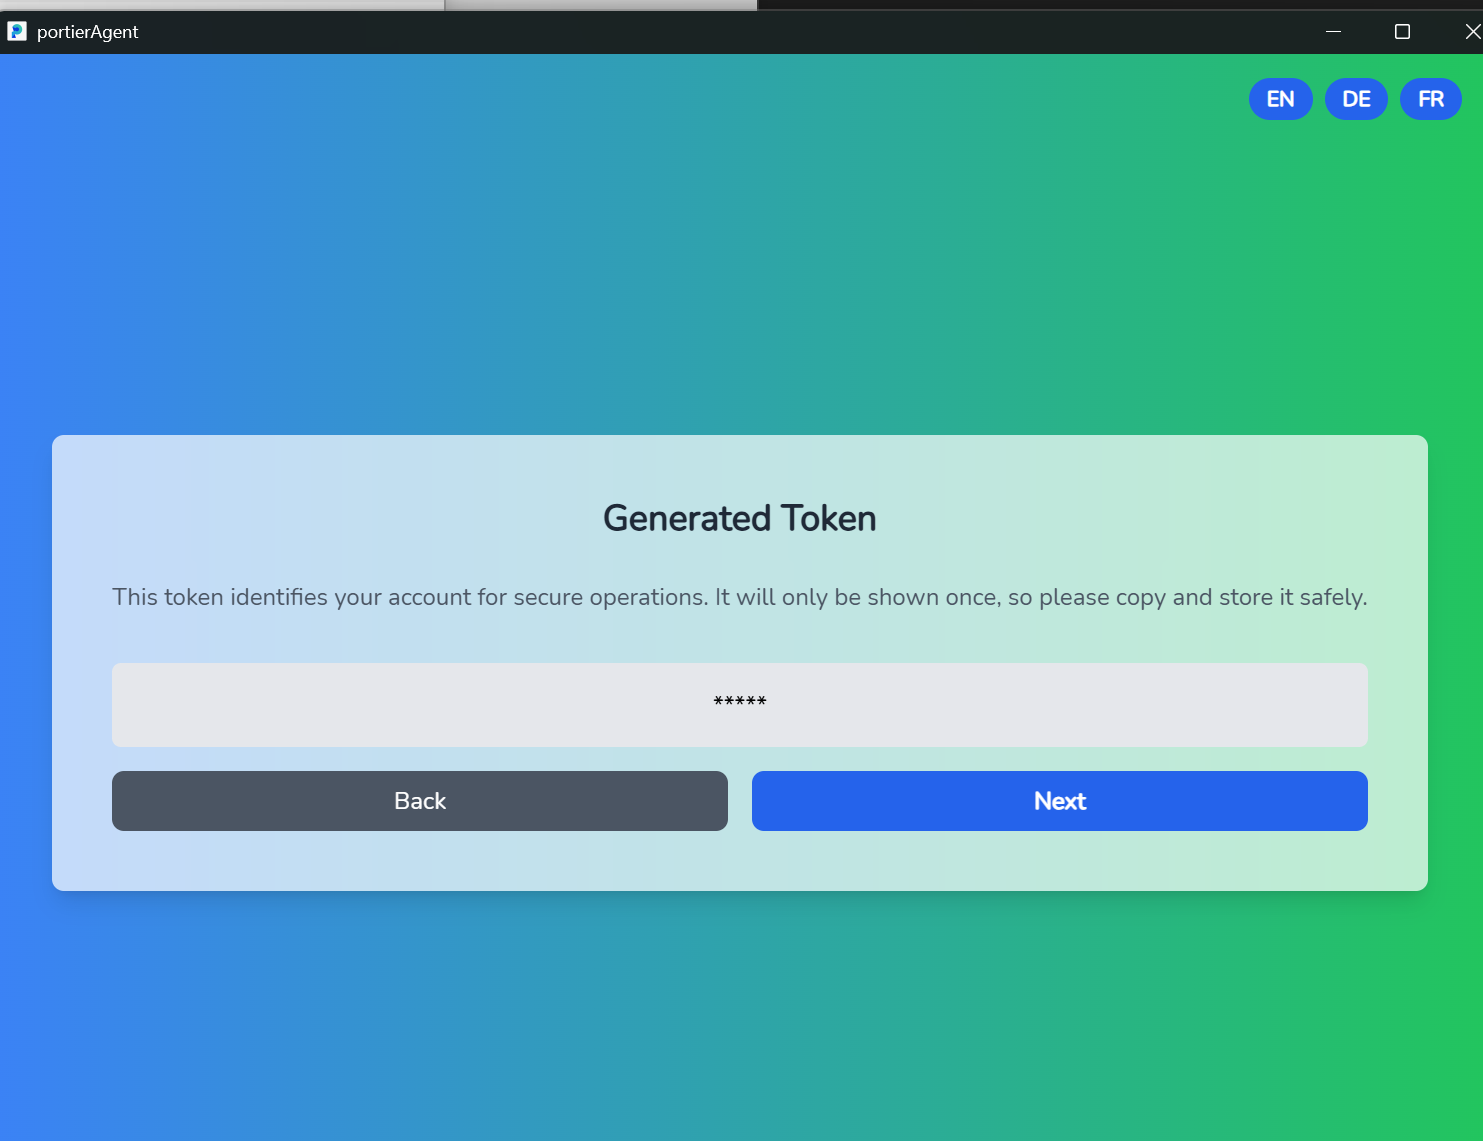
A new window opens with the message "DOM ENIQ Disconnected".
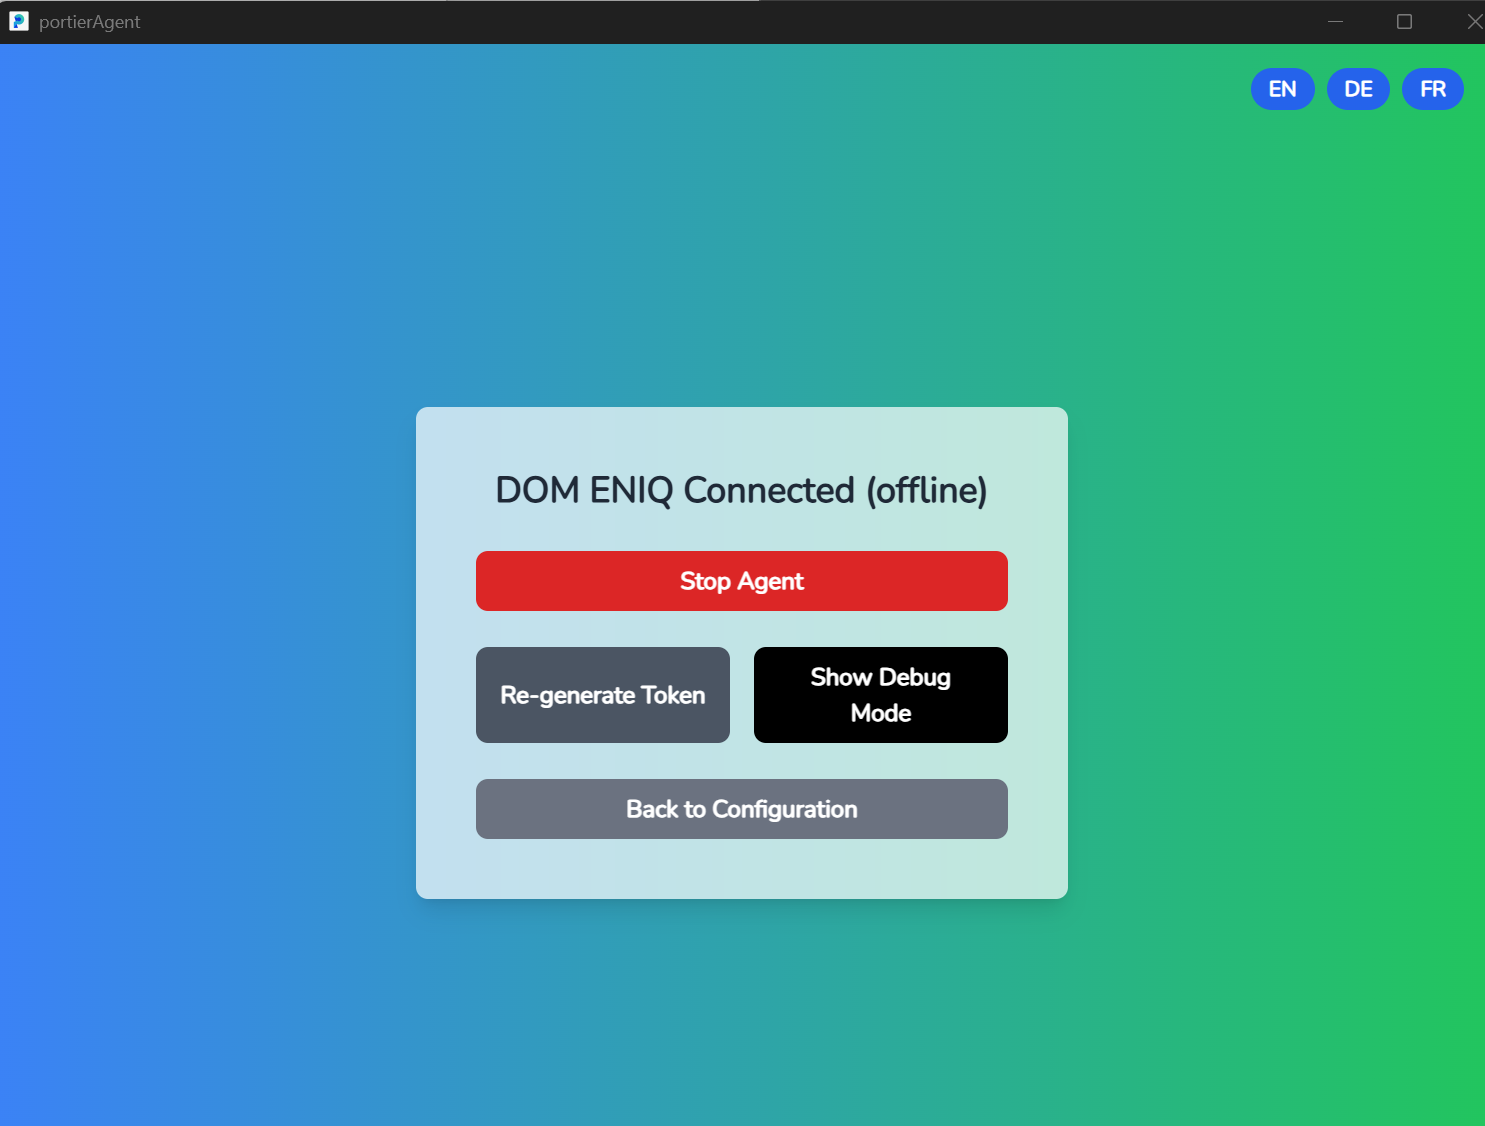
You are now connected to the Offline or Online Agent. To check the connection, click "Show Debug Mode".
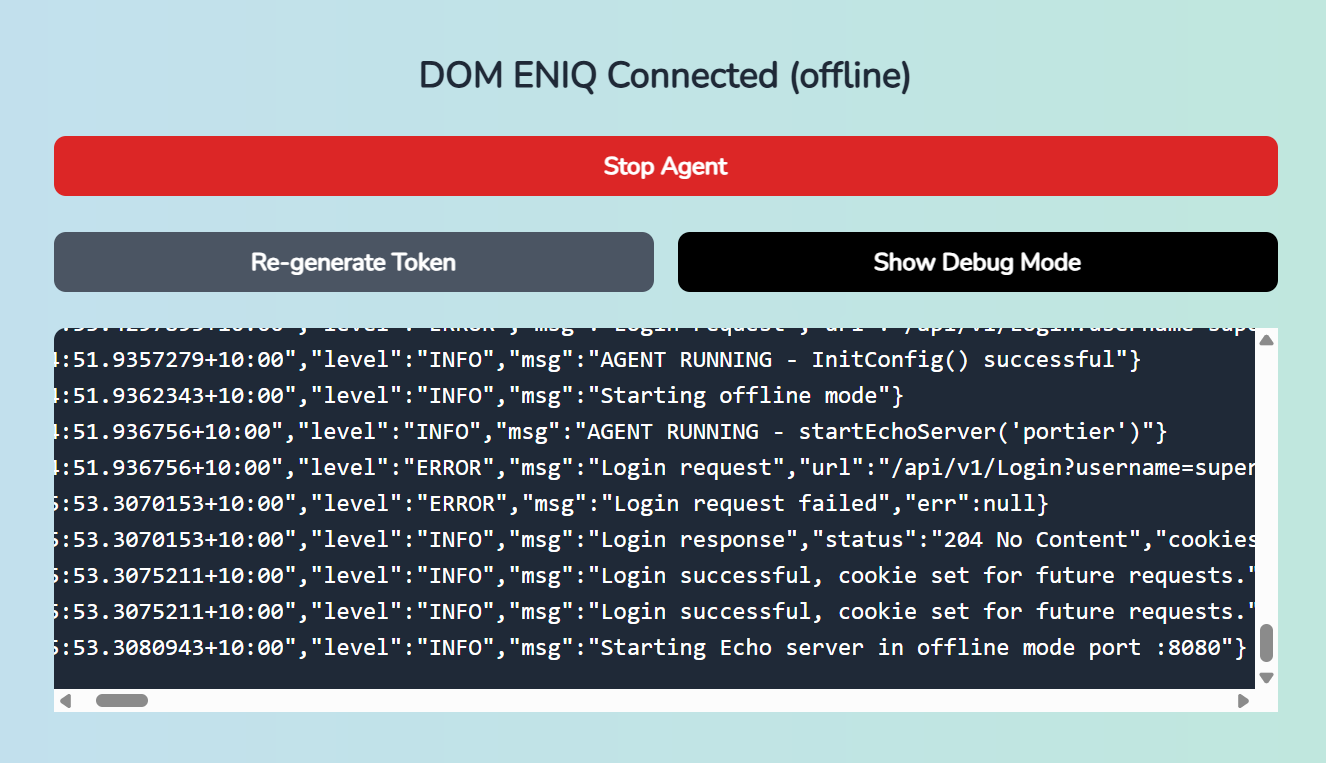
The confirmation appears in the bottom row:
Starting Echo server in offline mode port :8080
Once the settings are done, start portier.exe.
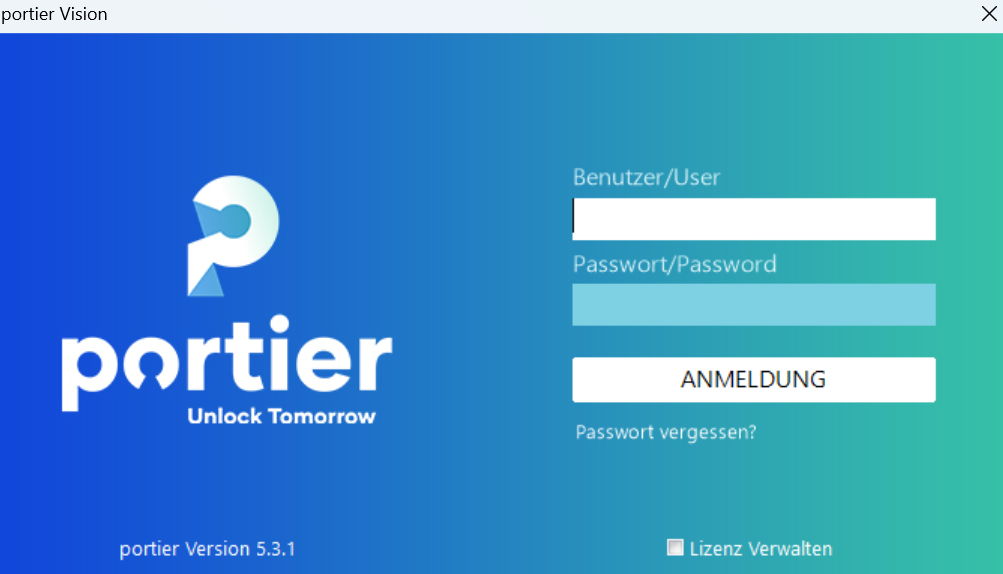
Enter your user name and password as usual and click "Login".
When importing personnel, every employee in DOM ENIQ must have a personnel number. Without one the record is not read into portier.
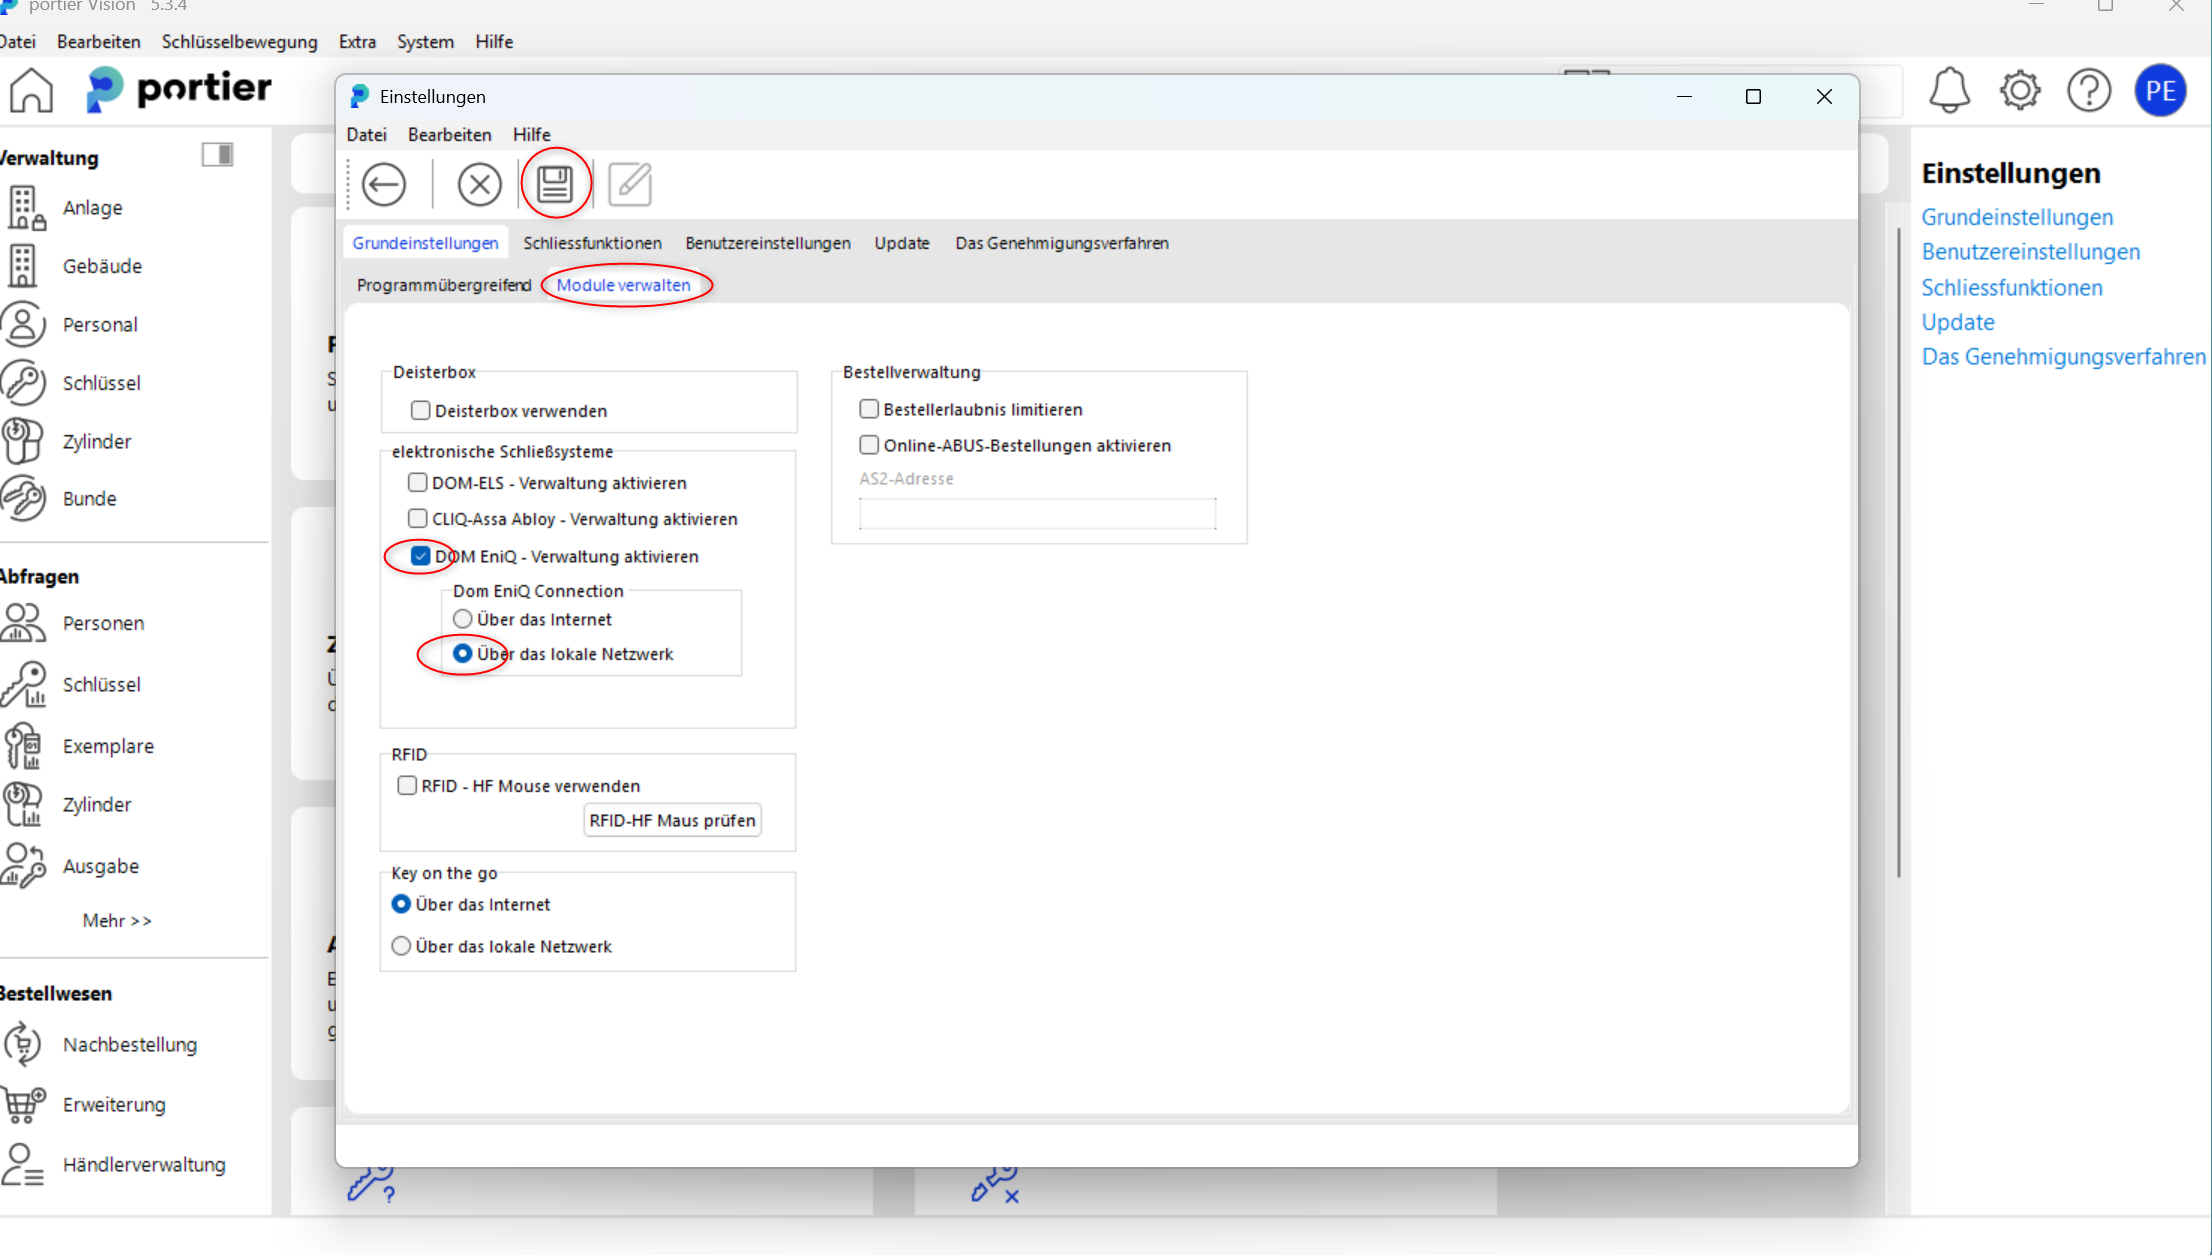
In the upper right of the main screen, click the Settings icon and then "Basic Settings".
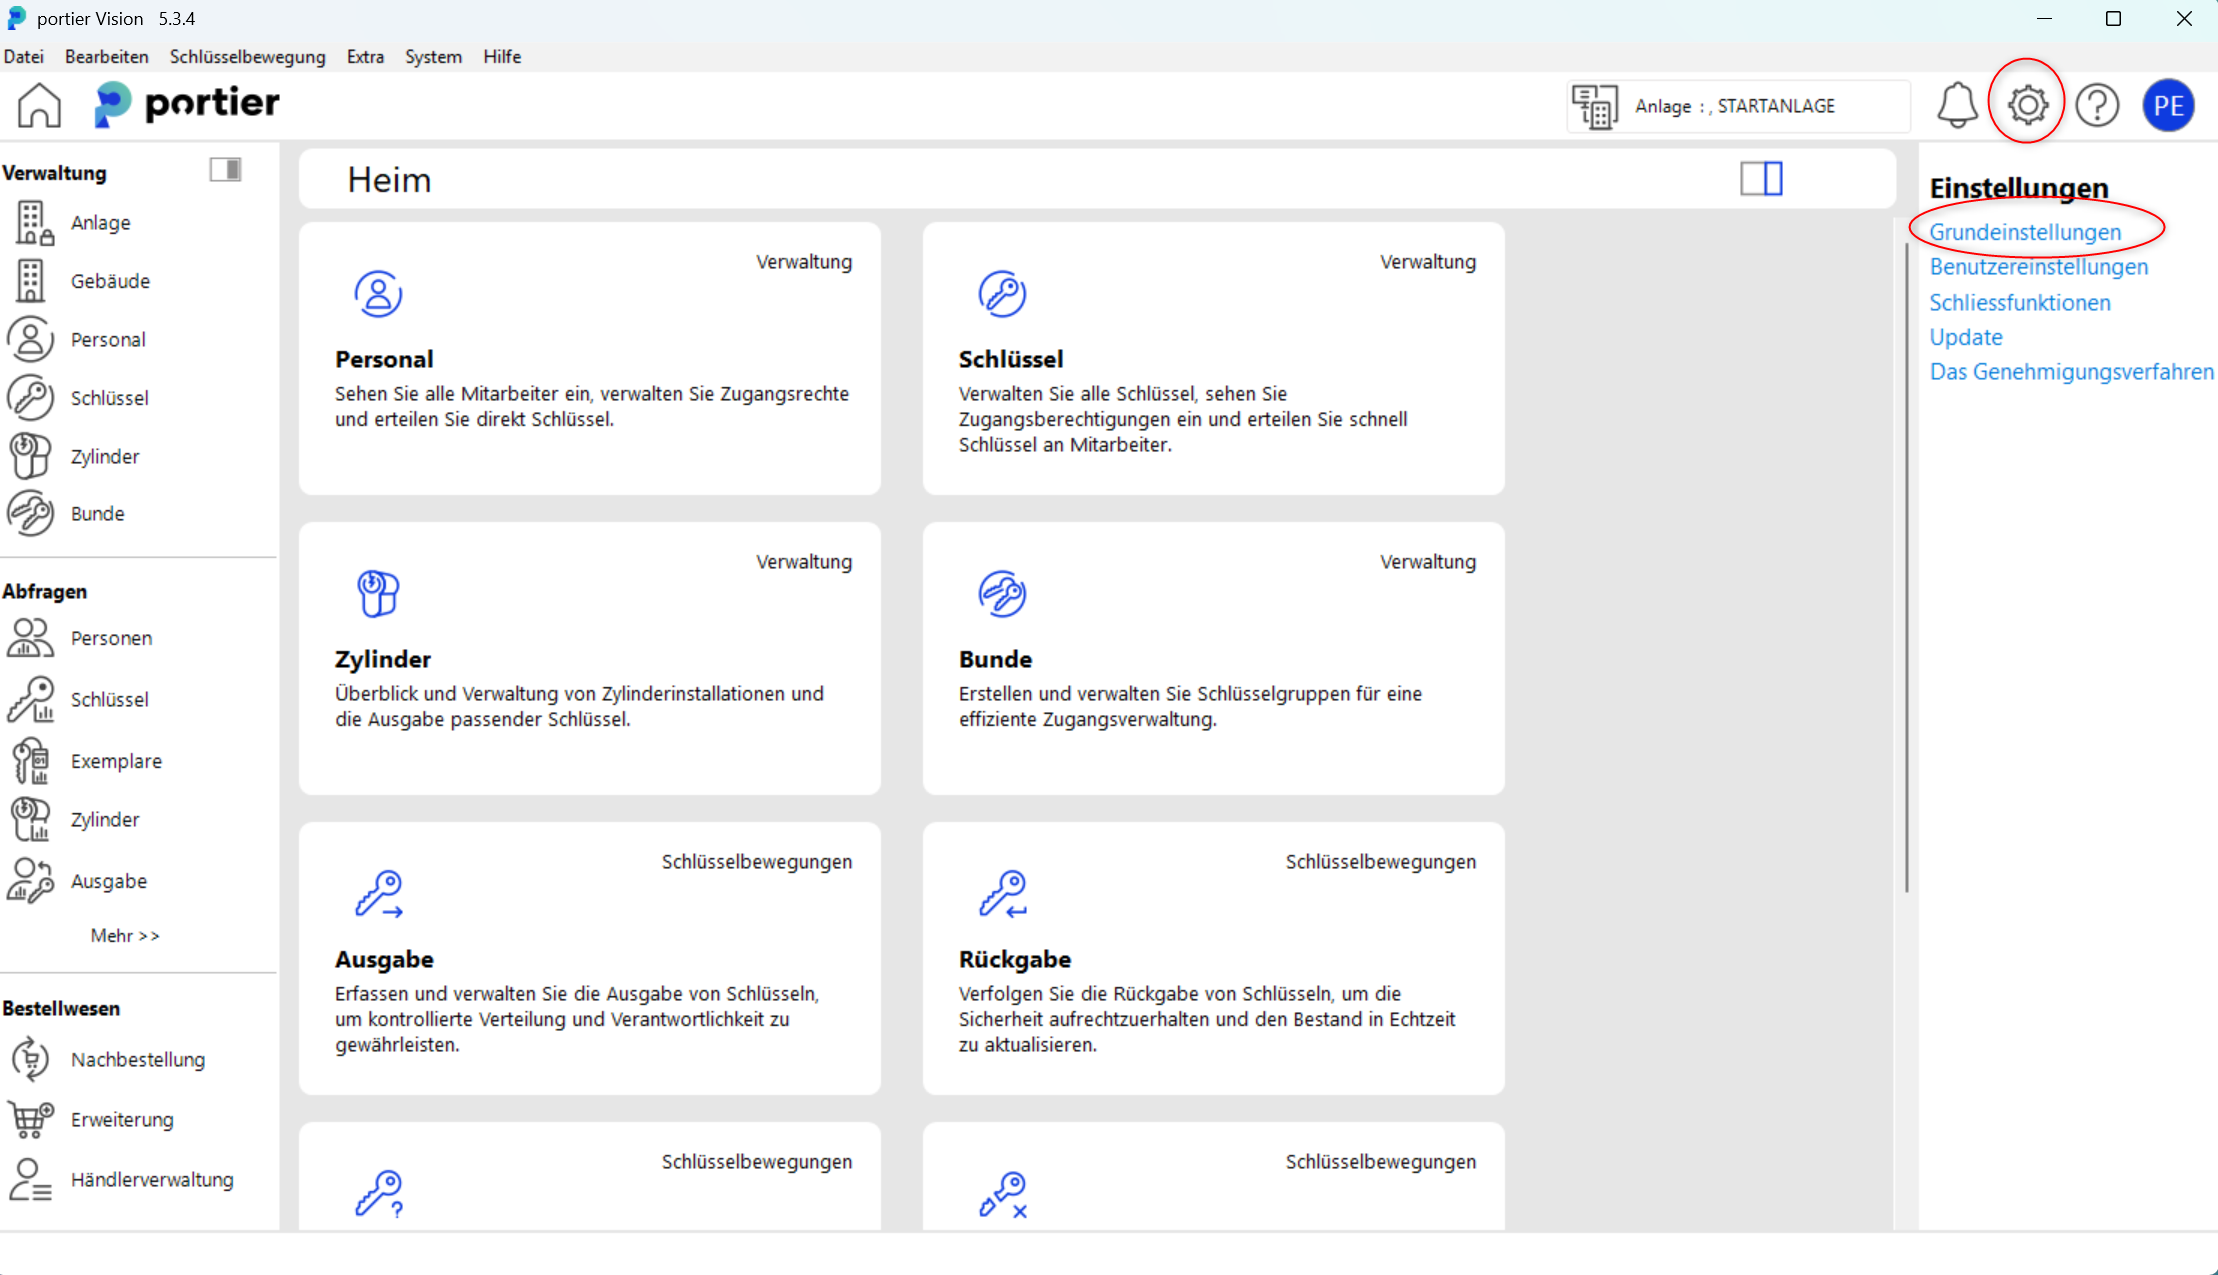
In the "Basic Settings" tab, open "Manage Modules" and tick the DOM EniQ module (German installs read "DOM EniQ - Verwaltung aktivieren"). Then click the Save icon.
Setting:
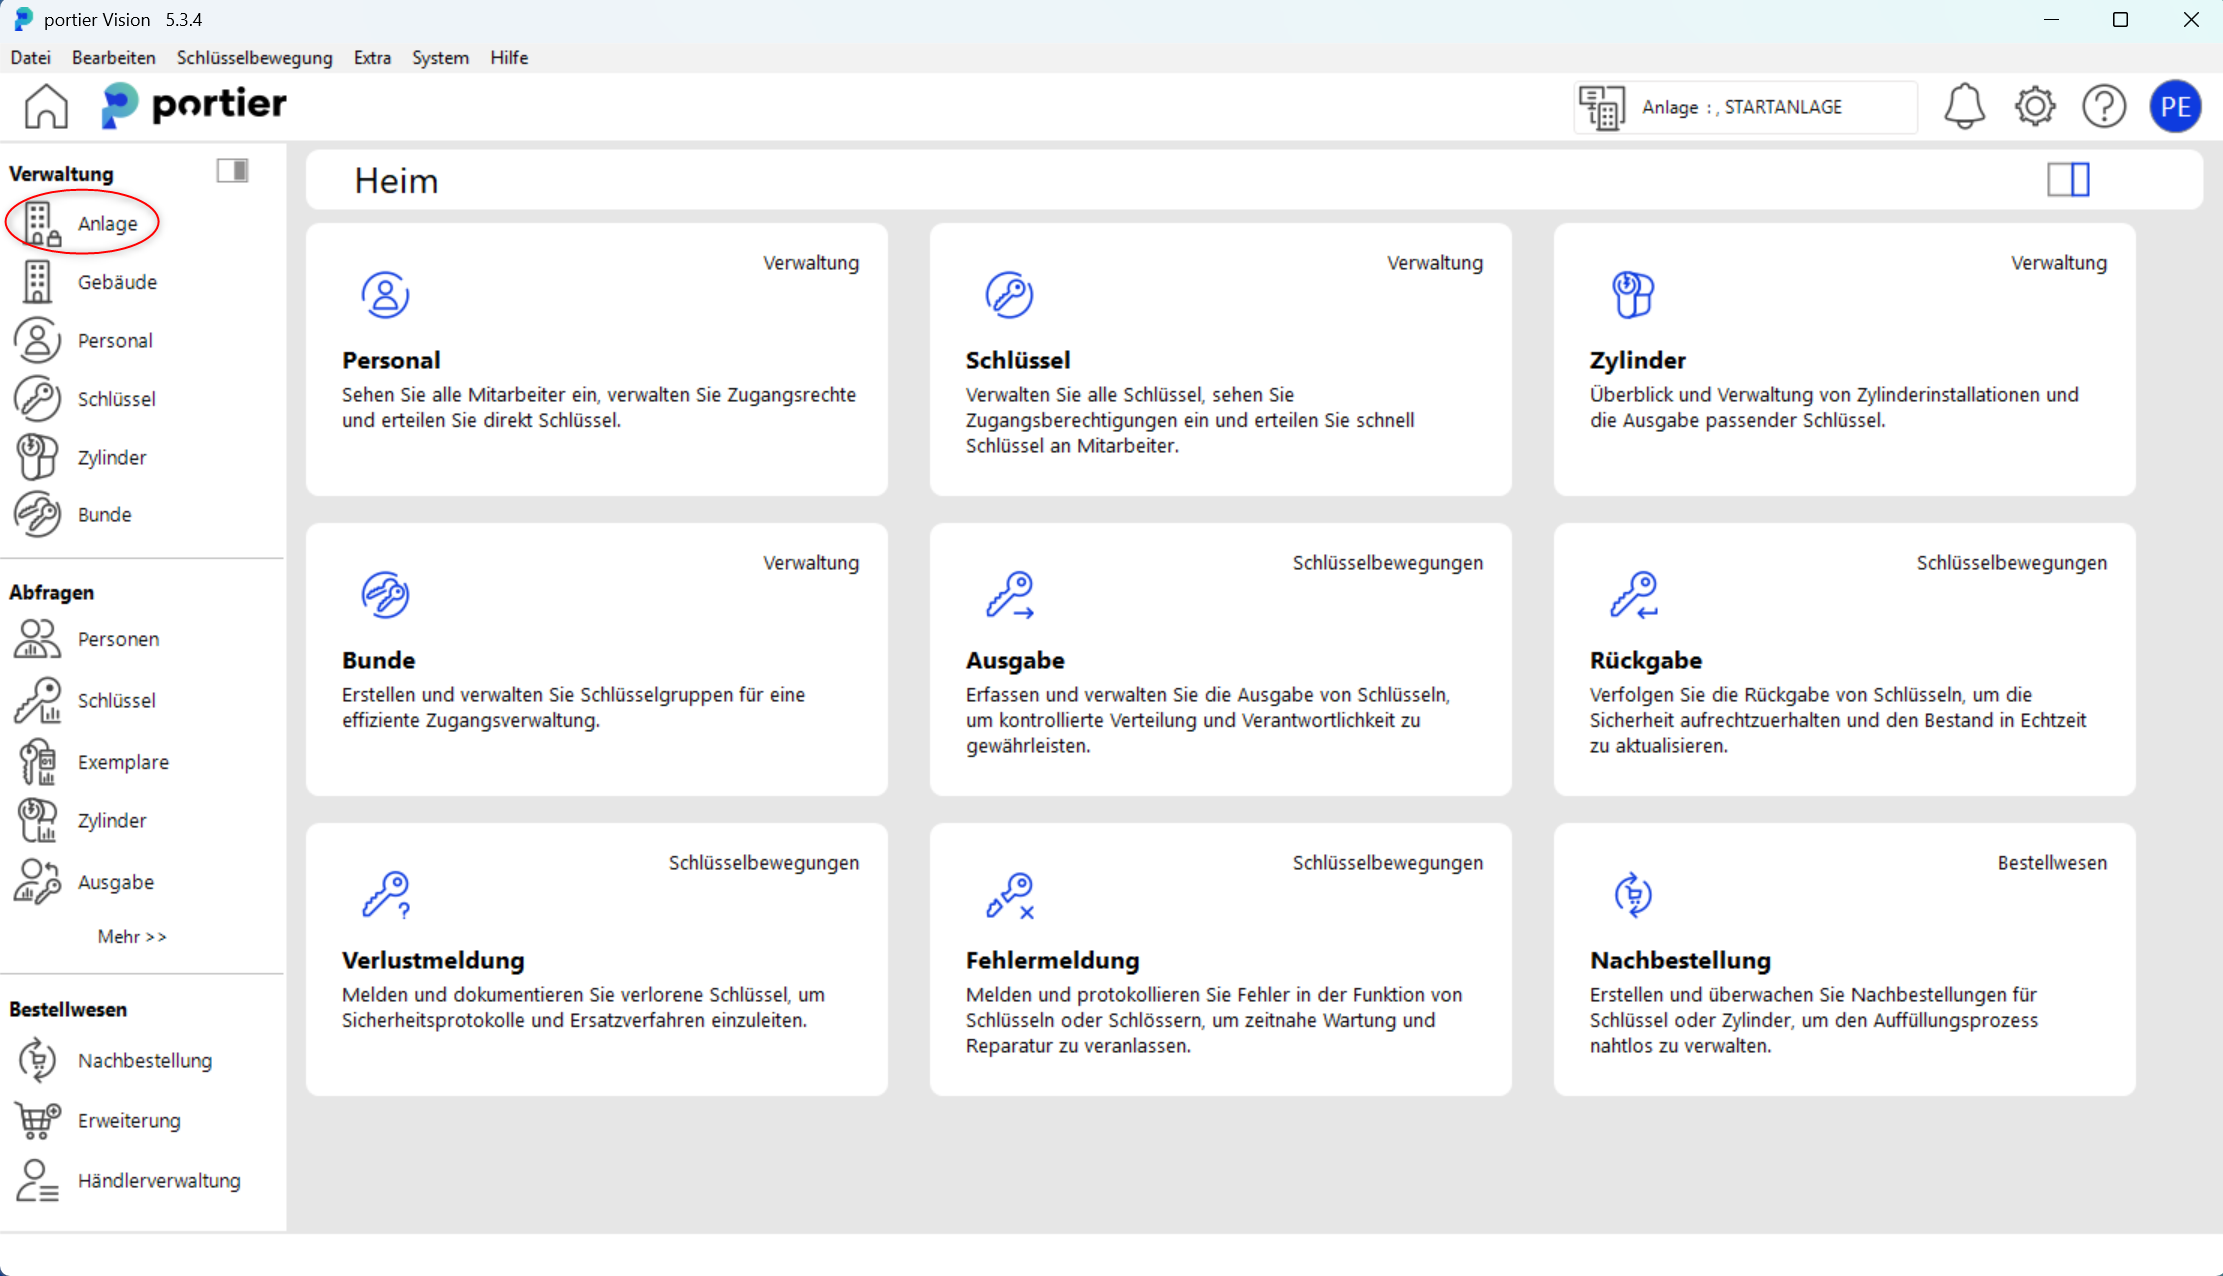
In the upper left of the main screen, click "Facility".
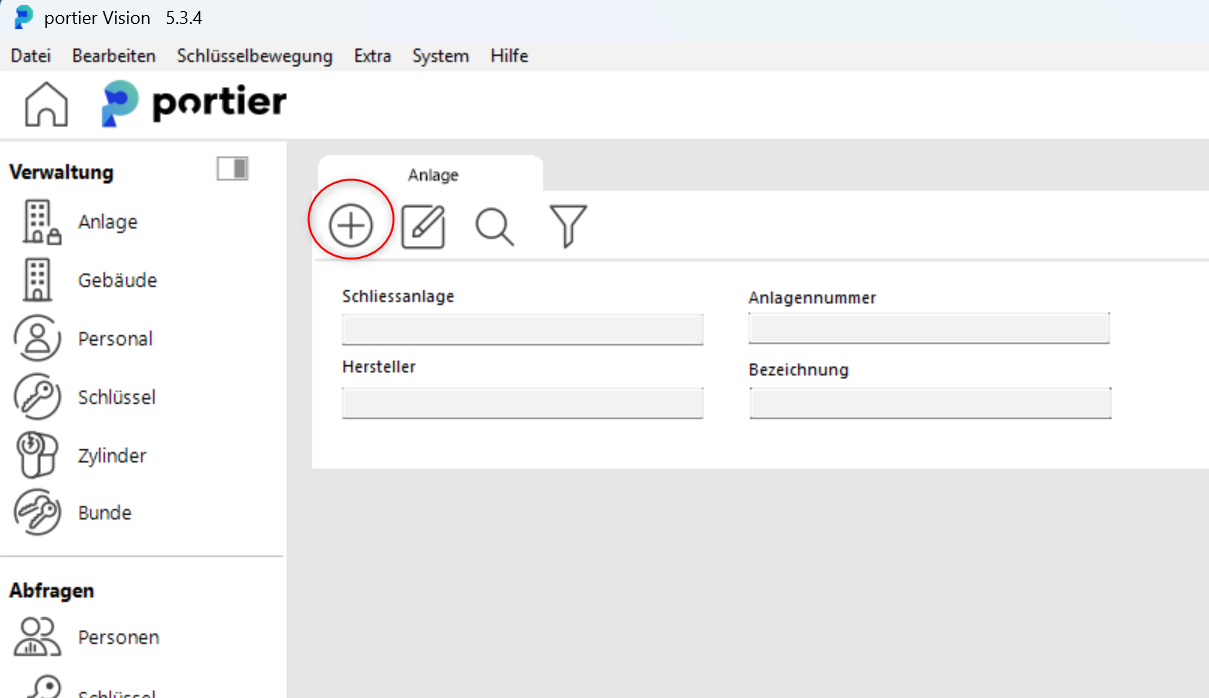
In the "Facility" tab, click the Add icon.
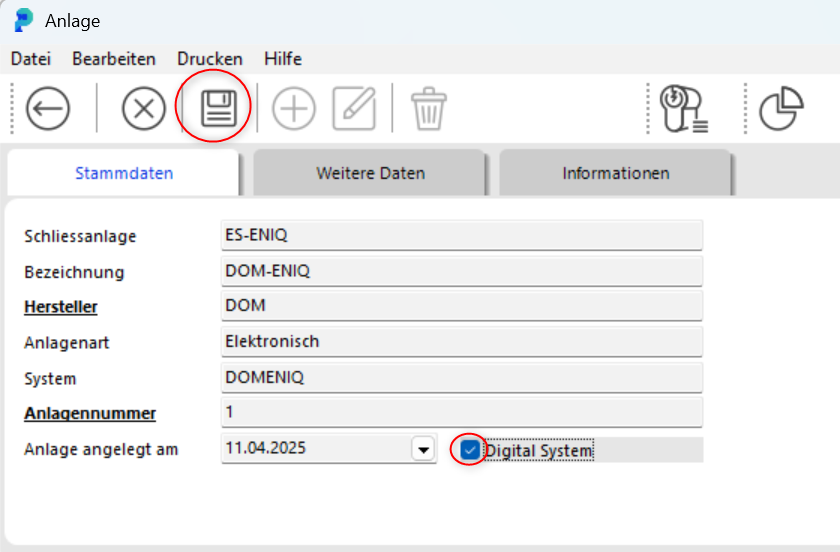
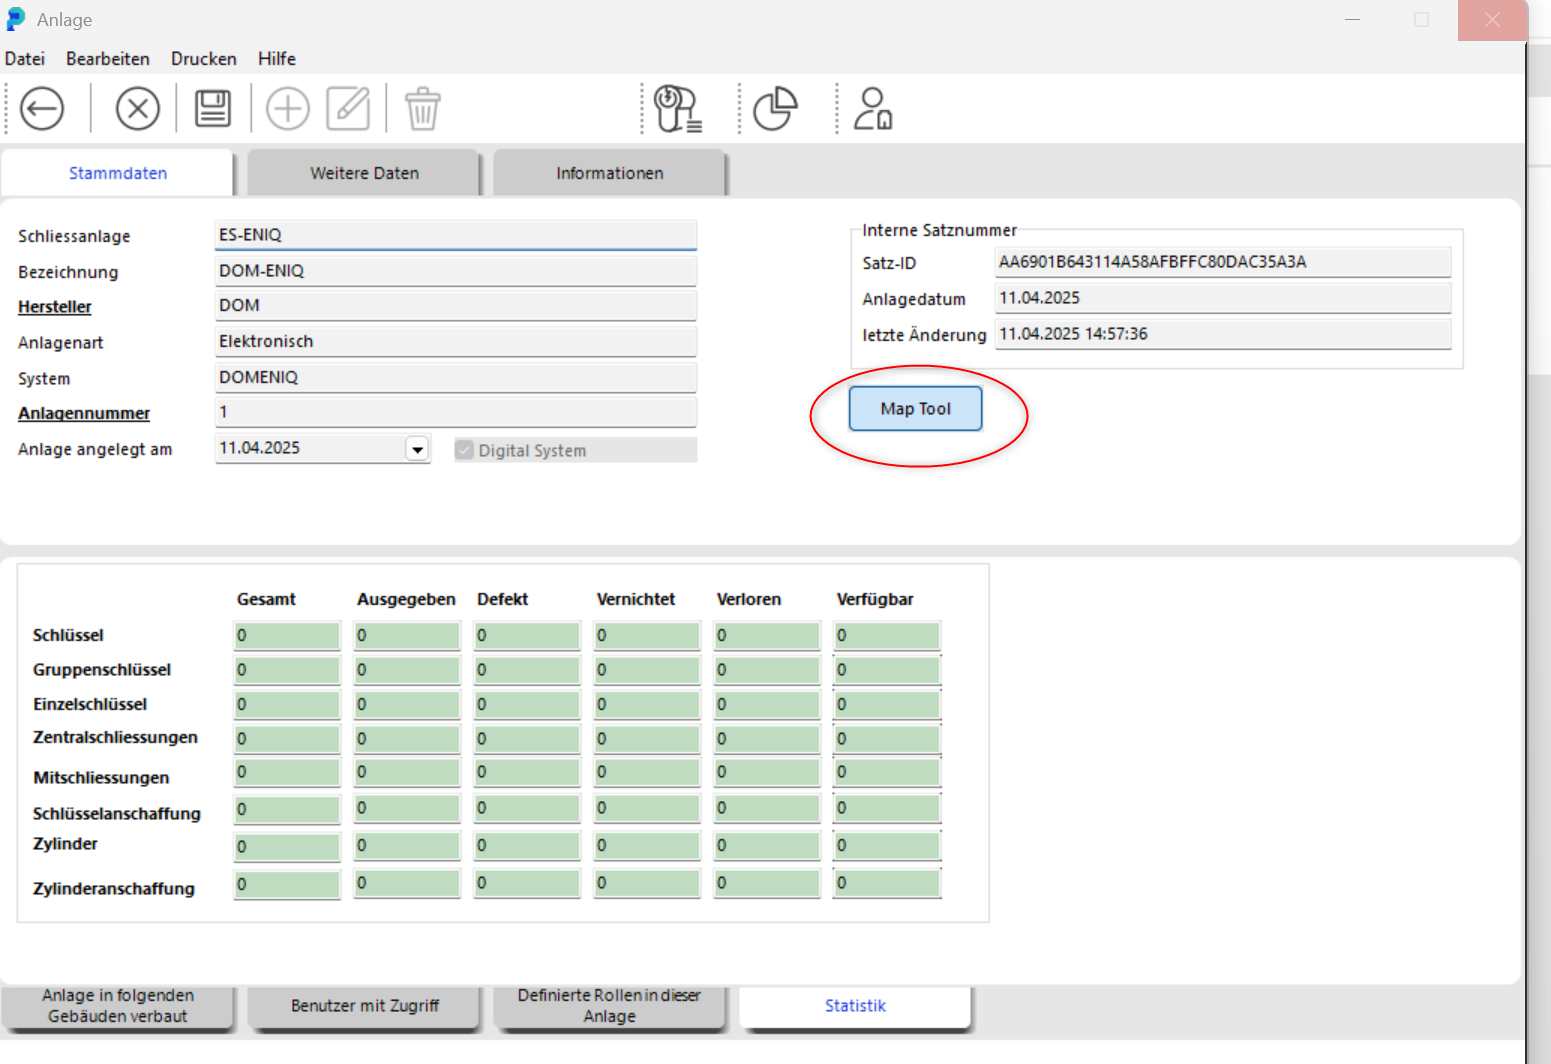
Enter the data of your ENIQ facility, tick "Digital System" and click the Save icon.
A pop-up appears and asks whether you want to open the program for assigning and importing cylinders or keys.
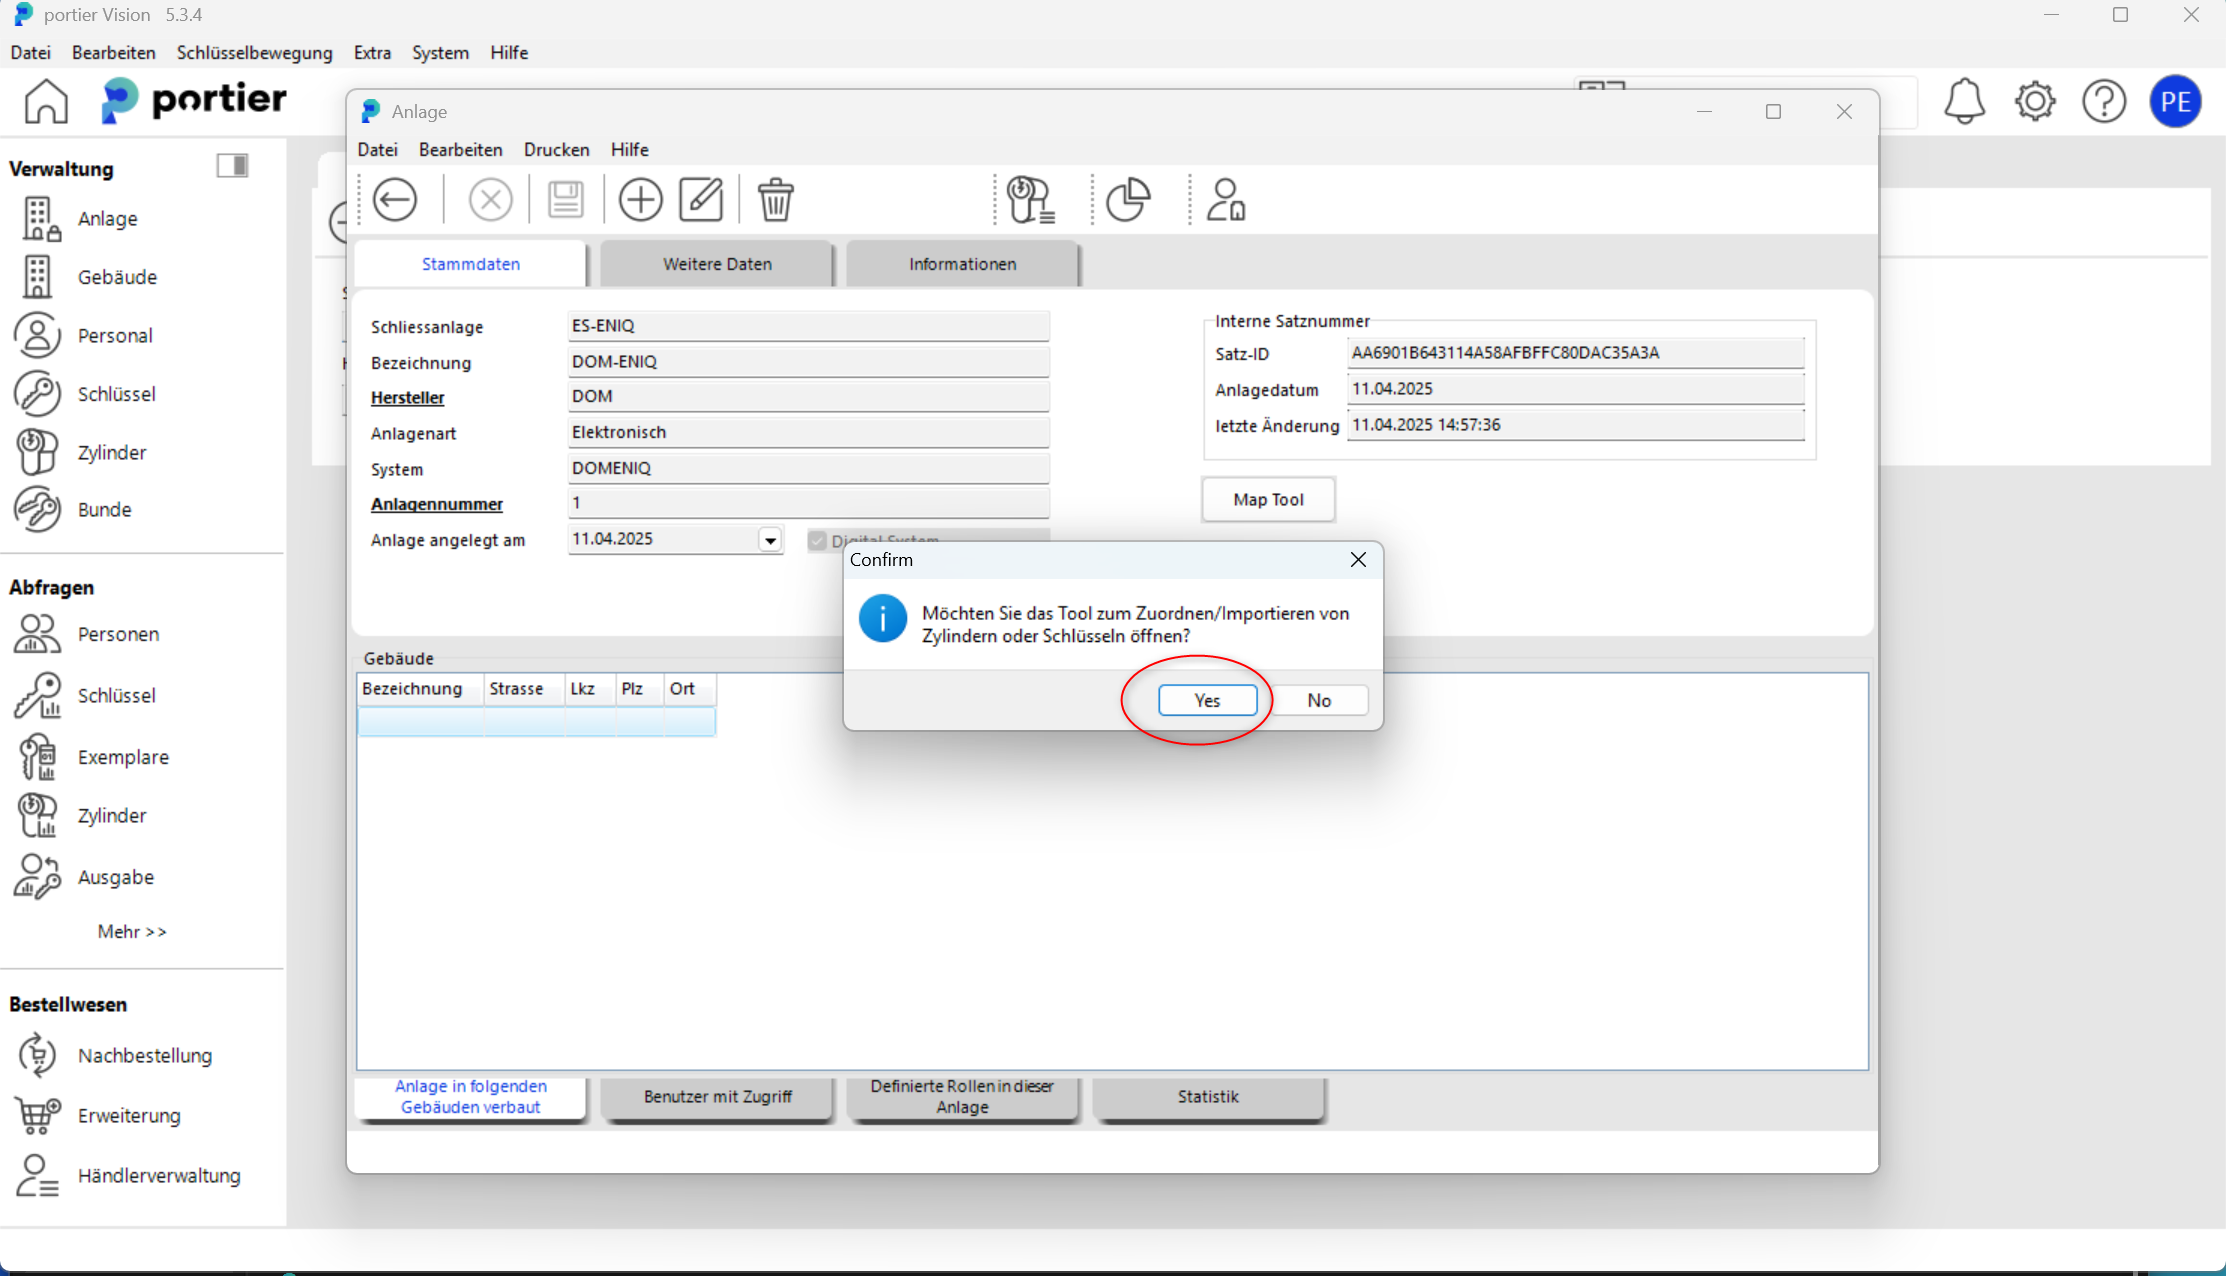
To map your DOM ENIQ data against the portier data, click the "Map Tool" button.
The first step in the Mapping Tool is loading the personnel data from DOM ENIQ. Tick the boxes in front of each name you want to import. Then click "Import Personnel".
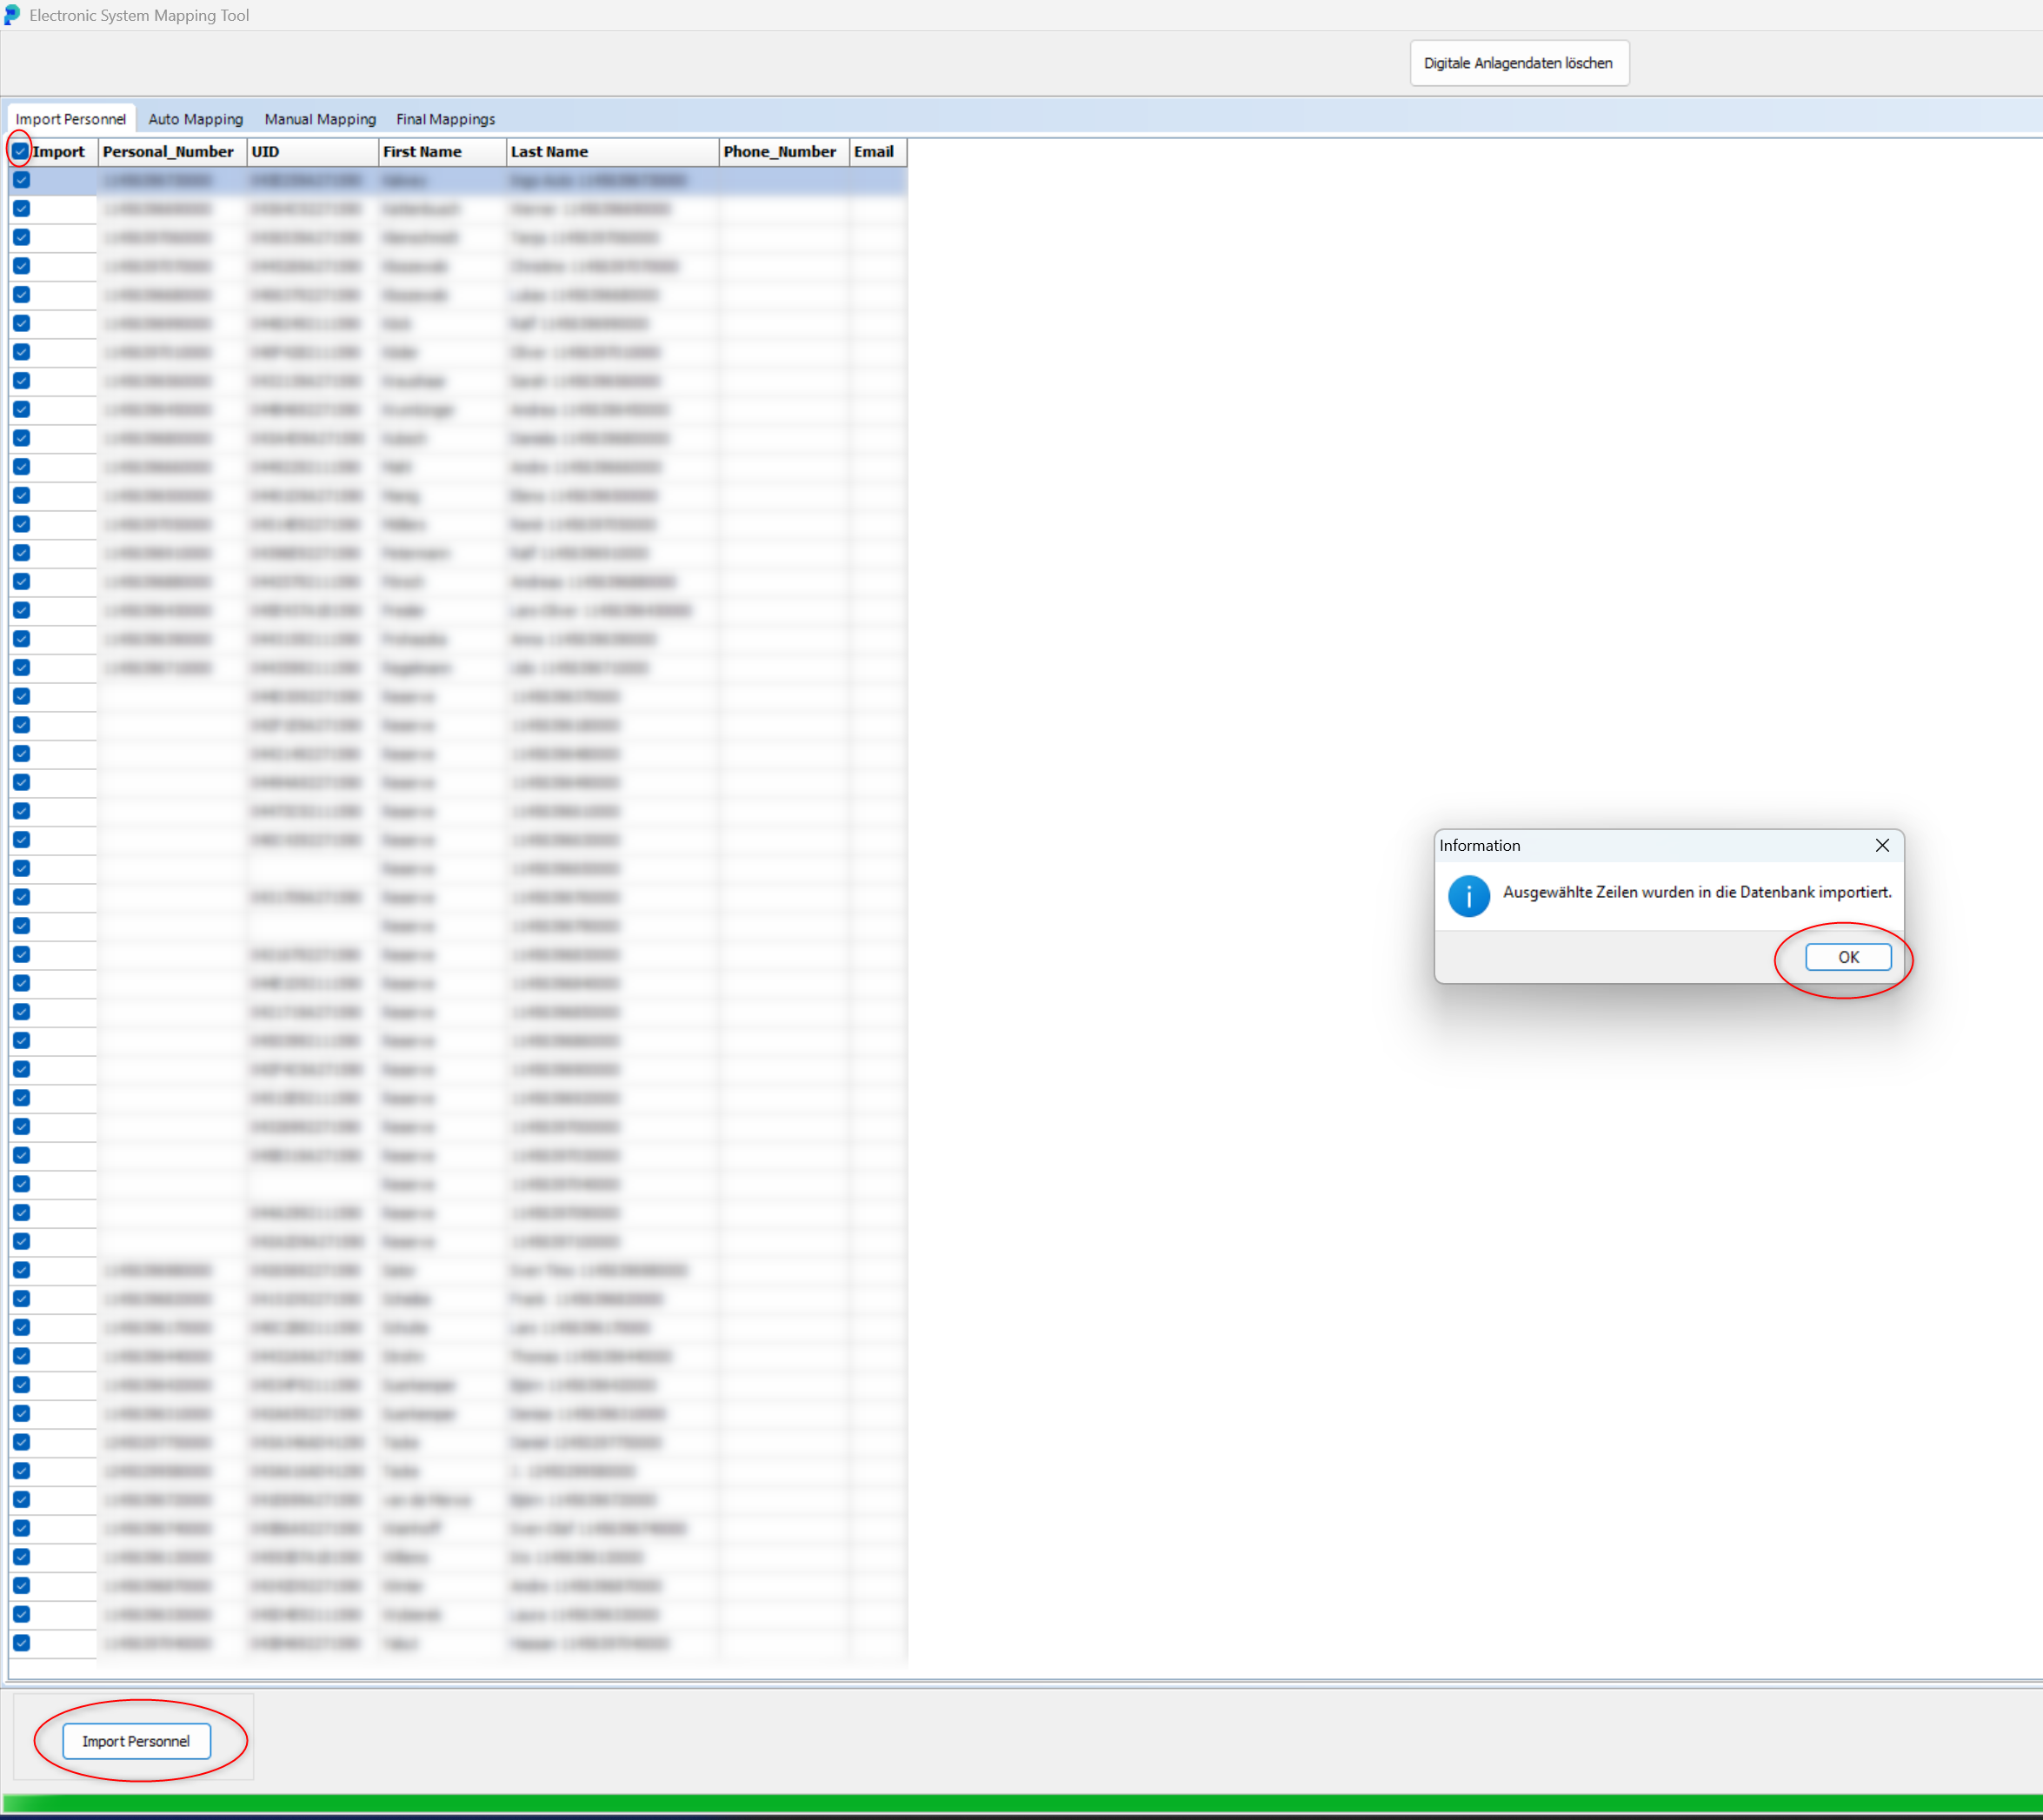
After the import, click "Auto Mapping".
A brief loading screen appears and the personnel data is loaded.
Once the personnel data is loaded, click the "Map" button.
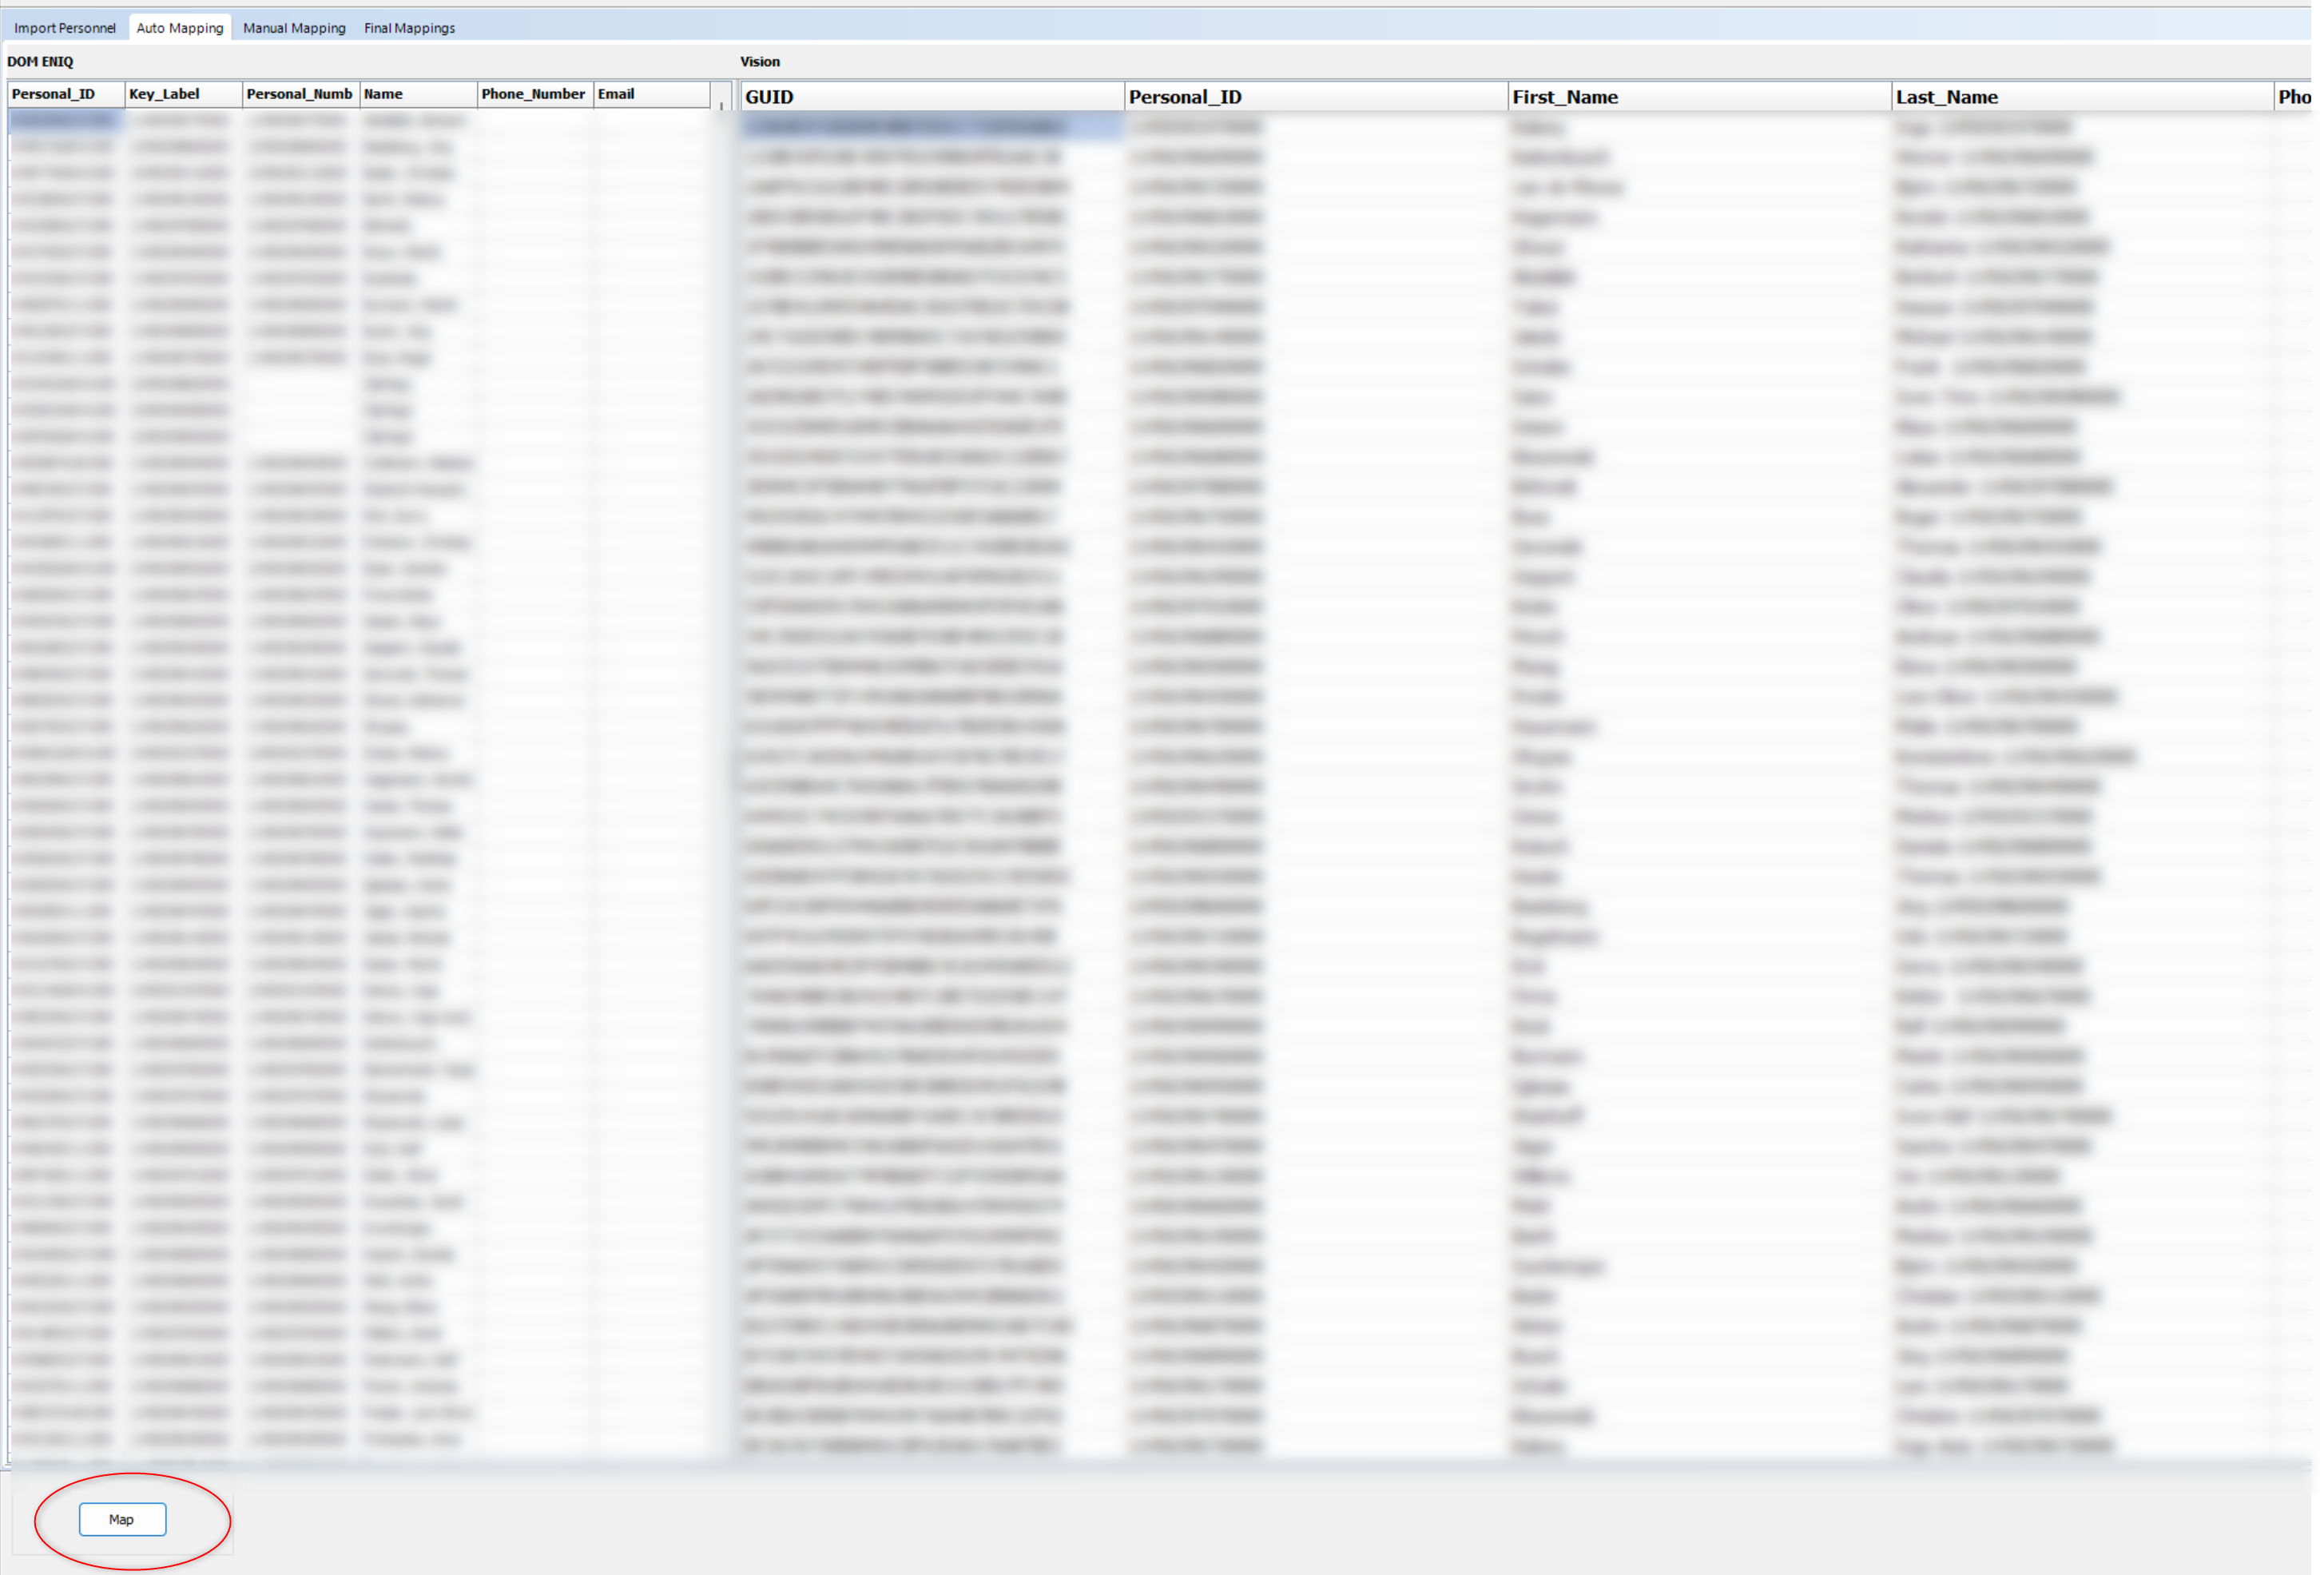
You will receive a message that the mapping completed successfully.
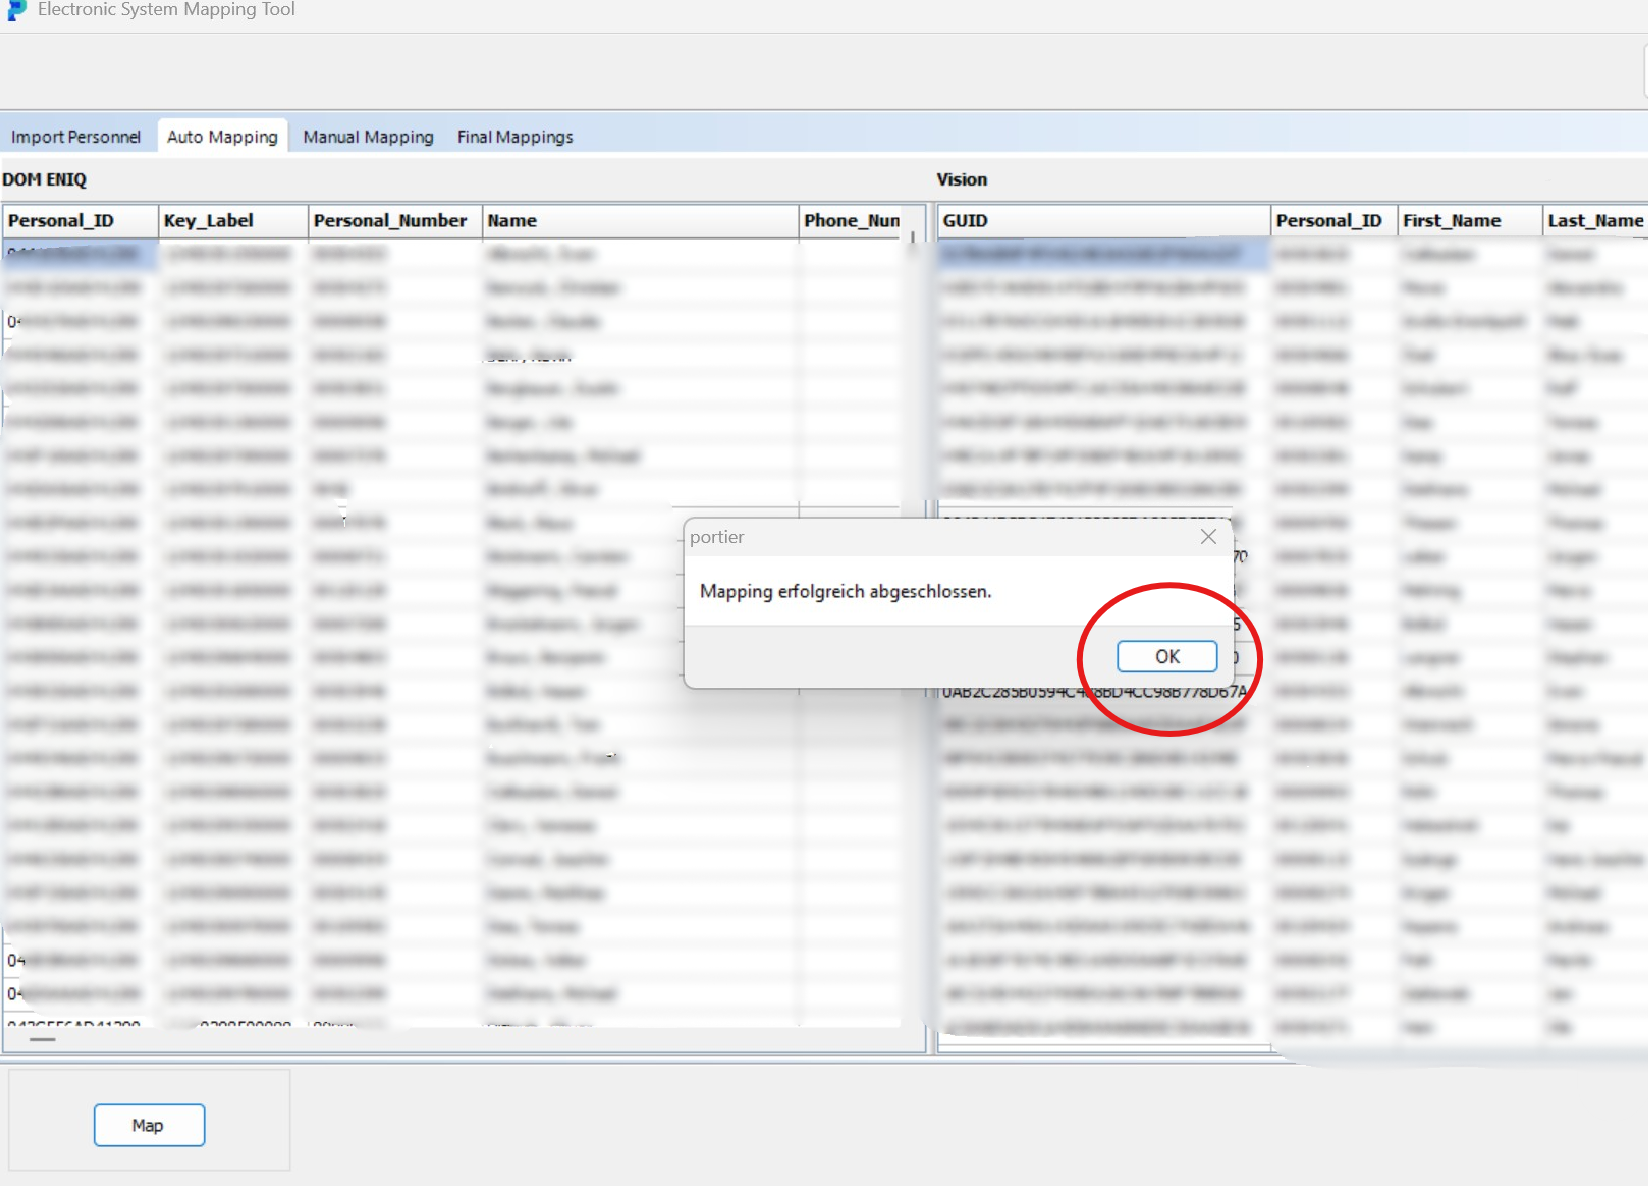
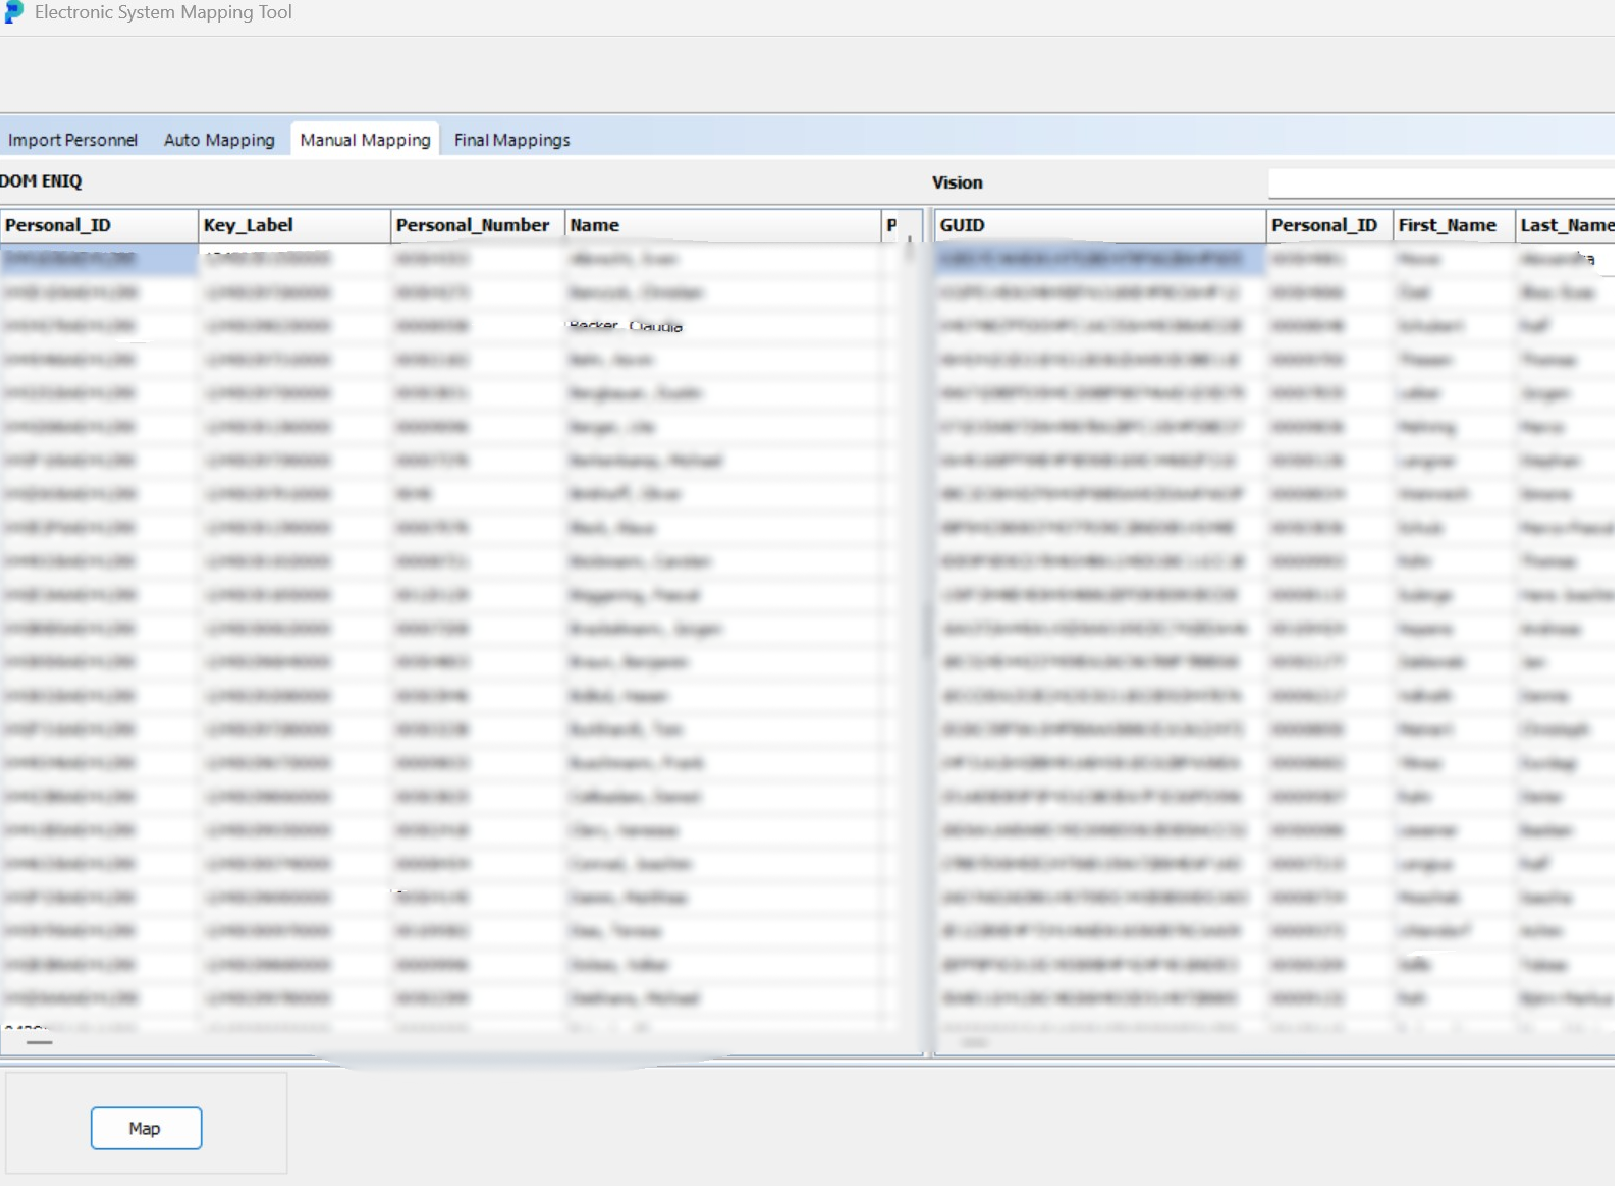
If Auto Mapping cannot assign a person, do it by hand in the "Manual Mapping" tab.
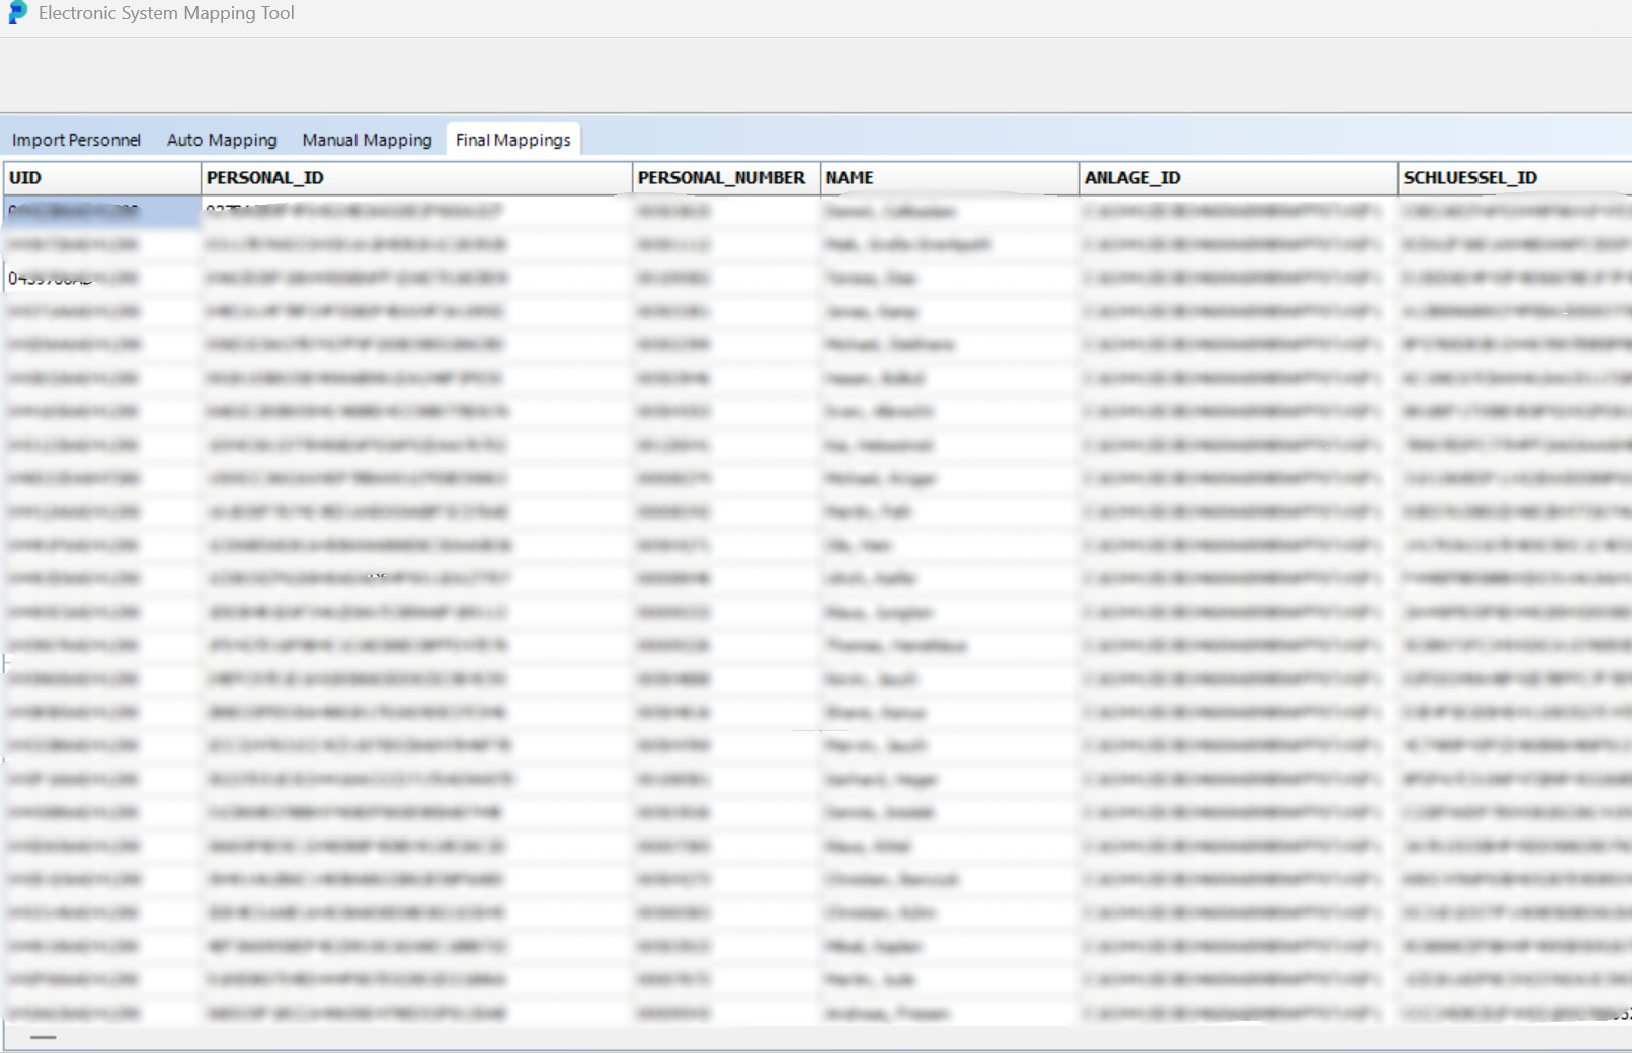
In the "Final Mappings" tab you now see the customer data including the key ID.
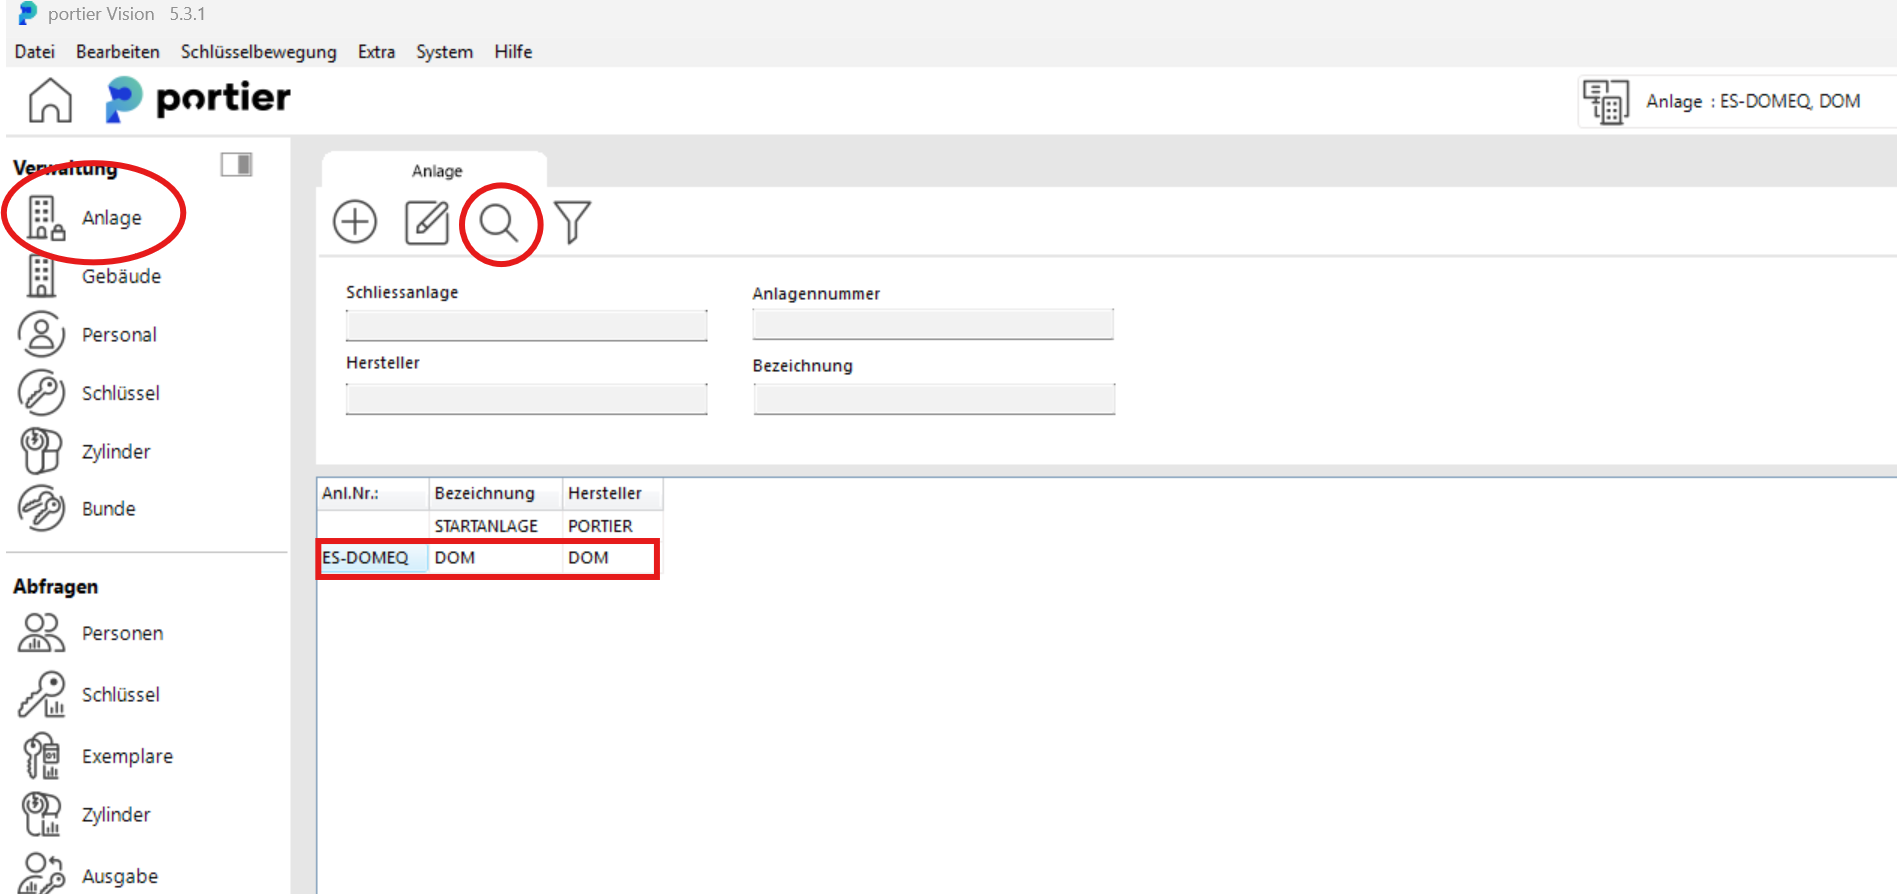
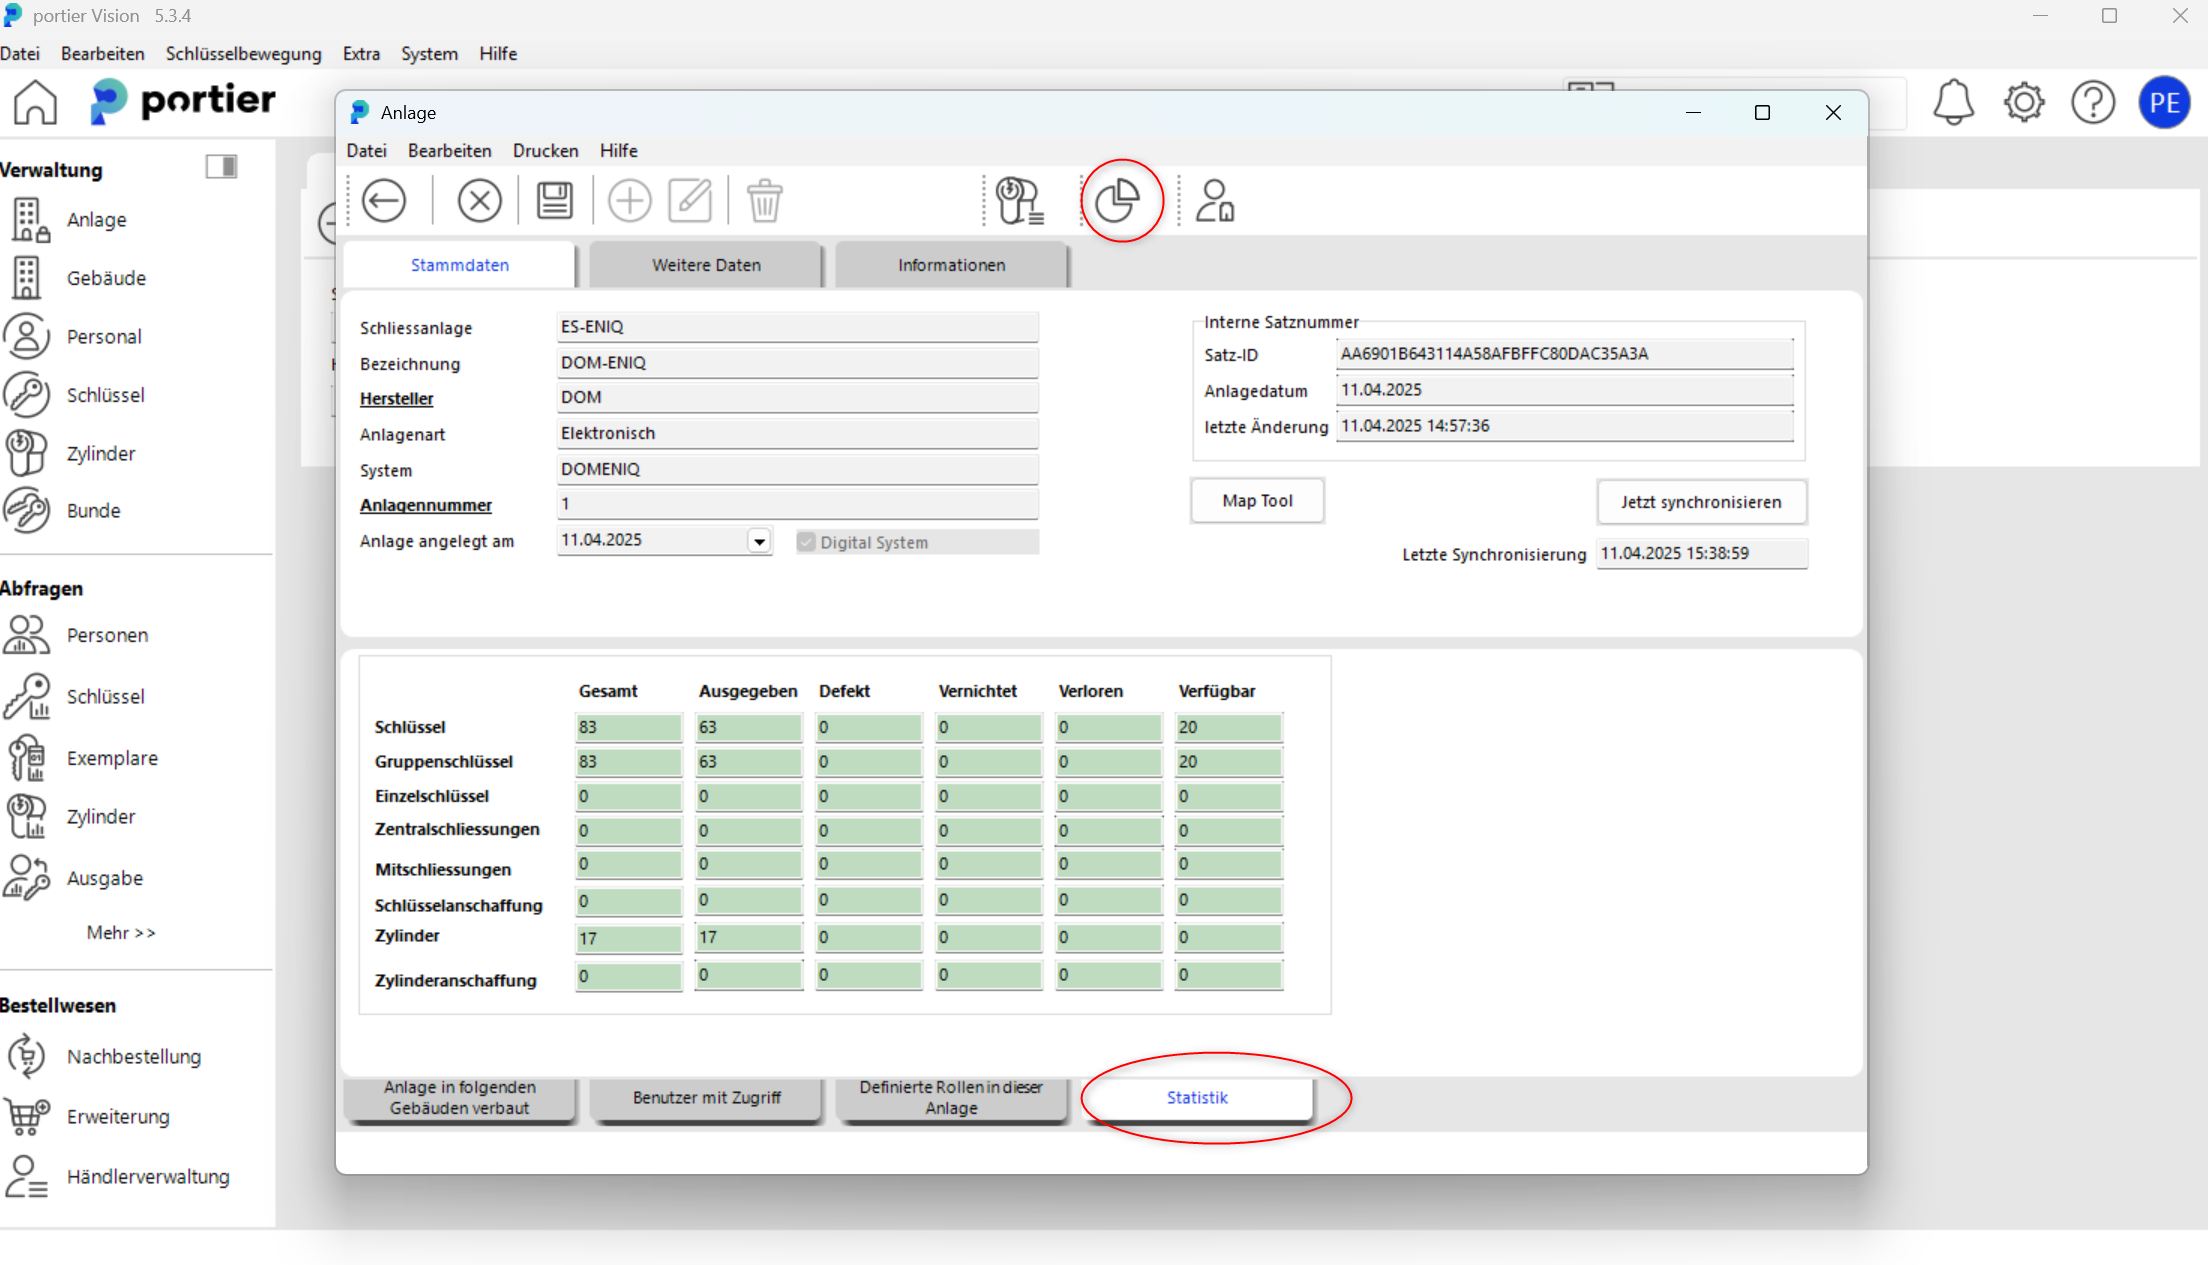
In the main screen, click "Facility" and the Search icon. Double-click your facility to enter the facility menu.
The Statistics button sits in the upper right of the facility menu. Clicking it shows the figures for the facility, among them group keys, individual keys and cylinders. That is how you see what was imported.
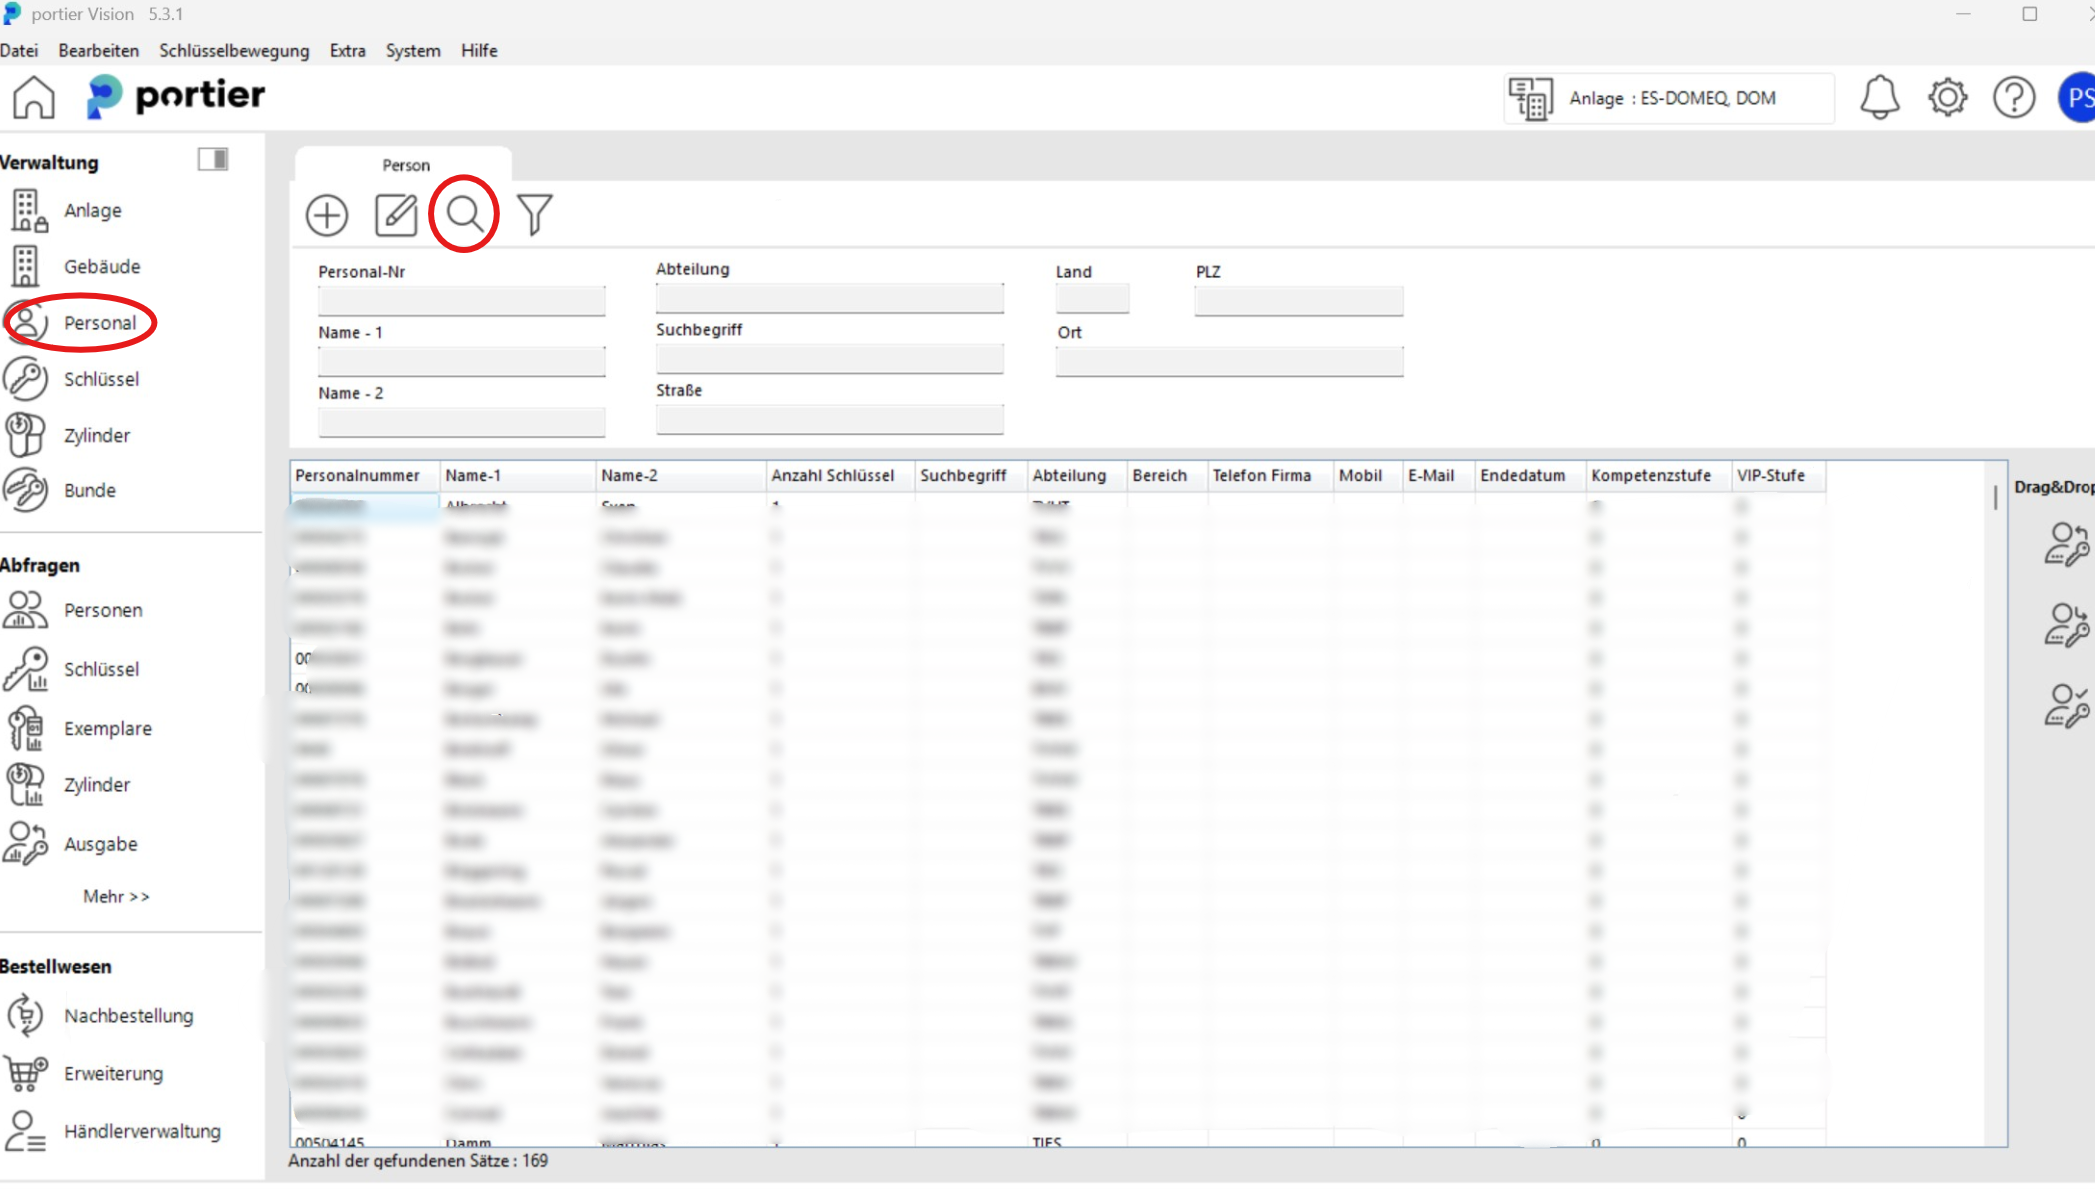
Click "Personnel" in the upper left and the Search icon to see the imported personnel and the key copies assigned to them.
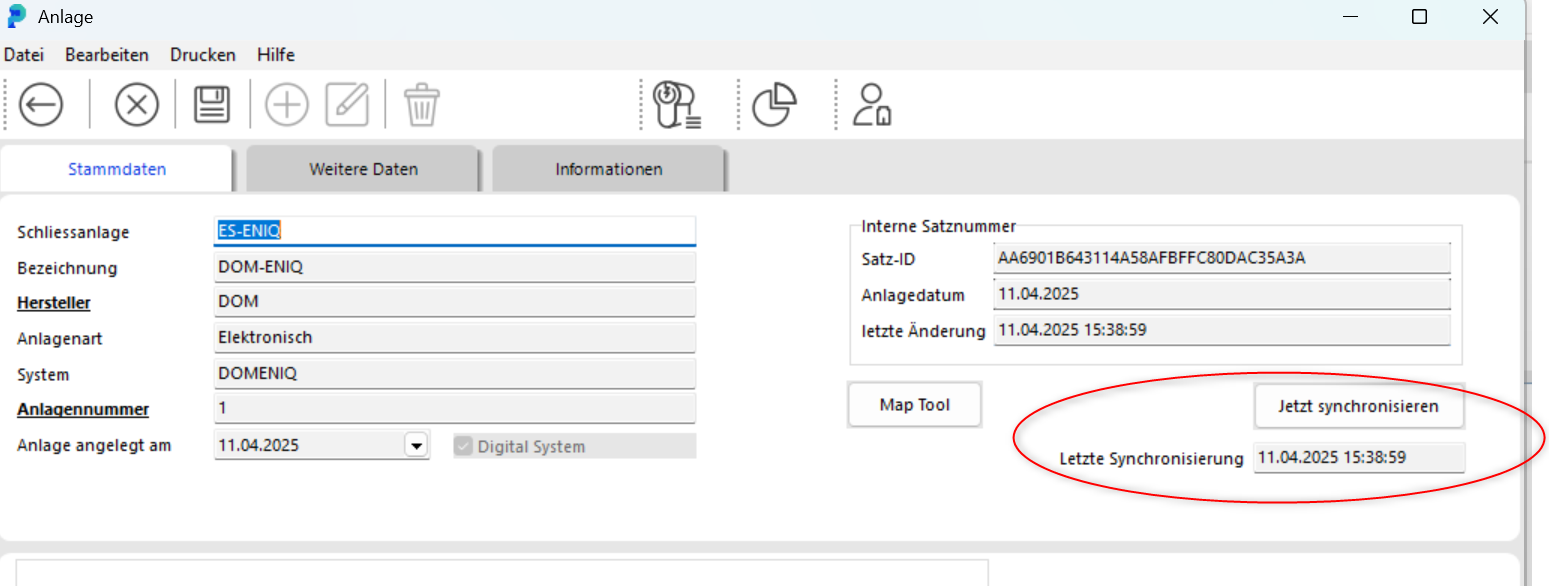
If you change something in portier or in DOM ENIQ, reconcile the two sides with the "Synchronise now" button (German installs read "Jetzt synchronisieren"). The time of the last synchronisation is shown next to it.
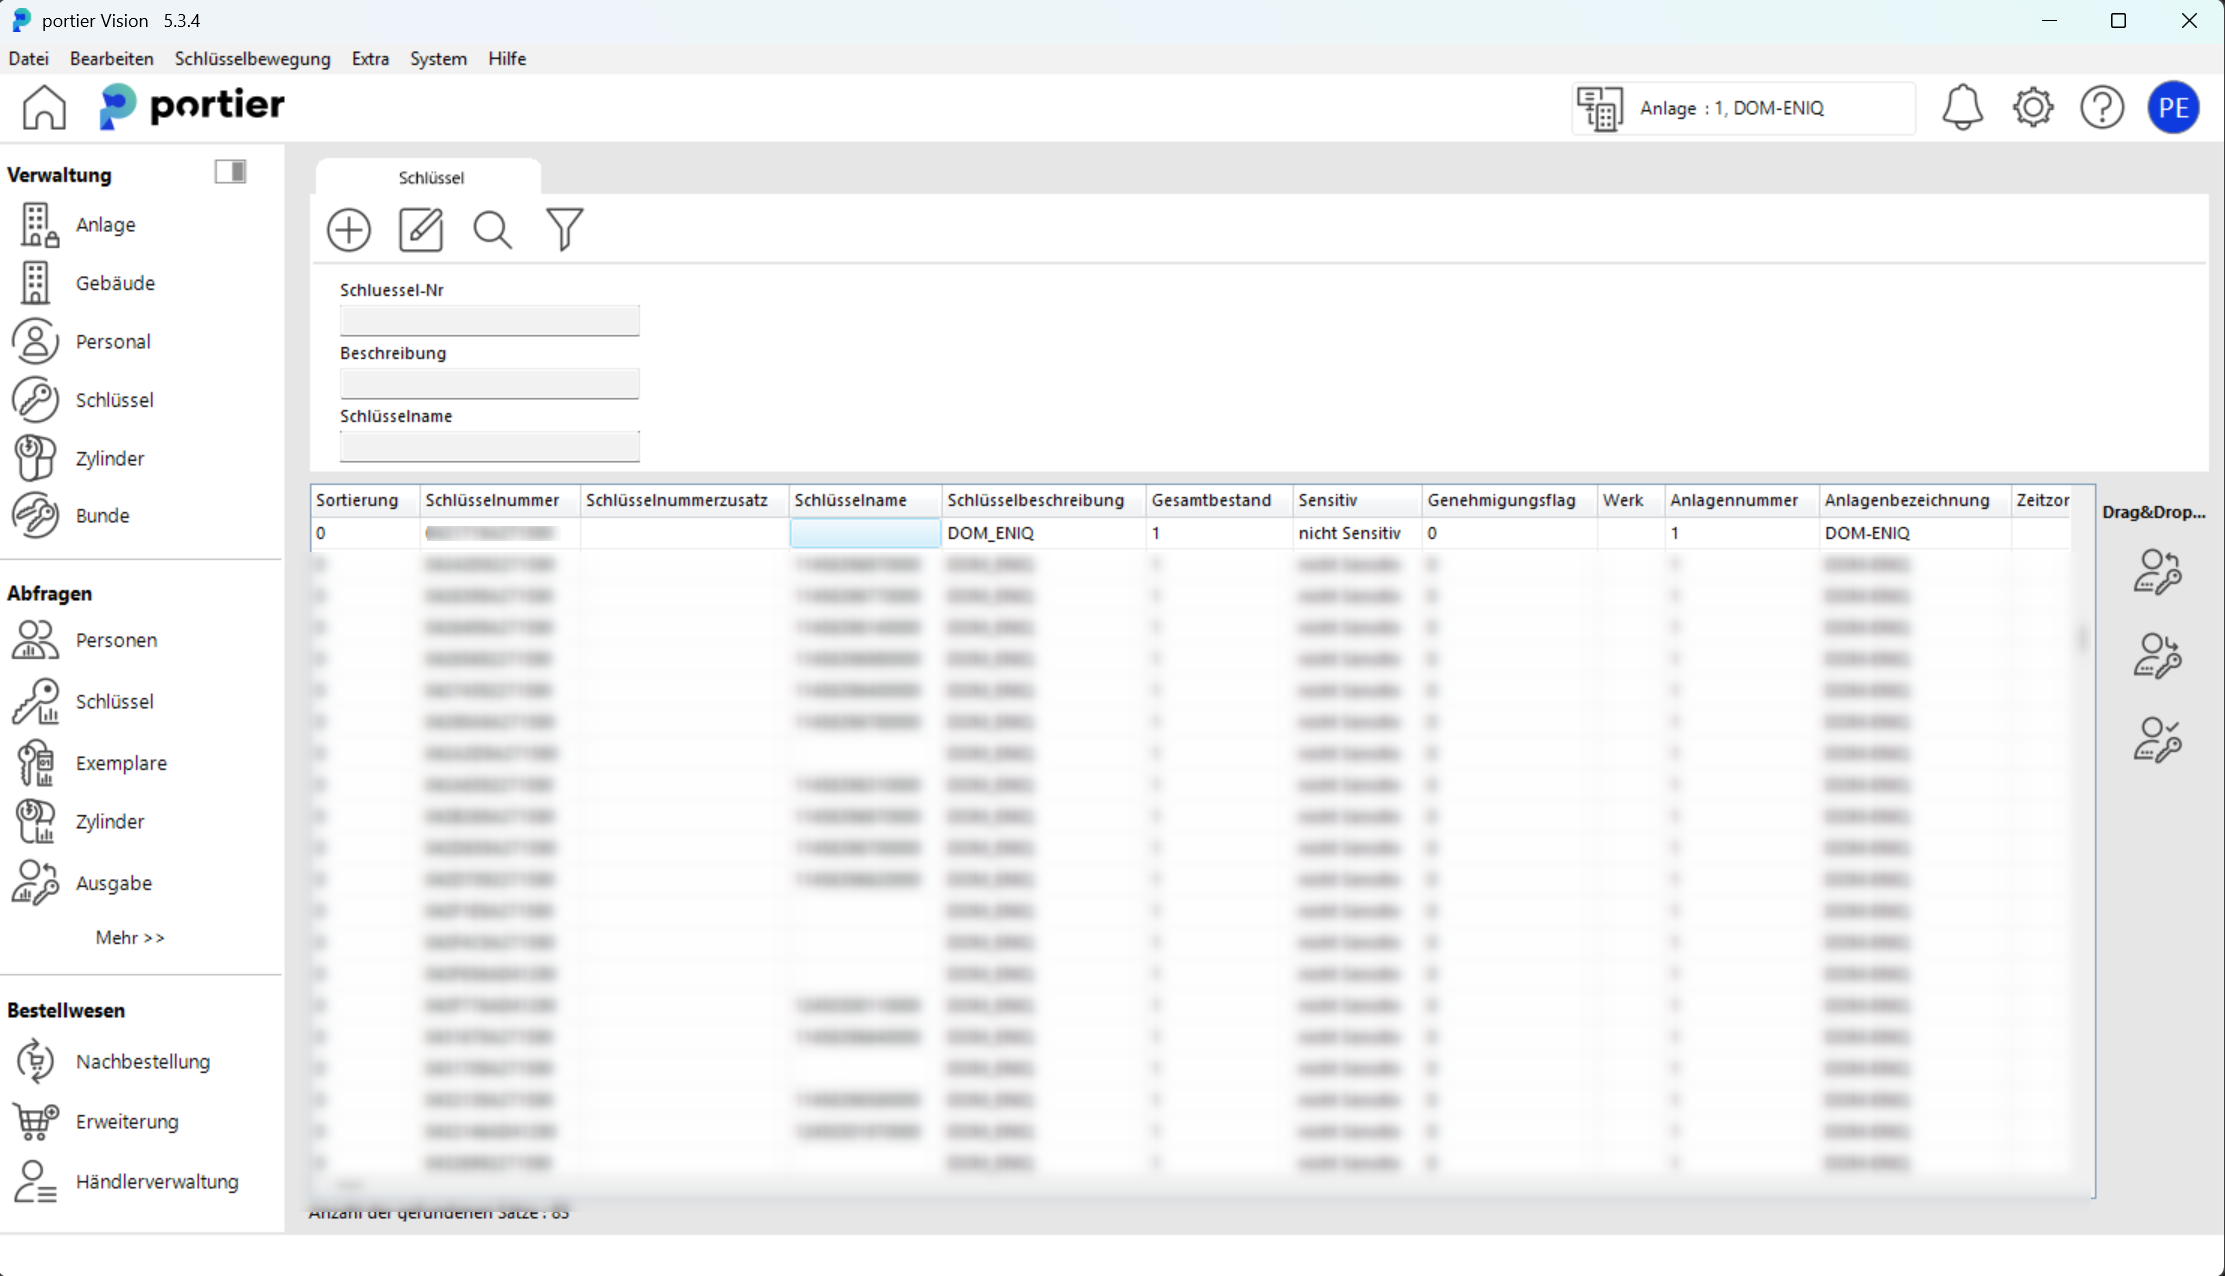
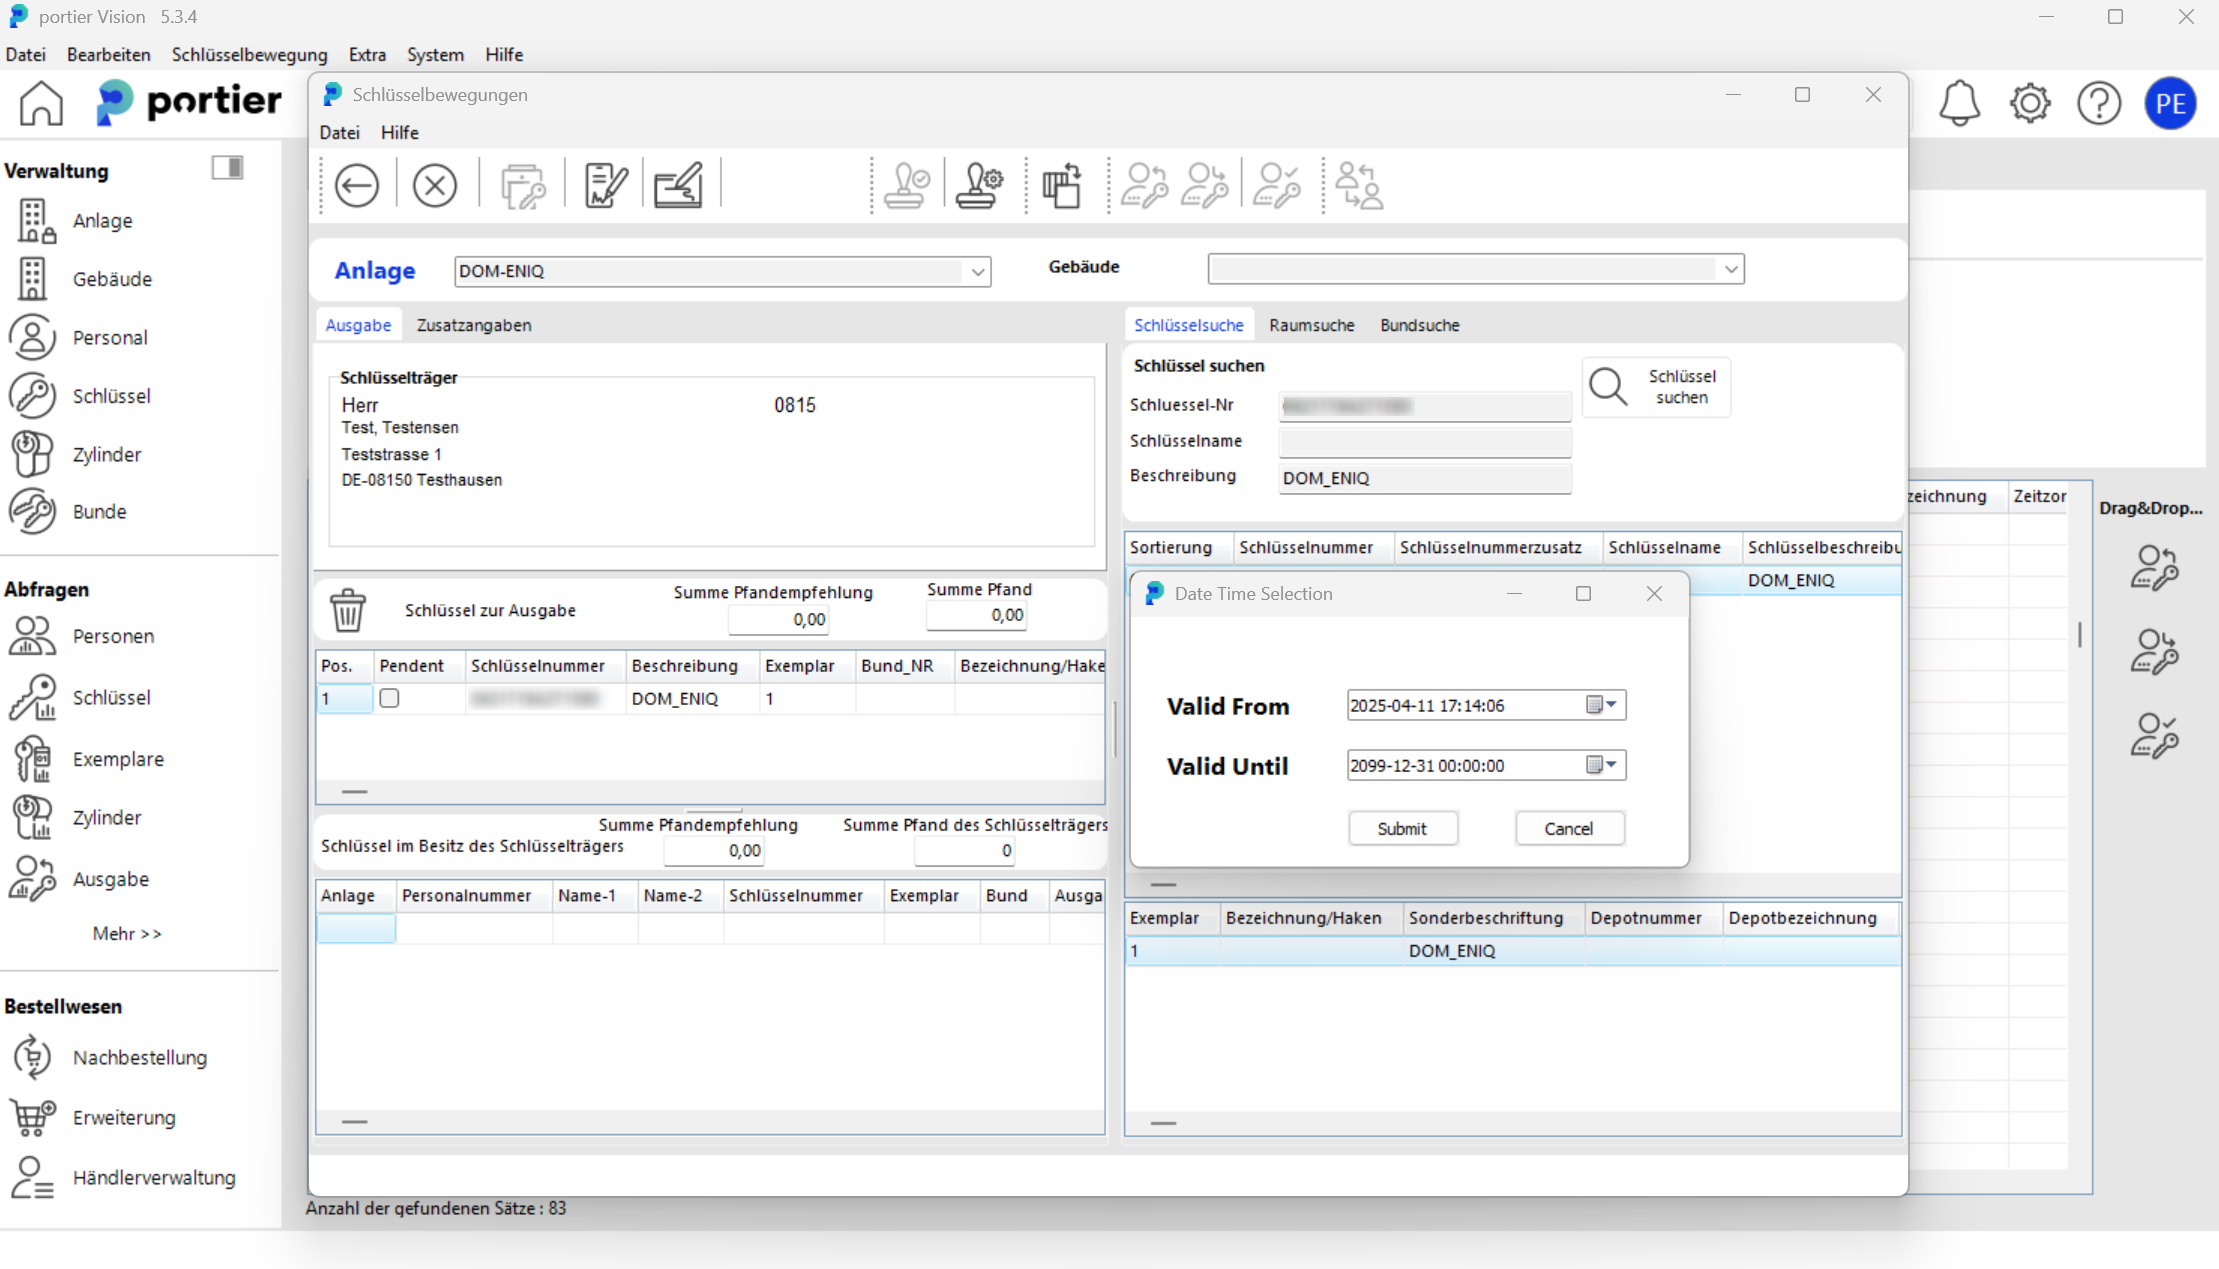
Pick a free transponder from the key list that you want to issue. Right-click the key and select "Issuance".
Click the key on the right, pick the copy you want and select the key holder. The key moves to the left-hand pane and is ready for issuance. You then issue it as usual by Digipad, KeyOnTheGo or the Book button. A pop-up opens where you set the validity period of the transponder.
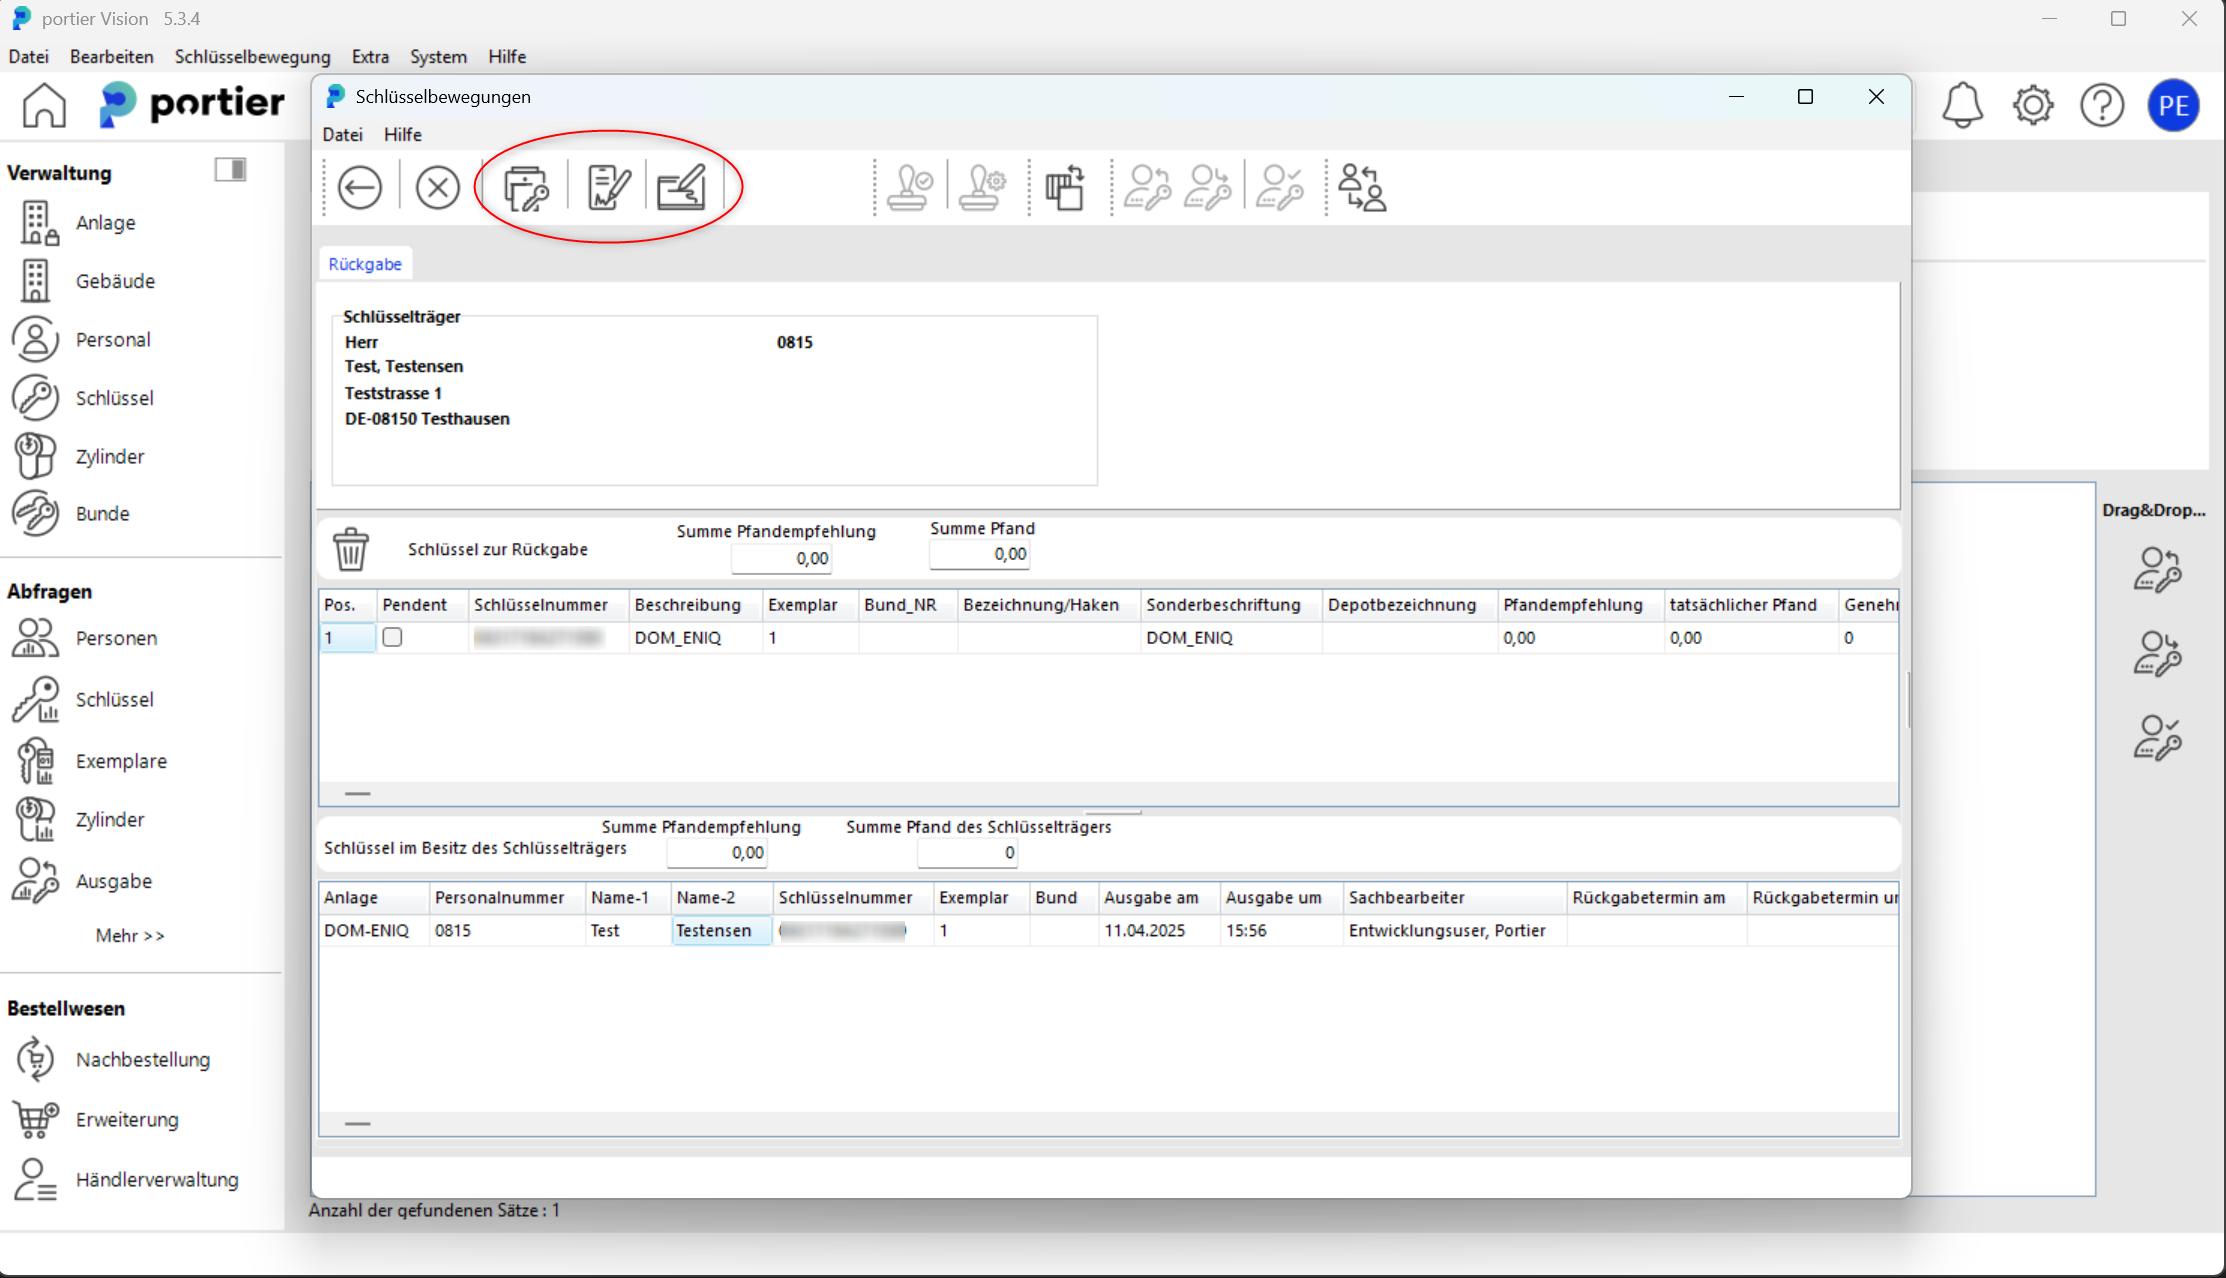
Open the personnel screen and search for the key holder. Right-click the key holder and select "Return".
Double-click the key you want to return and it moves into the "Key for return" pane.
You then return the key as usual, by Digipad, KeyOnTheGo or the Book button.
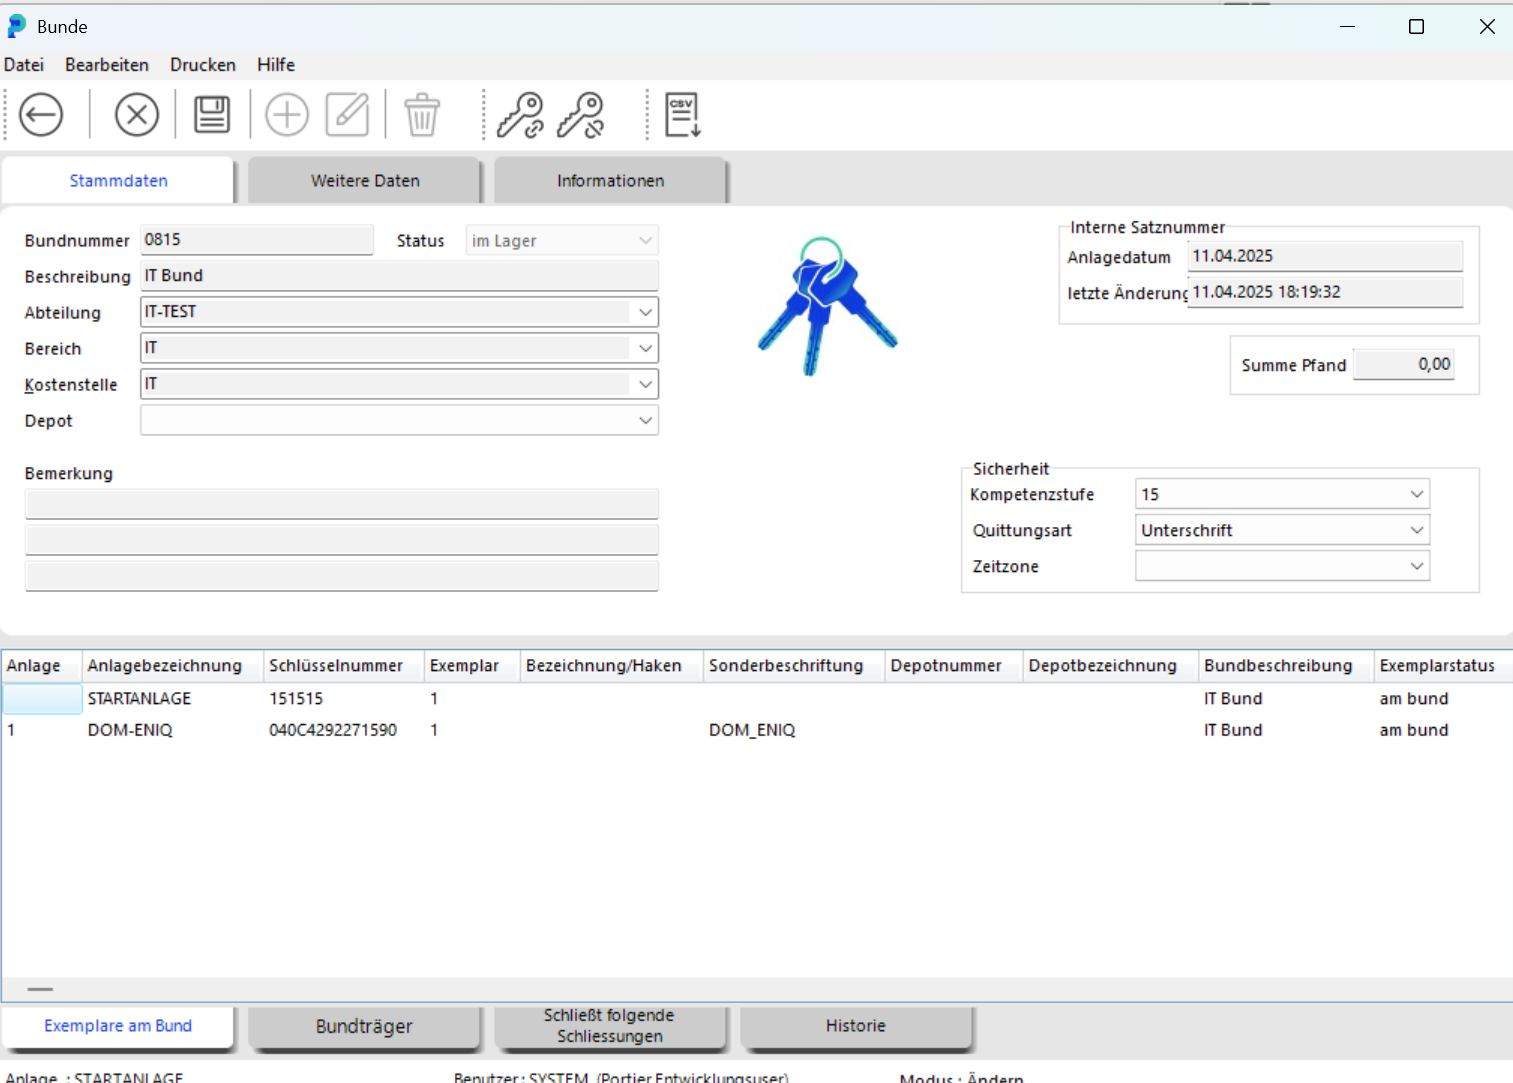
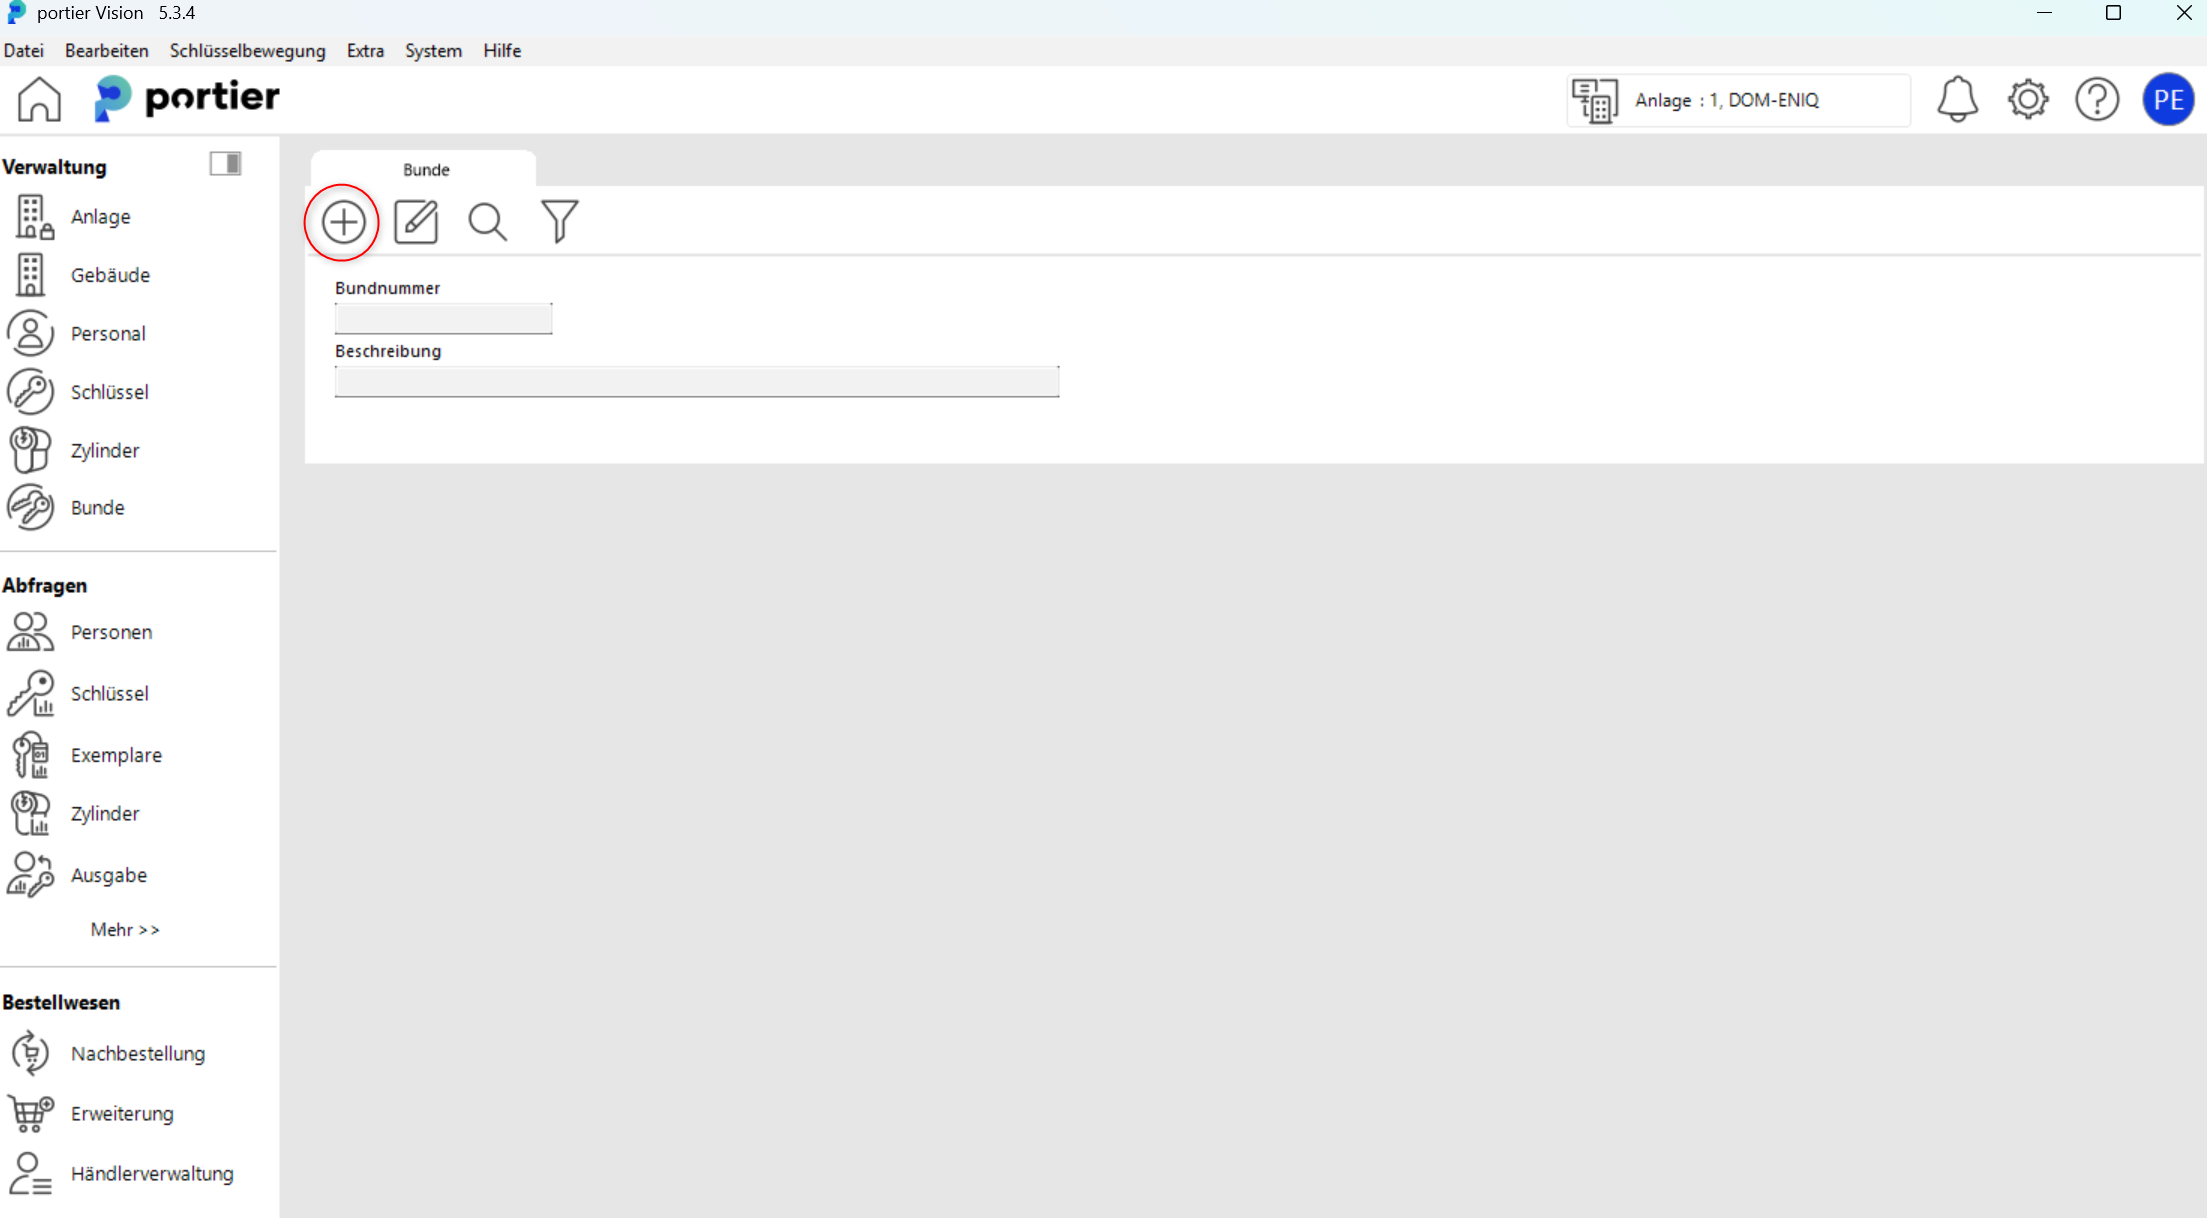
To add a key bunch, click the plus symbol (+).
Fill in all required information in the "Bunches" dialog and then click the "Add key" icon.
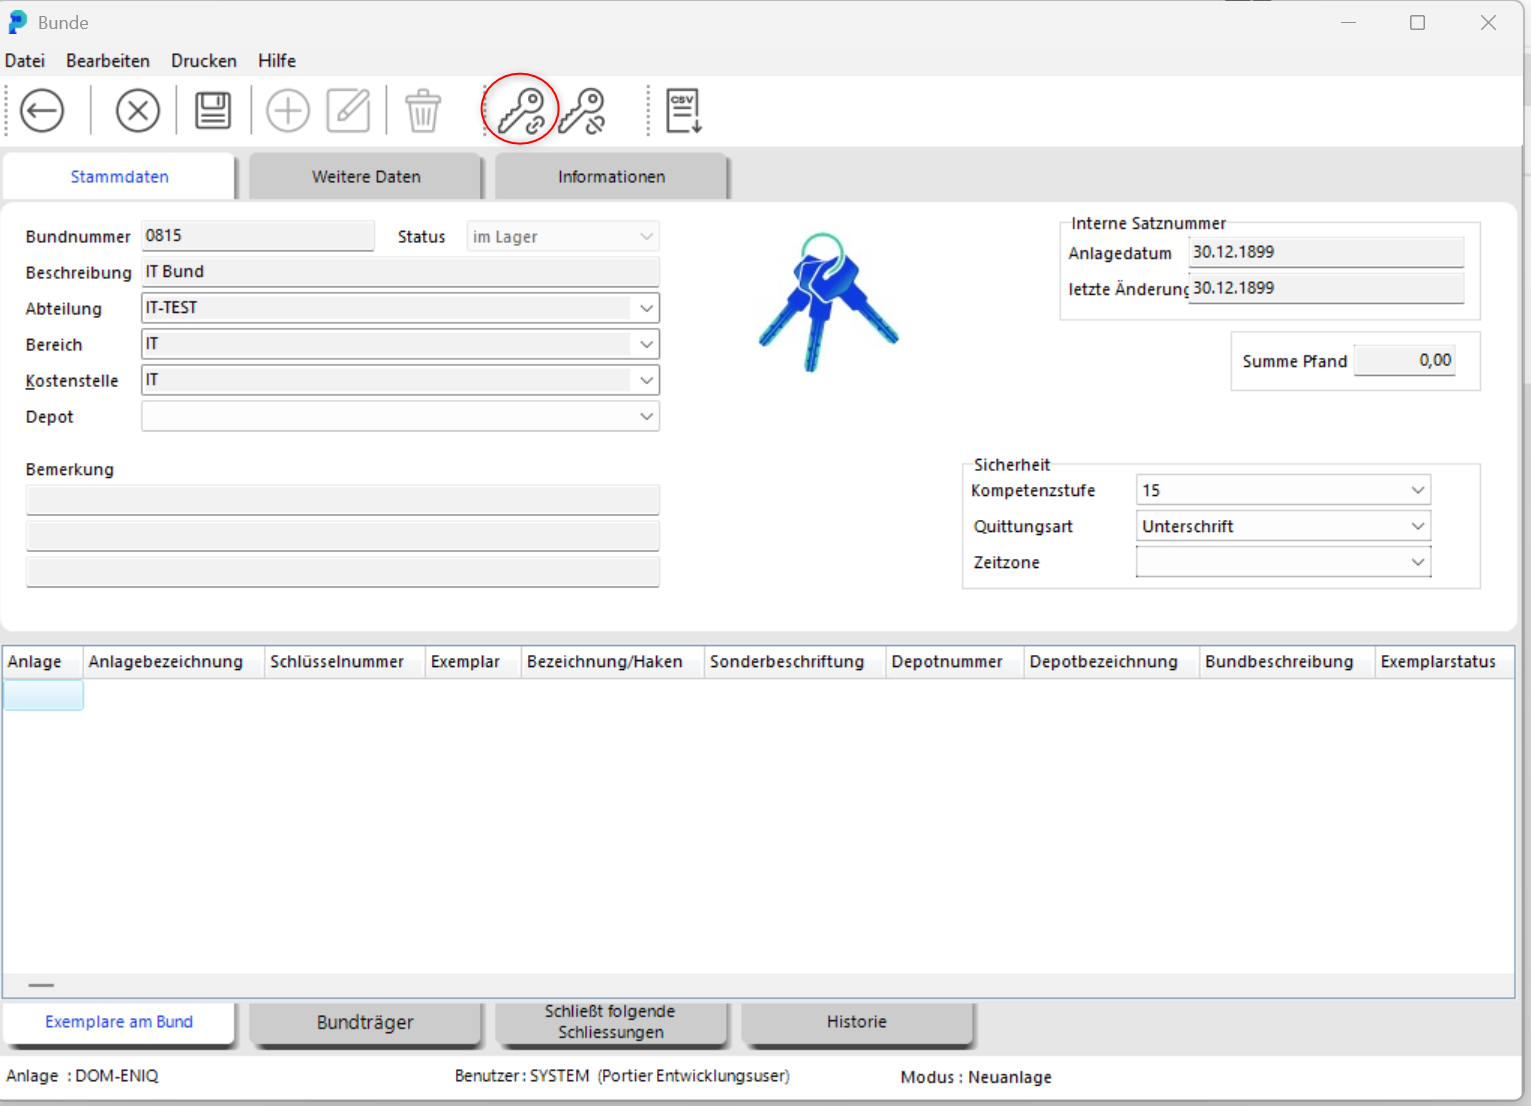
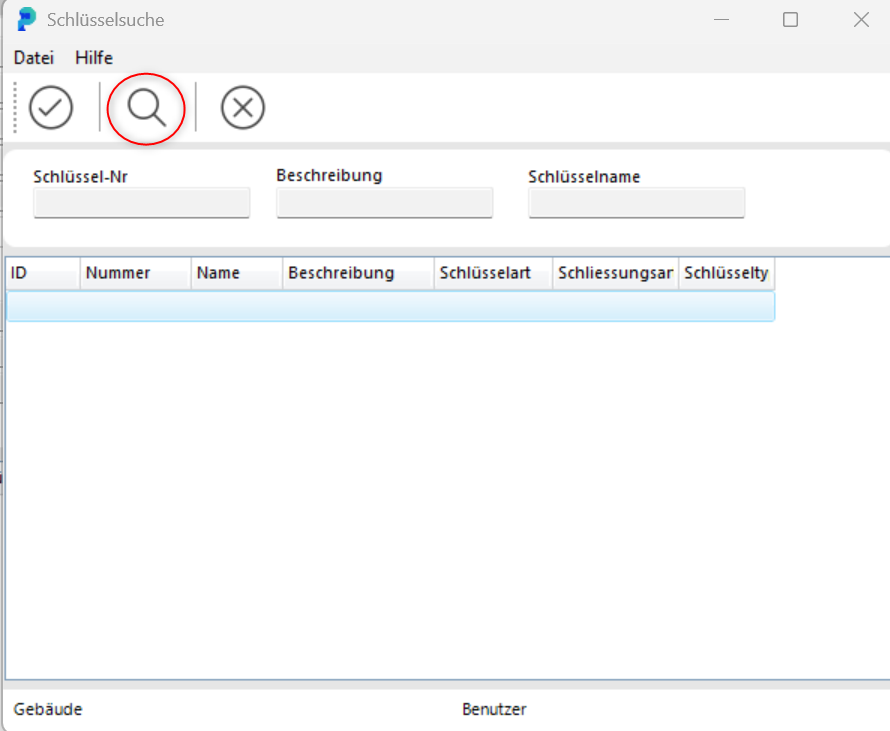
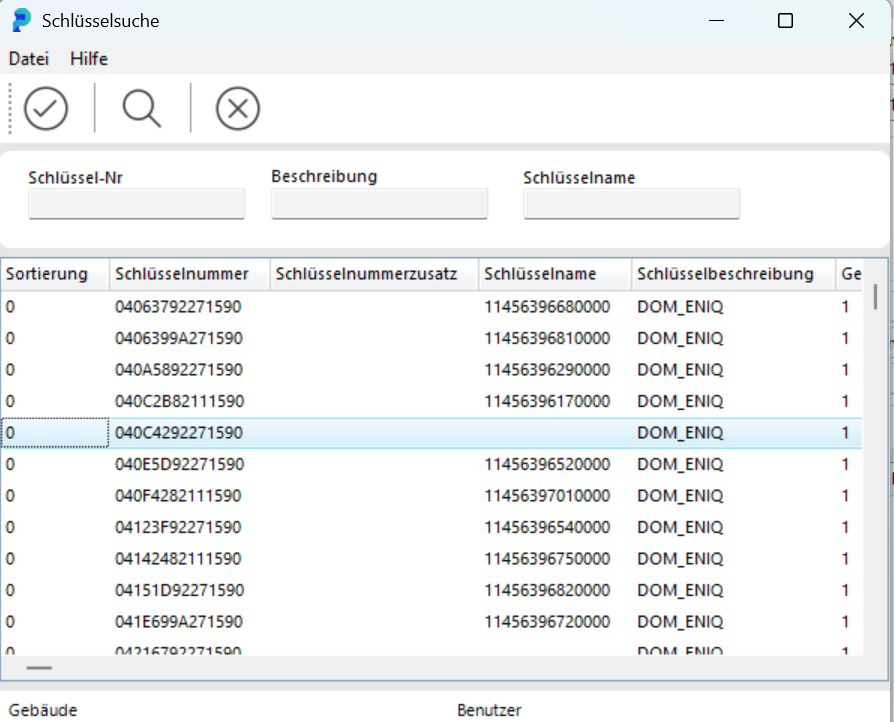
Click the magnifying glass icon to search for the keys and transponders you want to add to the bunch.